
 Save
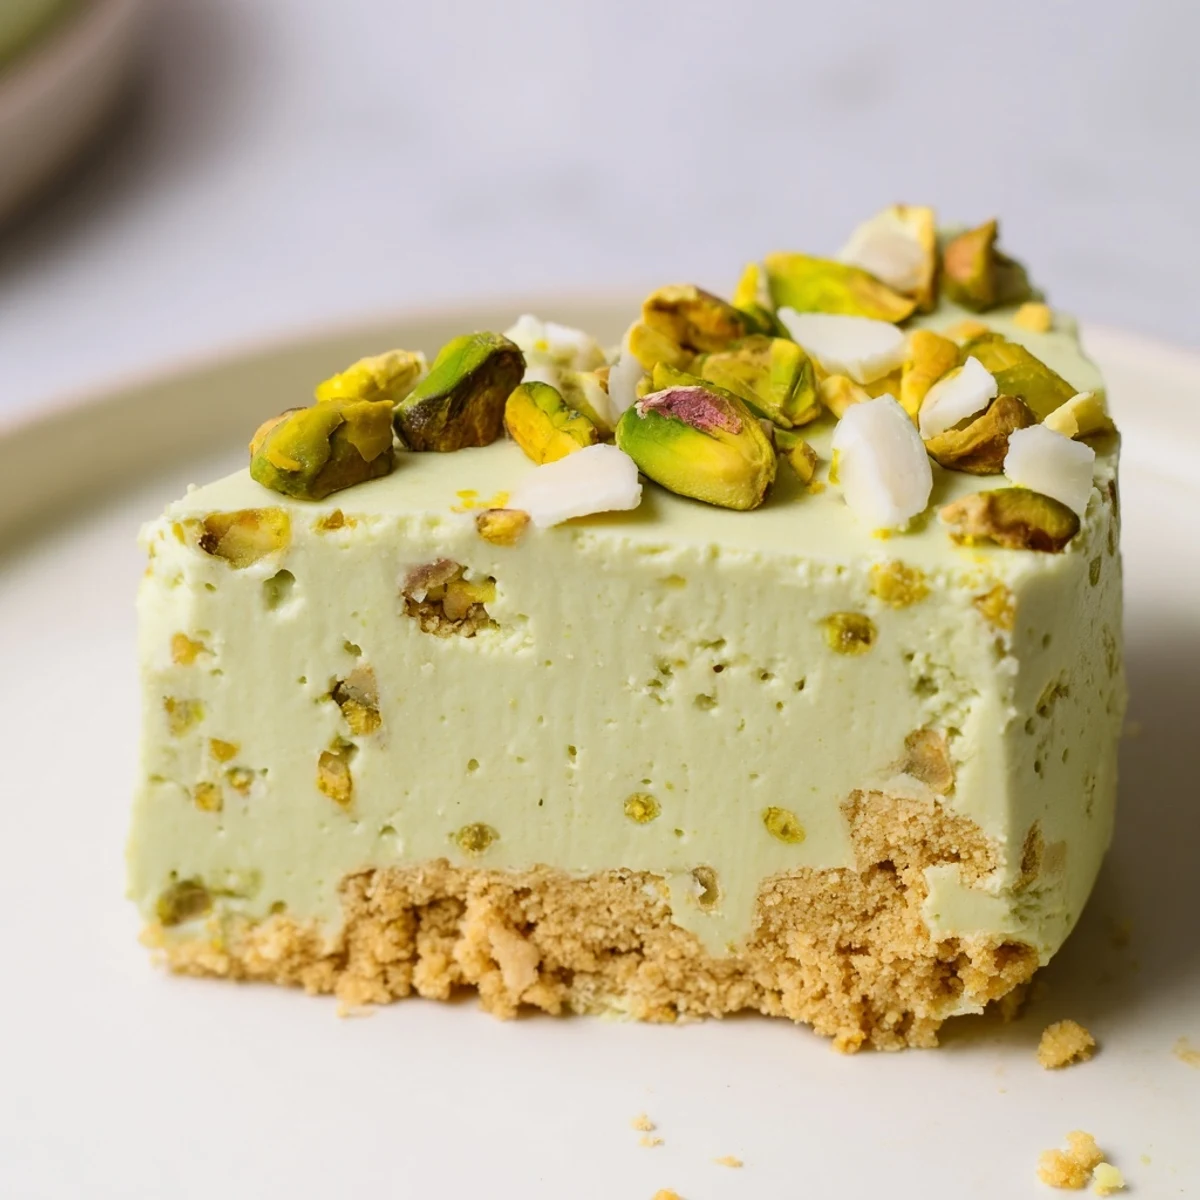
Save This no-bake pistachio cheesecake combines a crisp, buttery digestive biscuit base with a silky pistachio-infused cream cheese filling. Simply crush the biscuits, press into a springform pan, and chill while you prepare the filling by folding whipped cream into a smooth blend of cream cheese and pistachio paste.
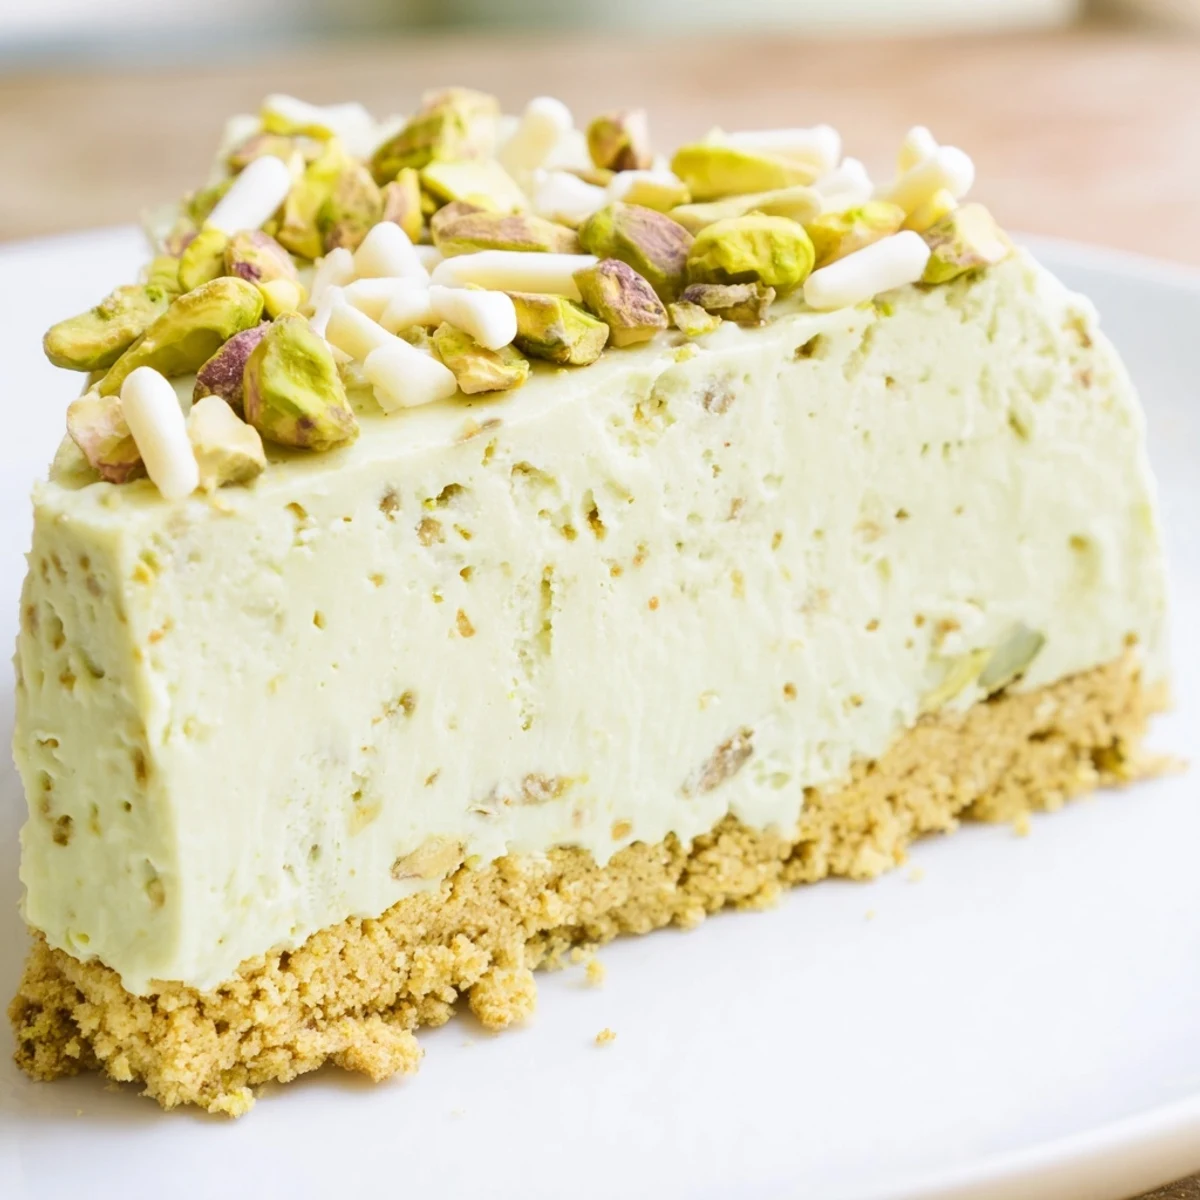
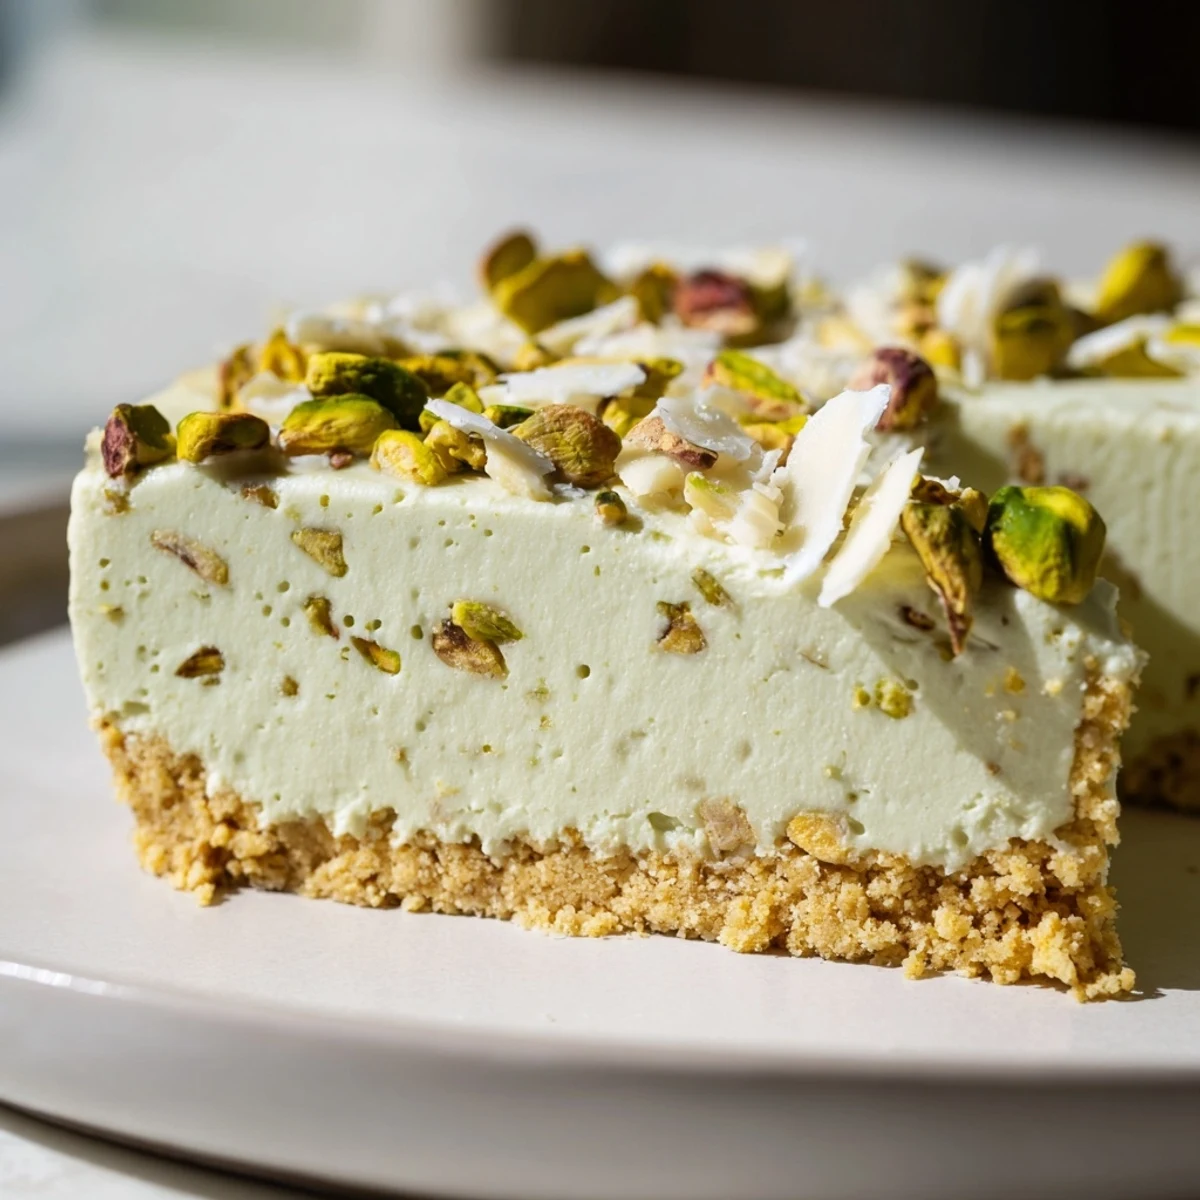
After refrigerating for at least four hours, the cheesecake sets into a rich, velvety dessert crowned with chopped pistachios. It's an effortless yet impressive treat perfect for warm days when you want something indulgent without heating up the kitchen.
The smell of crushed pistachios always transports me straight back to a tiny bakery in Istanbul where I once ate a slice of kunefe that changed my entire relationship with nuts in desserts. This no bake pistachio cheesecake came together one sweltering July evening when my oven was the absolute last thing I wanted to engage with, and it has since become my most requested dinner party contribution. Creamy, nutty, and impossibly green in the most appetizing way, it looks like you spent all day on it.
My neighbor Carla once stood in my kitchen at midnight eating leftovers straight from the pan with a fork, and honestly I could not judge her even a little. She had helped me test the recipe earlier that day and declared it dangerous to keep in the house.
Ingredients
- Digestive biscuits (200 g): Graham crackers work just as well if that is what your pantry offers, but digestives give a slightly more toasty, mellow base.
- Unsalted butter, melted (80 g): This binds the crumbs and creates that satisfying snap when you cut the first slice.
- Cream cheese, softened (300 g): Let it sit out for at least an hour because cold cream cheese will leave you with stubborn lumps no amount of mixing can fix.
- Heavy whipping cream, cold (200 ml): Straight from the fridge is non negotiable here since warmth is the enemy of stiff peaks.
- Pistachio paste (100 g): Store bought saves time, but if you find a good quality one with a vibrant color the whole dessert elevates instantly.
- Powdered sugar (80 g): Powdered dissolves seamlessly into the filling where granulated would leave a gritty surprise.
- Vanilla extract (1 tsp): A quiet backdrop that rounds out the pistachio without stealing attention.
- Shelled pistachios, roughly chopped (40 g): These go on top for crunch and visual drama, and toasting them briefly makes them even better.
- Optional white chocolate shavings or extra pistachio paste: A finishing flourish that turns a homemade cheesecake into something bakery worthy.
Instructions
- Crush the biscuits:
- Pulse the biscuits in a food processor until you have uniform fine crumbs, or place them in a sturdy sealed bag and show them no mercy with a rolling pin. The crumbs should resemble damp sand once mixed with the melted butter.
- Build the base:
- Press the buttery crumb mixture firmly and evenly into the bottom of a 20 cm springform pan, using the back of a spoon or the base of a glass for a flat surface. Pop it into the fridge for 20 minutes so it firms up while you make the filling.
- Blend the filling base:
- Beat the softened cream cheese, pistachio paste, powdered sugar, and vanilla together until the mixture is completely smooth and that gorgeous pale green color is uniform throughout. Scrape the bowl once or twice because pistachio paste loves to hide in corners.
- Whip the cream:
- In a separate chilled bowl, whip the cold heavy cream until it holds stiff peaks that stand proud when you lift the whisk. Stop right there because overwhipped cream turns grainy and will not fold nicely.
- Combine with care:
- Gently fold the whipped cream into the pistachio mixture in three additions, using a spatula and slow sweeping motions to keep every bit of air you just whipped in. This patience is what makes the filling cloud light.
- Fill and smooth:
- Spoon the filling over your chilled base and spread it out evenly with a spatula, nudging it to the edges first then smoothing the center. A clean spatula dipped in warm water gives you a perfectly flat top.
- Chill thoroughly:
- Cover the pan loosely and refrigerate for at least four hours, though overnight is the sweet spot if you can wait that long. The cheesecake needs this time to set into that luscious sliceable texture.
- Finish and serve:
- Scatter the chopped pistachios and any optional toppings over the top just before serving so they stay vibrant and crunchy. Release the springform pan, cut with a hot dry knife for clean slices, and watch everyone lean in for a closer look.
 Save
Save I brought this to a friend's rooftop gathering last summer and watched three people who swore they did not like pistachios go back for seconds without a trace of shame.
Tools That Make It Easier
A springform pan is really the only specialized piece of equipment you need, and a food processor makes the crumbs effortless, but a zip top bag and rolling pin have gotten me through plenty of times when the processor was buried in the back of a cabinet.
Flavor Variations Worth Trying
A splash of rosewater in the filling transforms this into something that tastes straight out of a Middle Eastern sweet shop, and orange blossom water takes it in a lighter floral direction that pairs beautifully with the pistachio. Start with just a quarter teaspoon because these waters are potent and easy to overdo.
Serving and Storage
This cheesecake keeps beautifully in the fridge for up to three days, though the topping is best added right before serving to preserve its crunch. I usually cover it tightly with foil and leave it in the pan until I am ready to present it.
- A glass of Moscato alongside each slice is a pairing I stumbled into once and now refuse to abandon.
- Freeze individual slices wrapped tightly in foil for up to a month and thaw them in the fridge for a midnight treat.
- Always double check packaged biscuits and pistachio paste labels for allergens if you are serving guests with dietary restrictions.
 Save
Save Some desserts earn their place in your permanent rotation through sheer convenience, and this one earns it through the way people close their eyes on the first bite every single time.
Recipe FAQs
- → Can I make pistachio paste at home?
-
Yes. Blend unsalted shelled pistachios in a food processor for several minutes, scraping down the sides regularly, until a smooth paste forms. Adding a small amount of neutral oil or honey helps achieve a creamier consistency.
- → How long does the cheesecake need to chill?
-
The minimum chilling time is four hours, but leaving it overnight yields the best texture. This allows the filling to fully set and the flavors to meld together for a firmer, creamier slice.
- → Can I substitute graham crackers for digestive biscuits?
-
Absolutely. Graham crackers work just as well as digestive biscuits for the base. Use the same quantity and follow the identical preparation method for equally delicious results.
- → What can I add for extra flavor?
-
A splash of rosewater or orange blossom water blended into the filling complements the pistachio beautifully. Start with half a teaspoon, taste, and adjust to your preference before adding the whipped cream.
- → How should I store leftovers?
-
Keep the cheesecake covered in the refrigerator for up to four days. For longer storage, wrap individual slices tightly and freeze for up to one month. Thaw overnight in the fridge before serving.
- → Can I use a different size pan?
-
You can use a slightly larger or smaller springform pan, but the cheesecake will be thinner or taller respectively. Adjust chilling time accordingly — a thicker cheesecake may need a bit longer to set completely.