
 Save
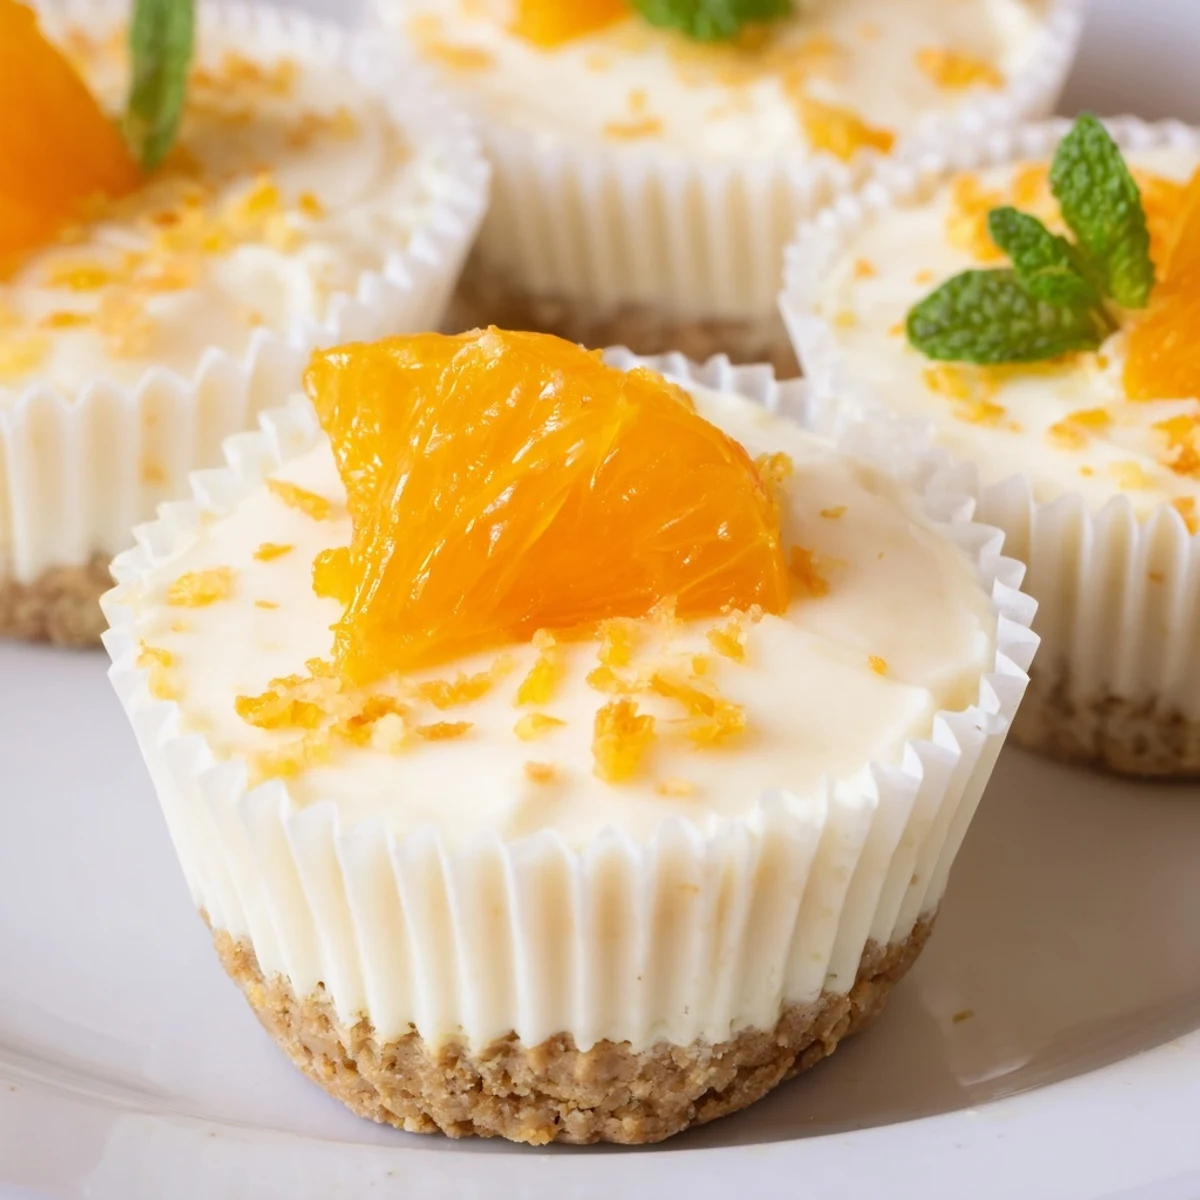
Save These mini no bake orange cheesecakes combine a buttery digestive biscuit crust with a light, creamy filling infused with fresh orange zest and juice.
They require zero oven time—simply press the crust into muffin liners, whip up the cream cheese and heavy cream filling, then chill for a few hours until perfectly set.
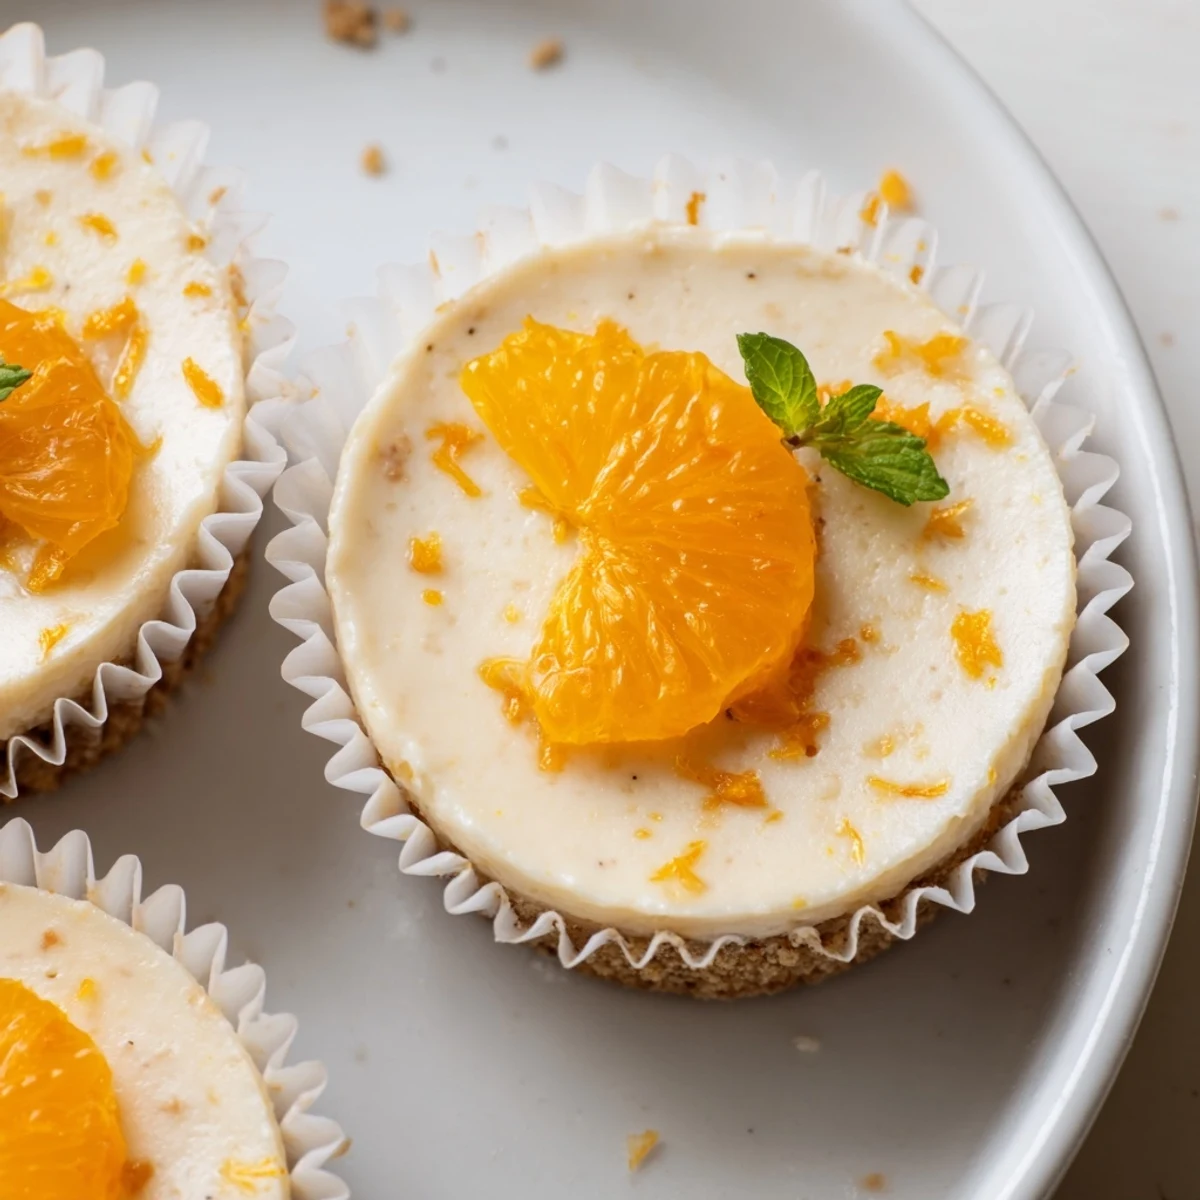
Topped with fresh orange segments and a sprinkle of zest, they're an elegant make-ahead dessert ideal for entertaining, warm-weather gatherings, or whenever you crave a bright citrus finish.
The smell of orange zest hitting cream cheese is one of those small kitchen pleasures that stops you in your tracks, bright and floral and impossibly cheerful. I started making these mini no bake orange cheesecakes during a sweltering July when turning on the oven felt like a personal attack. They came together so easily that I ended up making them three weekends in a row, each time for a different group of friends who all asked for the recipe. Now they are my warm weather staple, the one I reach for when I want something impressive without the effort.
I brought a batch of these to a rooftop potluck last summer, carrying them in a cooler bag and worrying the whole train ride that they would slump into a mess. They held beautifully, and I watched a woman I had never met eat one in two bites, close her eyes, and immediately ask who made them.
Ingredients
- 120 g digestive biscuits or graham crackers: The base needs something with a bit of heft and a subtle sweetness, and these crumble into the perfect texture when pulsed.
- 55 g unsalted butter, melted: This binds the crumbs together and firms up in the fridge to give you that satisfying snap when you bite into the crust.
- 250 g cream cheese, room temperature: Cold cream cheese will leave you with lumps no amount of mixing can fix, so let it sit out until it is soft and yielding.
- 60 g powdered sugar: Granulated sugar will grit against the smooth filling, so powdered is essential for that silky finish.
- 120 ml heavy cream, cold: Whipping the cream separately and folding it in gives the filling its cloud like lift without needing gelatin.
- 2 tsp orange zest (from 1 large orange): The zest carries all the aromatic oils and is where most of the orange personality lives.
- 2 tbsp fresh orange juice: This adds a gentle tang and moisture without watering down the filling.
- 1 tsp vanilla extract: A quiet background note that rounds out the citrus and makes the flavor feel complete.
- Segments from 1 orange (optional topping): A glossy jewel like finish that tells people immediately what they are about to eat.
- Zest of half an orange and mint leaves (optional topping): A scatter of color and freshness that makes these look like they came from a bakery case.
Instructions
- Prepare your molds:
- Line a standard muffin tin with paper liners or grab your silicone molds, whichever you have handy, and set them on a tray so they are easy to move later.
- Build the crust:
- Pulse the biscuits in a food processor until you have fine, even crumbs, then pour in the melted butter and run the machine again until every crumb glistens and holds together when pinched.
- Press and chill the bases:
- Divide the crumb mixture evenly among your liners and press down firmly with the back of a spoon or your fingers, then tuck the whole tin into the fridge so the butter can solidify while you work on the filling.
- Start the filling:
- Beat the room temperature cream cheese and powdered sugar together in a medium bowl until the mixture is completely smooth with no pale streaks or sugar pockets remaining.
- Whip the cream:
- In a separate bowl, whisk the cold heavy cream until it holds stiff peaks that stand tall when you lift the beaters, being careful not to tip over into butter territory.
- Combine and flavor:
- Gently fold the whipped cream into the cream cheese base with a spatula, then add the orange zest, orange juice, and vanilla, folding until everything is uniformly sunny and smooth.
- Fill the cups:
- Spoon or pipe the cheesecake mixture over the chilled bases, filling each cup nearly to the top, then smooth the surfaces with the back of a spoon for a clean finish.
- Chill until set:
- Refrigerate the cheesecakes for at least three hours, or until the filling is firm to the touch and no longer jiggles when you gently shake the tin.
- Decorate and serve:
- Just before serving, top each cheesecake with orange segments, a pinch of extra zest, and a mint leaf or two if you are feeling fancy.
 Save
Save There is something quietly magical about pulling a tray of these from the fridge, each one perfectly set and waiting, like a tiny gift you made for your future self.
Getting Ahead
These mini cheesecakes are a dream for planning because they sit happily in the fridge for up to two days without any loss in texture or flavor. I usually make them the night before a gathering so I can wake up and already feel like I have accomplished something. Just keep them covered loosely with plastic wrap so they do not absorb fridge odors.
Making It Your Own
Swap the orange for lemon, lime, or even tangerine depending on what looks best at the market. A tablespoon of orange liqueur folded into the filling is a small addition that makes the flavor remarkably deeper for adult gatherings.
Tools and Substitutions
You do not need a food processor if you are willing to put biscuits in a ziplock bag and attack them with a rolling pin, which is honestly quite satisfying after a long day. A hand mixer does the job perfectly for the cream and filling, though a whisk and some determination will also get you there. For gluten free guests, simply swap in your favorite gluten free cookies for the base and the rest of the recipe stays exactly the same.
- Silicone molds release more cleanly than paper liners if you want a bare, bakery style look.
- Always zest your orange before juicing it because a spent orange half is nearly impossible to zest properly.
- These are best eaten within three days, so plan accordingly and do not let them languish.
 Save
Save Keep these in your back pocket for the days you want something sweet, bright, and effortless, and watch them disappear one mini cheesecake at a time.
Recipe FAQs
- → Can I make these mini orange cheesecakes ahead of time?
-
Yes, they can be prepared up to 2 days in advance and stored covered in the refrigerator. The flavors actually develop nicely as they chill.
- → What can I substitute for digestive biscuits?
-
Graham crackers work perfectly as a direct substitute. For a gluten-free option, use your preferred gluten-free cookies or biscuits crushed into fine crumbs.
- → How do I get clean orange zest without the bitter pith?
-
Use a microplane or fine grater and zest only the outermost orange layer. Rotate the orange frequently and avoid pressing too hard to stop before reaching the white pith underneath.
- → Why did my cheesecake filling turn out runny?
-
Ensure your heavy cream is very cold before whipping to stiff peaks, and your cream cheese is at room temperature for smooth blending. Gentle folding is key—overmixing can deflate the whipped cream and loosen the texture.
- → Can I freeze these mini cheesecakes?
-
Yes, freeze them without the fresh orange topping in an airtight container for up to 1 month. Thaw overnight in the refrigerator and add toppings just before serving.
- → How many oranges do I need for this dessert?
-
One large orange typically provides enough zest (2 teaspoons) and juice (2 tablespoons) for the filling. You'll need a second orange if you want fresh segments for garnish.