 Save
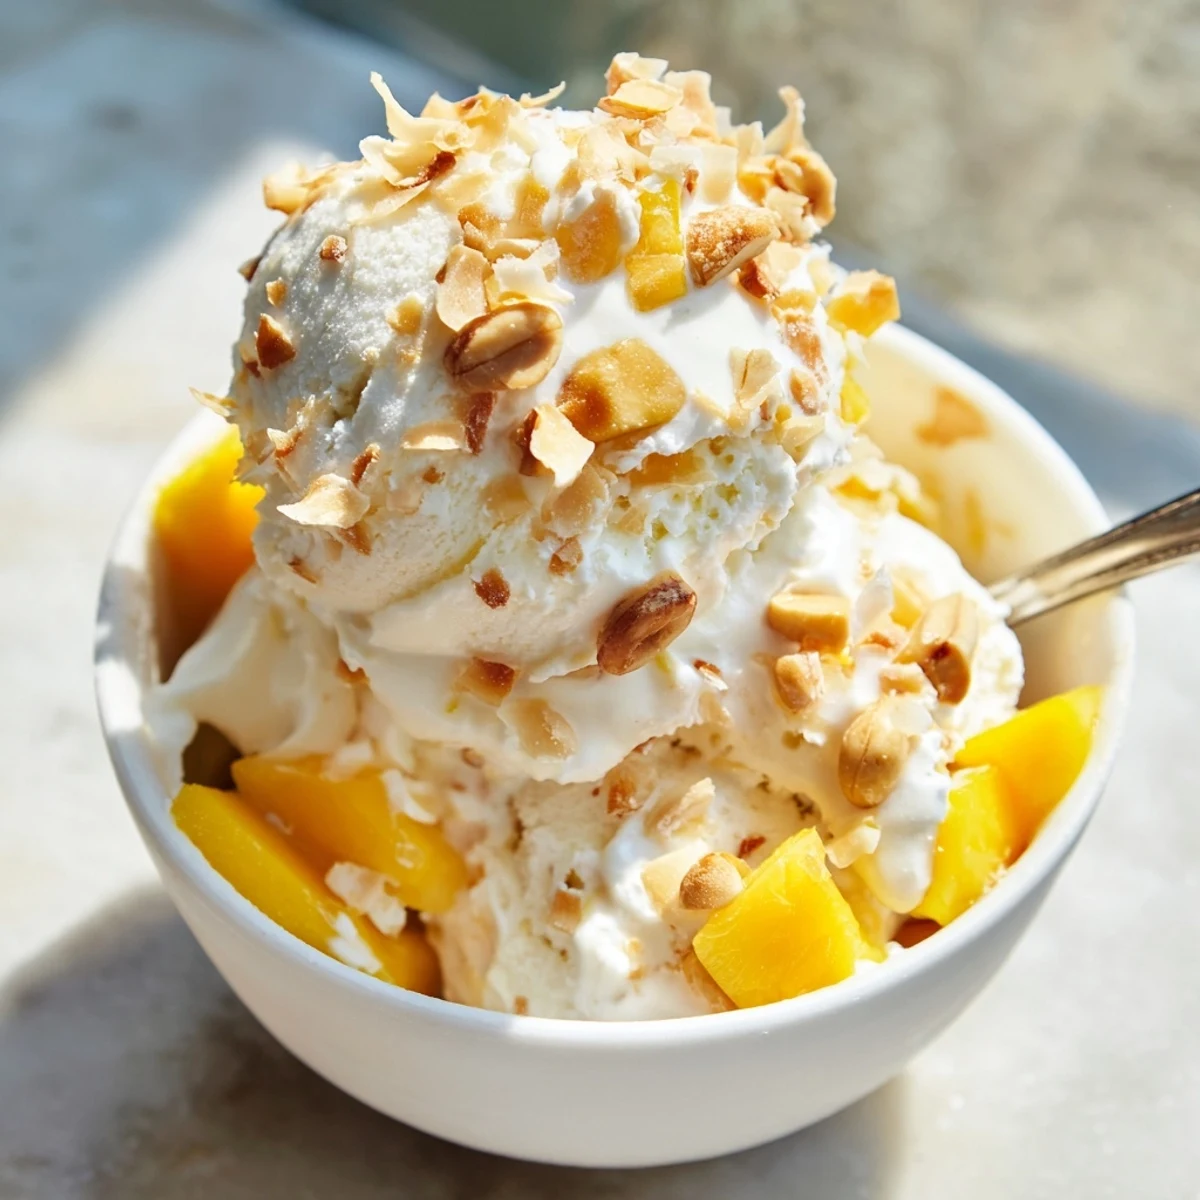
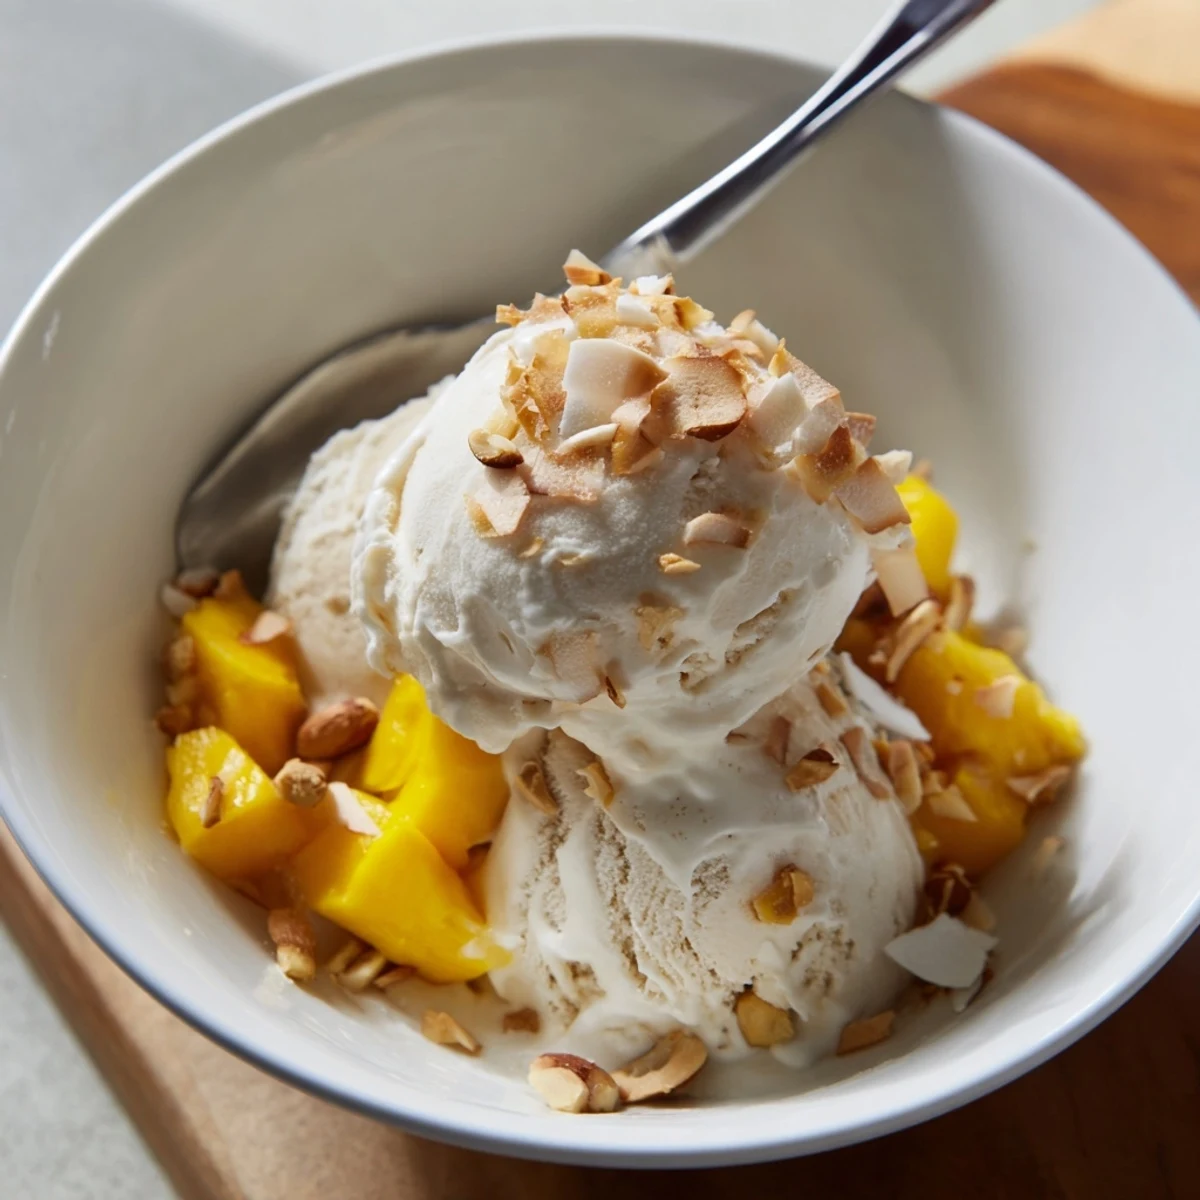
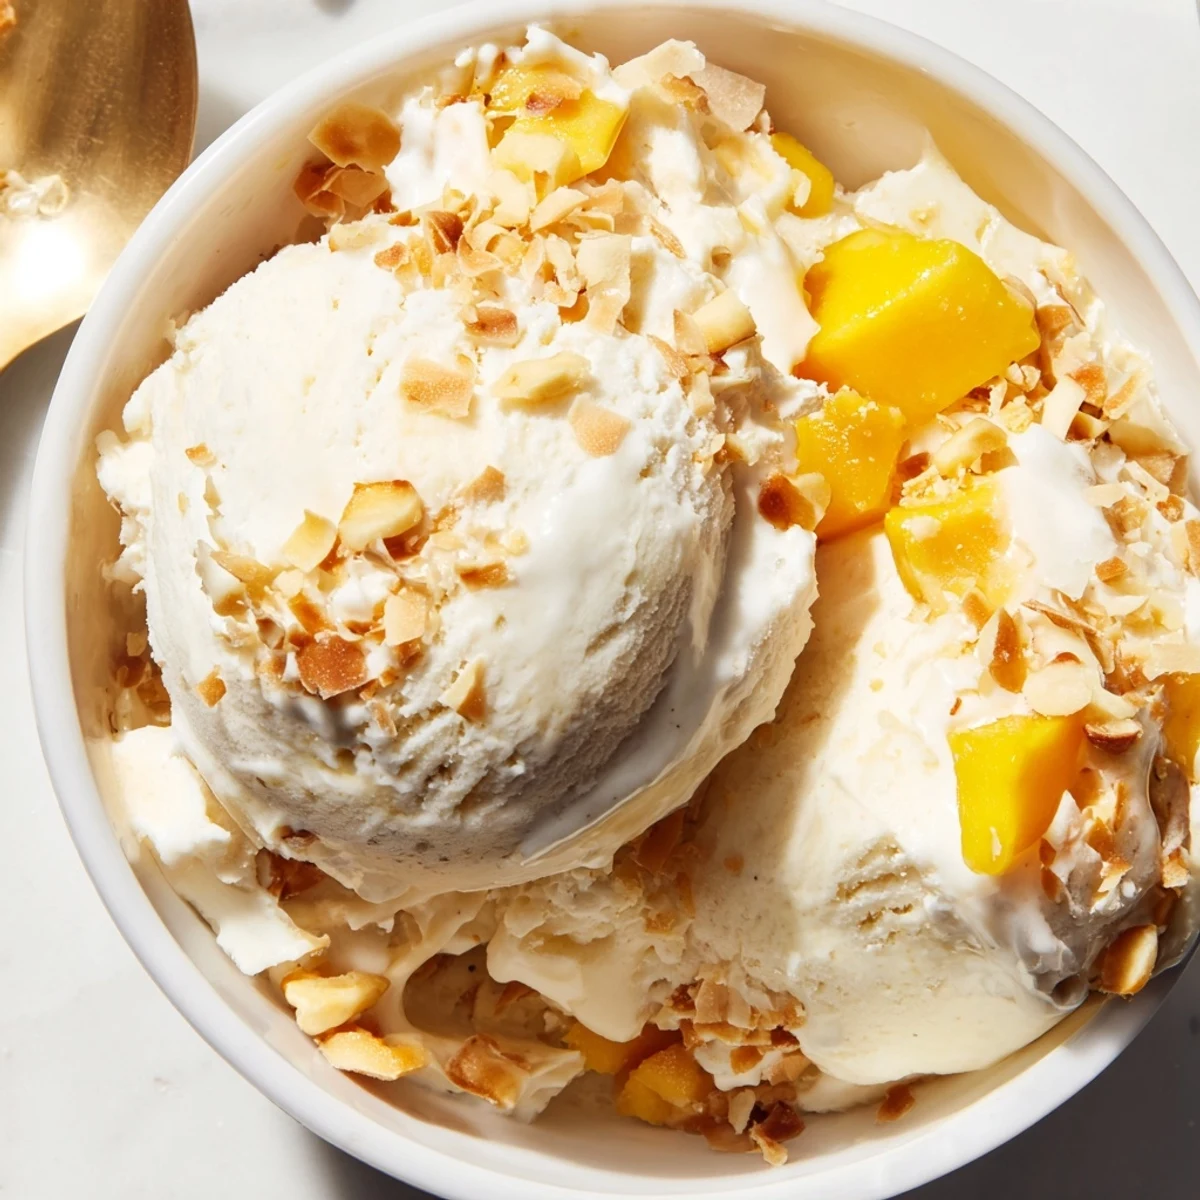
Save Create a rich, dairy-free frozen dessert inspired by Thai street vendors. This creamy coconut milk ice cream features a luscious texture achieved through full-fat coconut milk and cream. The base requires just 15 minutes of active preparation before chilling and churning. Customize with toasted coconut flakes, roasted peanuts, or diced ripe mango for authentic Thai flair. Perfect for vegans and those avoiding dairy, this naturally sweet treat delivers tropical indulgence with every scoop.
The first time I made coconut ice cream was during a particularly humid August when my kitchen felt like a tropical greenhouse anyway. I had just returned from a trip to Bangkok where street vendors scooped mounds of creamy coconut ice cream into halved young coconuts, and I became slightly obsessed with recreating that memory at home. Now its become my go-to summer dessert when I want something refreshing but still indulgent enough to feel like a real treat.
Last summer I served this at a dinner party where my friend Sarah, who is lactose intolerant, literally got tears in her eyes after her first bite. She told me she hadnt had proper ice cream in years, and watching her go back for thirds made all the chilling time absolutely worth it. Now whenever she comes over, there is always a batch of this hiding in my freezer.
Ingredients
- Full-fat coconut milk: The backbone of this recipe, and I have learned the hard way that light coconut milk just does not give you that luxurious mouthfeel we are after
- Coconut cream: This is what takes the texture from ice milk to proper ice cream, so do not skip it even if you are tempted to use all milk
- Granulated sugar: Helps create that smooth consistency by interfering with ice crystal formation, so do not try to reduce it too much
- Fine sea salt: Just enough to make all the flavors pop and prevent the coconut from tasting cloyingly sweet
- Pure vanilla extract: Rounds out the coconut flavor beautifully and adds that familiar comfort element
- Toasted coconut flakes: Optional but highly recommended for those gorgeous flecks of texture throughout
- Roasted peanuts: A salty crunch that plays so nicely against the sweet coconut base
- Diced ripe mango: Fresh mango chunks freeze into little jewels throughout the ice cream
Instructions
- Warm the coconut base:
- Combine the coconut milk, coconut cream, sugar, and salt in a medium saucepan over medium heat. Stir constantly until the sugar has completely dissolved, about 3 to 5 minutes, but do not let the mixture come to a boil or the coconut might separate.
- Add the vanilla:
- Remove from heat and stir in the vanilla extract, then let the mixture cool to room temperature before proceeding. This patience step is crucial for proper churning later.
- Chill thoroughly:
- Refrigerate the mixture for at least 2 hours, or until it is completely cold throughout. Rushing this step will result in icy, grainy ice cream instead of the silky smooth texture we want.
- Churn until soft:
- Pour the chilled base into your ice cream maker and churn according to the manufacturers instructions, usually 20 to 25 minutes. You are looking for a soft-serve consistency before adding any mix-ins.
- Fold in the goodies:
- If you are using mix-ins, add them during the last minute of churning and let the machine fold them in gently. This distributes everything evenly without overworking the ice cream.
- Freeze until firm:
- Transfer the ice cream to a lidded freezer-safe container and freeze for at least 2 hours until it is scoopable but still creamy.
- Serve it up:
- Let the ice cream sit at room temperature for 5 to 10 minutes before scooping to soften slightly. This makes it easier to scoop and gives you that perfect creamy texture.
 Save
Save There is something almost meditative about the churning process, watching the liquid slowly transform into that gorgeous pale cream that holds its shape on a spoon. My daughter likes to press her face against the freezer door during the final freezing time, asking every five minutes if it is ready yet.
Making It Without An Ice Cream Maker
I have tested this method during those desperate times when my ice cream maker was buried in the back of a storage closet. Pour the chilled mixture into a shallow freezer-safe dish and freeze, stirring vigorously every 30 minutes for about 3 hours. The texture will not be quite as smooth, but it still gives you that satisfying homemade ice cream experience.
Flavor Variations
Sometimes I add a tablespoon of pandan extract for that authentic Thai flavor profile that tastes like vacation in a bowl. A splash of lime juice creates a bright, tangy version that cuts through the richness beautifully on particularly hot days.
Serving Suggestions
This ice cream deserves to be served in something special. I love scooping it into halved young coconuts for maximum presentation points or piling it onto warm sticky rice for that traditional Thai dessert experience. A drizzle of coconut syrup over the top never hurt anyone either.
- Toast your coconut flakes in a dry pan until golden for the most intense flavor
- Sprinkle a pinch of flaky sea salt on top just before serving for a restaurant style finish
- Let your guests choose their own mix-ins for a fun DIY sundae situation
 Save
Save Whether you are vegan, dairy-free, or just someone who appreciates really good ice cream, this recipe might just become your new freezer staple. It certainly has in my house.
Recipe FAQs
- → How long does this coconut ice cream need to freeze?
-
After churning, freeze for at least 2 hours until firm. For best results, let sit at room temperature 5-10 minutes before scooping to soften slightly.
- → Can I make this without an ice cream maker?
-
Yes. Pour the chilled mixture into a shallow freezer-safe dish. Freeze for 3 hours, stirring every 30 minutes to break up ice crystals until smooth.
- → What makes this Thai-style?
-
The inspiration comes from Thai street desserts featuring rich coconut flavors. Adding pandan extract creates an authentic twist, while mango and roasted peanuts are traditional garnishes.
- → Is this suitable for vegans?
-
Absolutely. All ingredients are plant-based, making it perfect for vegan diets. It's naturally dairy-free and gluten-free.
- → How should I store leftovers?
-
Keep in a lidded freezer-safe container for up to 2 weeks. The texture may become harder over time - simply let soften 10 minutes before serving.
- → Can I reduce the sugar?
-
You can reduce sugar slightly, but it affects texture. Sugar helps prevent ice crystals from forming, keeping the final product smooth and creamy.
