 Save
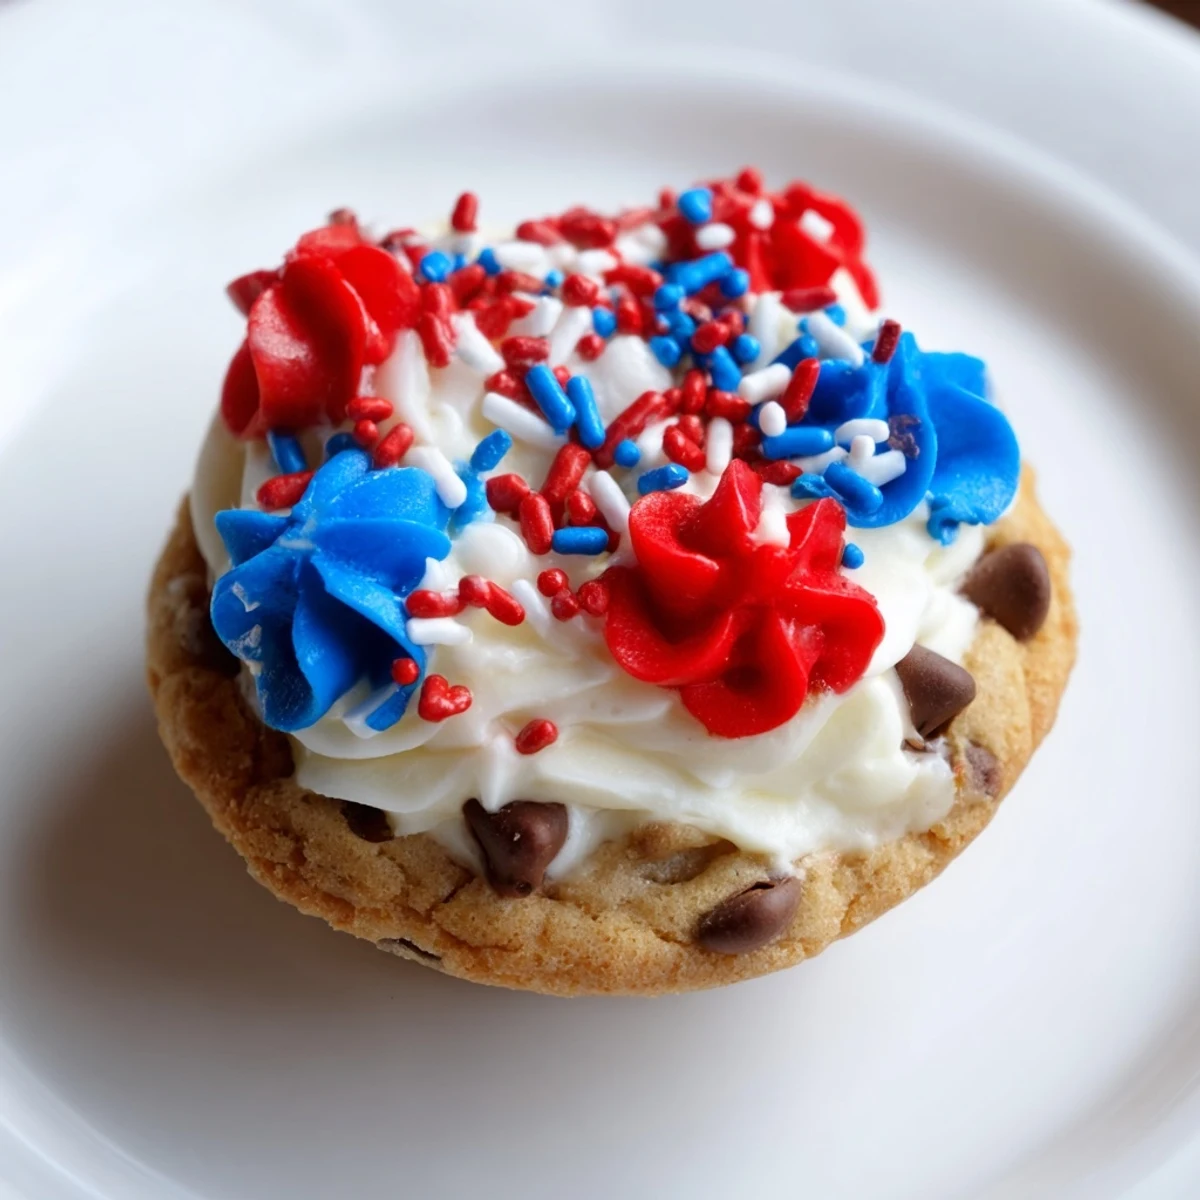
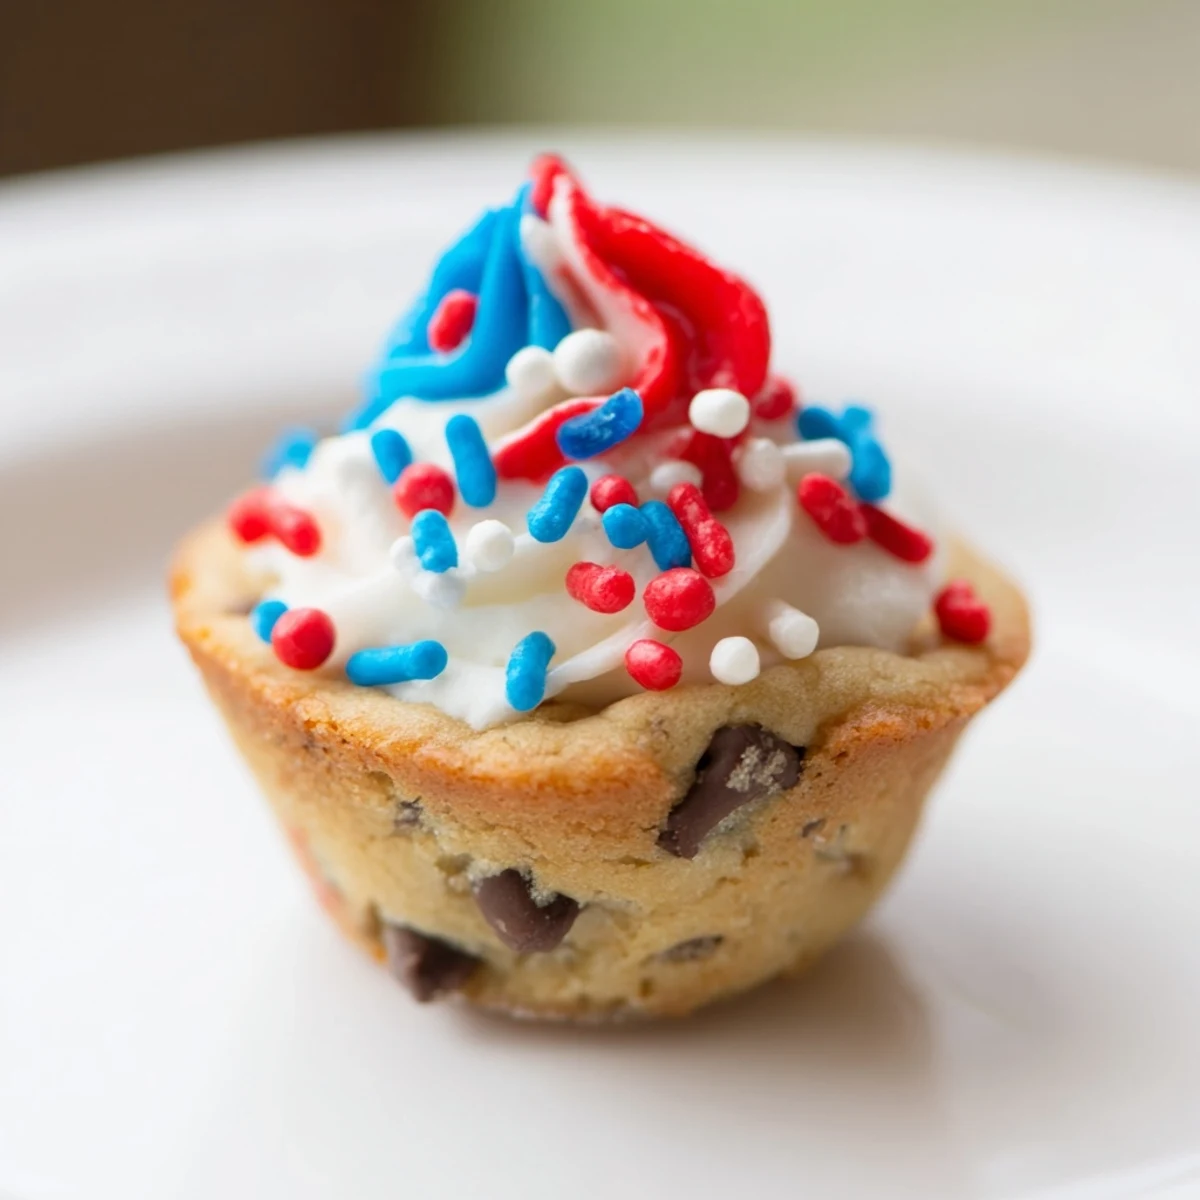
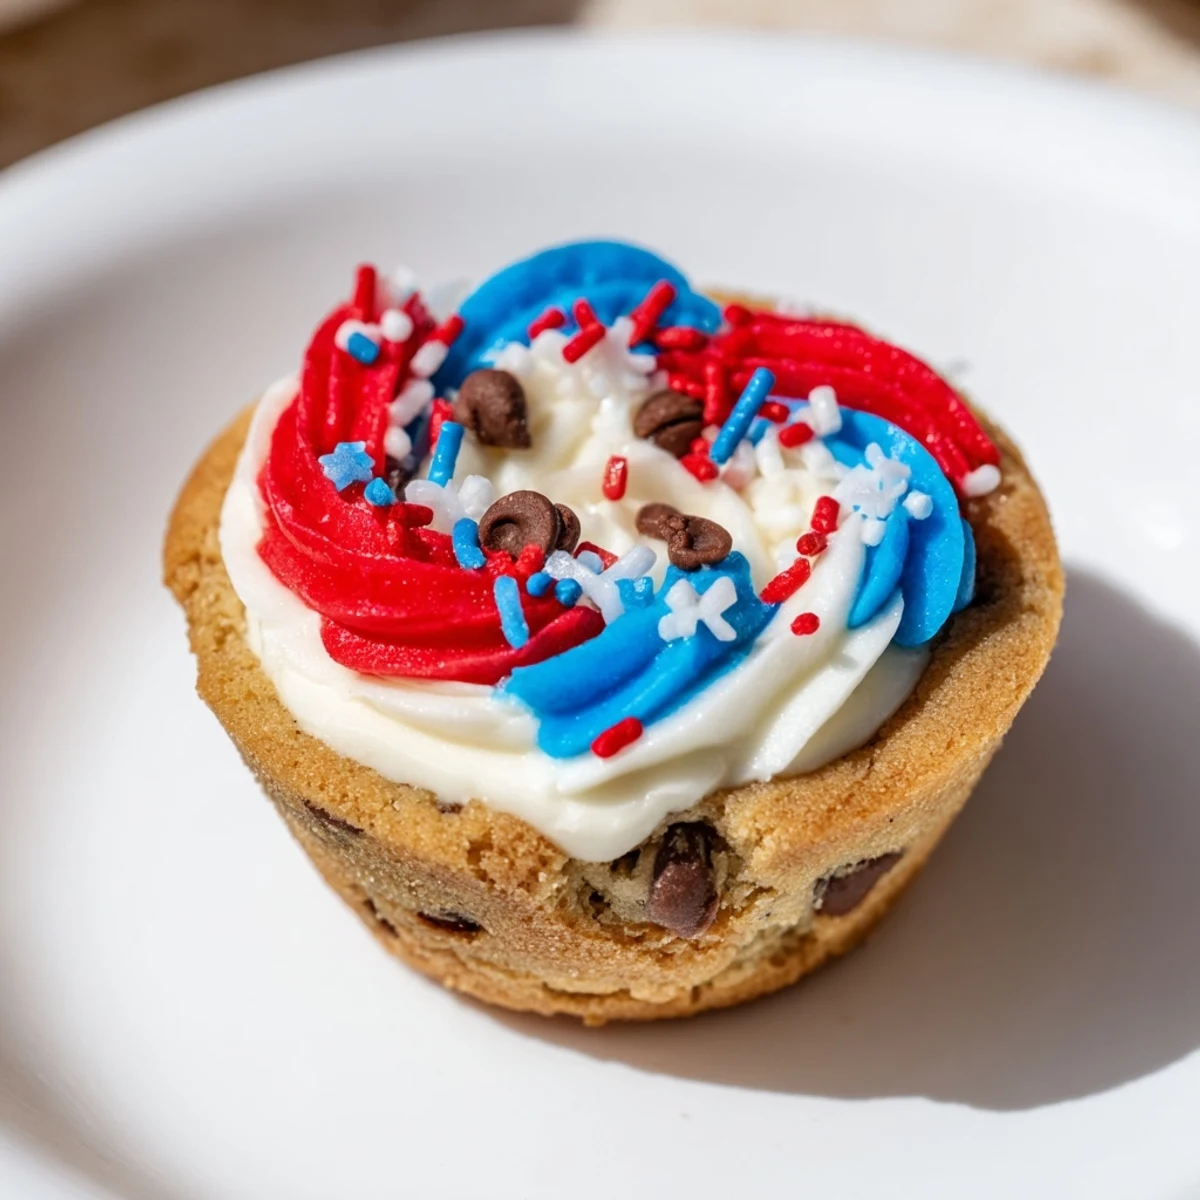
Save These festive cookie cups are filled with creamy frosting and decorated in red, white, and blue. Perfect for celebrations, they combine chocolate chip goodness with patriotic flair.
The smell of brown sugar melting into warm butter always reminds me of Fourth of July block parties where the fireworks were the only thing that could tear us away from the dessert table.
I once forgot to grease the muffin tin thoroughly and spent twenty minutes prying stubborn cookies out with a teaspoon while my guests waited impatiently in the backyard.
Ingredients
- Unsalted butter: Softening this ahead of time is crucial for a fluffy dough texture.
- Brown sugar: This adds a subtle molasses depth that white sugar alone cannot provide.
- Chocolate chips: Fold these in gently to keep them intact during mixing.
- Butter and powdered sugar: Whip these together long enough to ensure the frosting is not grainy.
- Gel food coloring: Use gel instead of liquid to avoid thinning out the frosting consistency.
Instructions
- Prepare the oven:
- Preheat your oven to 350°F and grease every well of a 24 cup mini muffin tin generously.
- Mix the dough base:
- Beat the softened butter with both sugars until the mixture turns pale and feels airy.
- Add liquids:
- Crack in the eggs one at a time and pour in the vanilla extract.
- Combine dry ingredients:
- Whisk the flour baking soda and salt in a separate bowl before slowly mixing them into the wet mixture.
- Fill the tins:
- Drop a tablespoon of dough into each cup and press it down slightly to make a shallow well.
- Bake:
- Bake for 10 to 12 minutes until the edges are just turning golden brown.
- Shape the cups:
- Press the back of a spoon into the center of each hot cup immediately after taking them out of the oven.
- Make the frosting:
- Beat the butter until smooth then gradually add powdered sugar and milk until fluffy.
- Color and decorate:
- Split the frosting into three bowls and tint two with red and blue gel before piping into the cooled cups.
 Save
Save Seeing my kids hands covered in blue and red sprinkles while they tried to sneak a taste before the party started made all the prep work worth it.
Getting the Right Texture
Do not overmix the flour or the cookie cups will turn out tough and chewy instead of tender.
Frosting Tools
A simple zip top bag with the corner snipped off works perfectly if you do not have piping bags on hand.
Serving Suggestions
Arrange these on a tiered stand to make them look like a professional dessert display.
- Chill the tray for ten minutes to set the frosting before serving.
- Sort them by color for a flag inspired pattern.
- Add a star decoration on top for extra flair.
 Save
Save Grab a napkin and enjoy these sweet bites of celebration with your friends and family.
Recipe FAQs
- → Can I use different frosting colors?
-
Yes, you can use any food coloring to match your event’s theme.
- → How do I store these cookie cups?
-
Store in an airtight container for up to 3 days.
- → Can I substitute chocolate chips?
-
Yes, swap with white chocolate or patriotic M&Ms for extra flair.
- → Do I need a piping bag?
-
No, you can spoon the frosting into the cups if you don’t have a piping bag.
- → How many cookie cups does this make?
-
This recipe yields 24 cookie cups.
