 Save
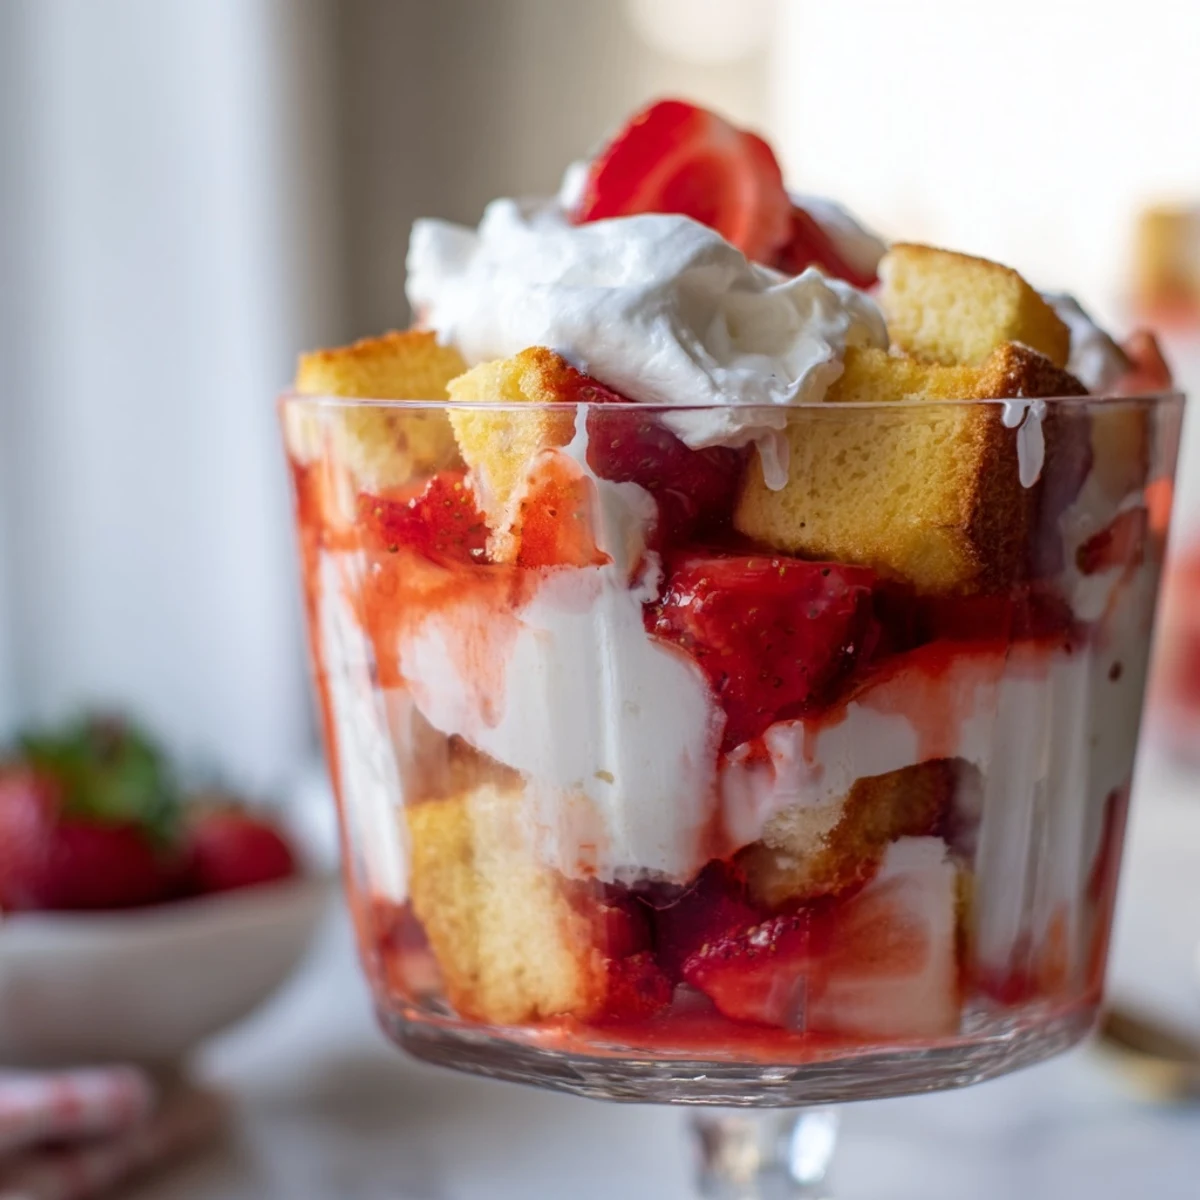
Save These elegant individual Strawberry Shortcake Trifles feature three delicious layers: tender golden shortcake cubes baked from scratch, fresh strawberries macerated with sugar and bright lemon juice until syrupy, and billowy vanilla-spiked whipped cream. Assembly takes just minutes after baking the shortcake. The contrast of textures—slightly crisp cake edges giving way to tender crumbs, juicy berries, and airy cream—creates a perfectly balanced dessert. Serve immediately for the crispest texture, or chill up to two hours before serving. The individual portions make these ideal for dinner parties, brunch buffets, or summer gatherings.
The smell of strawberries macerating on the counter always pulls me straight into a summer kitchen, windows open, radio on, nowhere else to be. I started making these trifles when I realized layering dessert in glasses makes everyone feel like they got their own personal birthday cake, no matter the occasion. They are messy, sweet, and completely disarming in the best way.
I brought a tray of these to a rooftop potluck once and watched a friend who never eats dessert go back for a second glass without saying a word. That silence, spoon scraping the bottom of the glass, was all the compliment I needed.
Ingredients
- All-purpose flour (1 1/2 cups, 190 g): The backbone of the shortcake, and honestly you do not need anything fancy here, just fresh flour.
- Granulated sugar (1/3 cup, 65 g): Keeps the shortcake tender without tipping it into sweet territory.
- Baking powder (1 1/2 tsp): Make sure yours is active, I once used a stale can and the cakes sat flat like sad little coasters.
- Salt (1/4 tsp): Just enough to make everything else wake up.
- Cold unsalted butter, cubed (6 tbsp, 85 g): Cold is nonnegotiable, those little bits of fat create the flaky tenderness.
- Heavy cream (1/2 cup, 120 ml, plus 1 cup, 240 ml): Split between the dough and the whipped topping, and always keep it cold.
- Large egg (1): Binds the dough together with the cream for richness.
- Fresh strawberries, hulled and sliced (1 lb, 450 g): Pick the ripest, reddest ones you can find because this recipe does not hide mediocre berries.
- Granulated sugar for berries (1/4 cup, 50 g): Draws out those gorgeous ruby juices.
- Lemon juice (1 tsp): A tiny splash that brightens the whole bowl of fruit.
- Powdered sugar (2 tbsp): Sweetens the whipped cream gently without graininess.
- Pure vanilla extract (1 tsp): Use the real stuff, you will taste the difference in every cloud of cream.
Instructions
- Get the oven hot:
- Preheat to 400 degrees F and line a baking sheet with parchment so the shortcake bottoms never stick.
- Cut the butter in:
- Toss flour, sugar, baking powder, and salt together, then work in the cold butter with your fingers until it looks like coarse meal with some pea sized bits remaining.
- Bring the dough together:
- Whisk the cream and egg, pour it into the dry mix, and stir just until it clumps, overworking is the enemy of tender cake.
- Shape and cut:
- Pat the dough out on a floured surface to about three quarters of an inch thick and cut small one inch pieces that will tuck neatly into your glasses.
- Bake until golden:
- Slide the tray in for 12 to 15 minutes, watching for a golden top and a kitchen that smells like butter and comfort.
- Macerate the berries:
- Toss the sliced strawberries with sugar and lemon juice, then let them sit for 15 minutes until the bowl pools with deep red syrup.
- Whip the cream:
- Beat cold cream with powdered sugar and vanilla on high speed until it holds stiff peaks and looks impossibly billowy.
- Build the trifles:
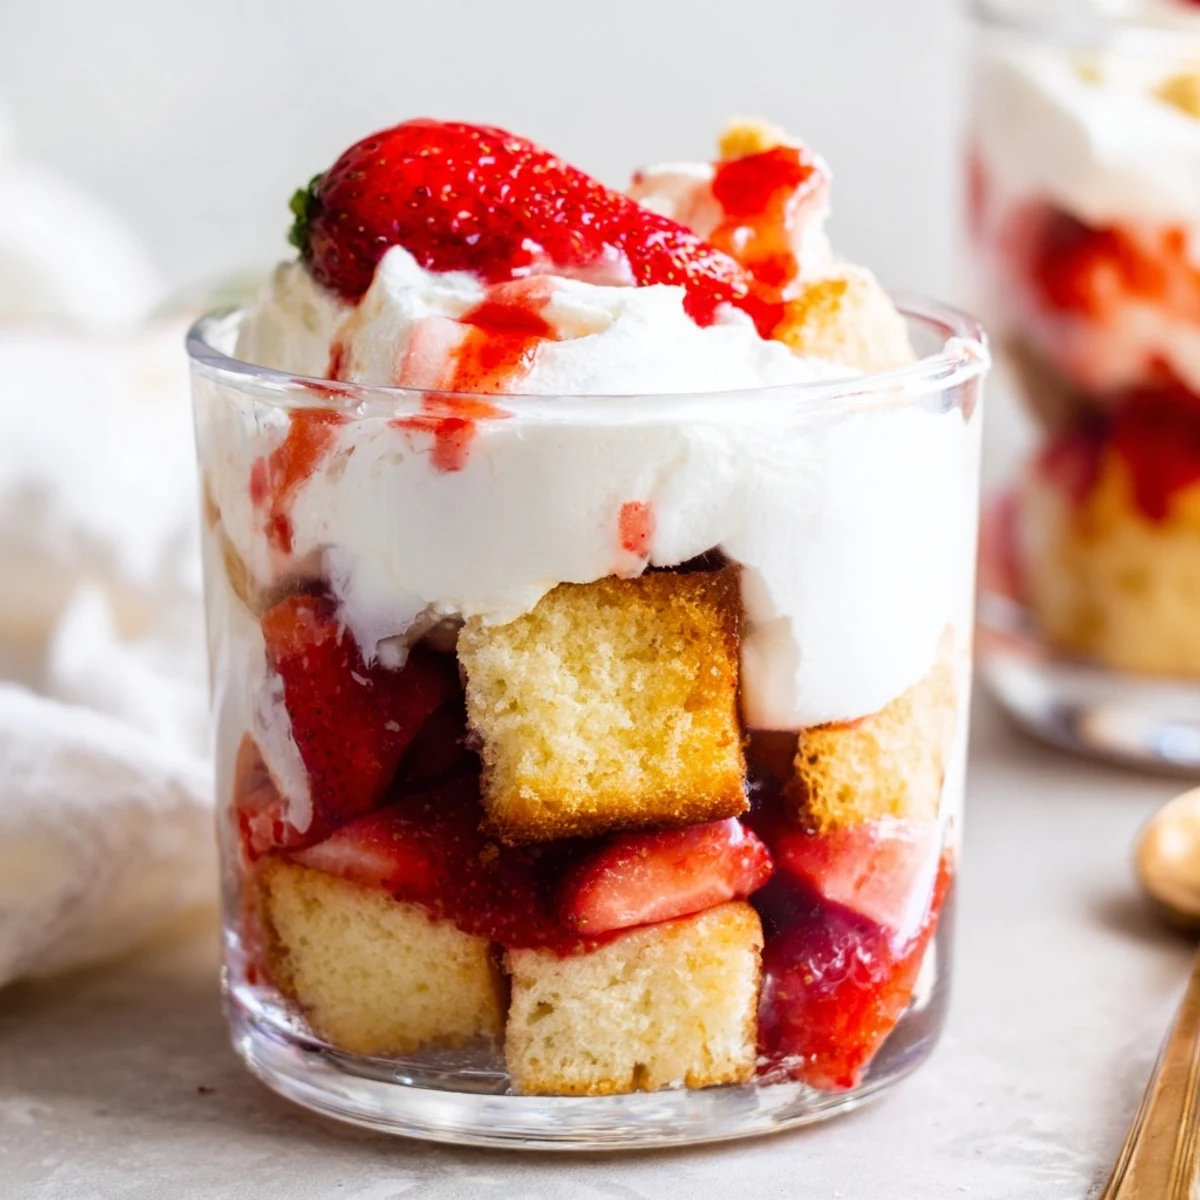
- Layer shortcake pieces, juicy strawberries, and cream in each glass, then repeat and crown with a final dollop and a few pretty slices on top.
 Save
Save Somewhere between the second and third trifle I assembled, I realized the layers never look identical and that is exactly the charm of it. Each glass becomes its own small, messy masterpiece.
Making It Your Own
A splash of Grand Marnier over the macerating strawberries turns this into something unexpectedly elegant for a dinner party. I have also crumbled store bought pound cake on a tight schedule and nobody ever guessed.
Serving and Storing
These are best eaten within two hours of assembly, when the shortcake has softened just slightly from the juices but has not dissolved. If you need to prep ahead, keep each component separate and layer at the last minute.
Garnishes and Final Touches
A sprig of fresh mint on top adds a pop of green that makes the whole glass look like it came from a bakery window.
- Toast the shortcake pieces an extra minute for more crunch contrast.
- Dust the final cream layer with a whisper of cocoa powder for depth.
- Always serve with a long spoon so nothing gets left behind at the bottom.
 Save
Save Hand someone a glass of this and watch their shoulders drop, that is the real magic of it. It is summer in a spoon, shared one layer at a time.
Recipe FAQs
- → Can I make the components ahead of time?
-
Yes! Bake the shortcake up to one day in advance and store in an airtight container. Macerate the strawberries a few hours ahead and refrigerate. Whip the fresh cream just before assembling for best texture.
- → What size serving glasses work best?
-
Use 8-10 ounce clear glasses, stemless wine glasses, or mason jars. The transparent vessels showcase the beautiful layered presentation. Six glasses allow for generous portions.
- → Can I use frozen strawberries?
-
Fresh strawberries provide the best texture and flavor. If using frozen, thaw completely and drain excess liquid before macerating. The berries will be softer but still delicious.
- → How long do assembled trifles hold up?
-
For optimal texture, serve within 2 hours of assembly. The shortcake begins softening as it absorbs berry juices. You can assemble everything except the final cream topping up to 4 hours ahead.
- → What other fruits can I use?
-
Peaches, blueberries, raspberries, or mixed berries work wonderfully. Adjust macerating sugar based on fruit sweetness. Stone fruits like peaches may need slightly longer to release juices.
- → Can I make this gluten-free?
-
Substitute the all-purpose flour with a 1:1 gluten-free baking flour blend. The texture will be slightly denser but still enjoyable. Ensure all other ingredients, particularly baking powder, are certified gluten-free.
