 Save
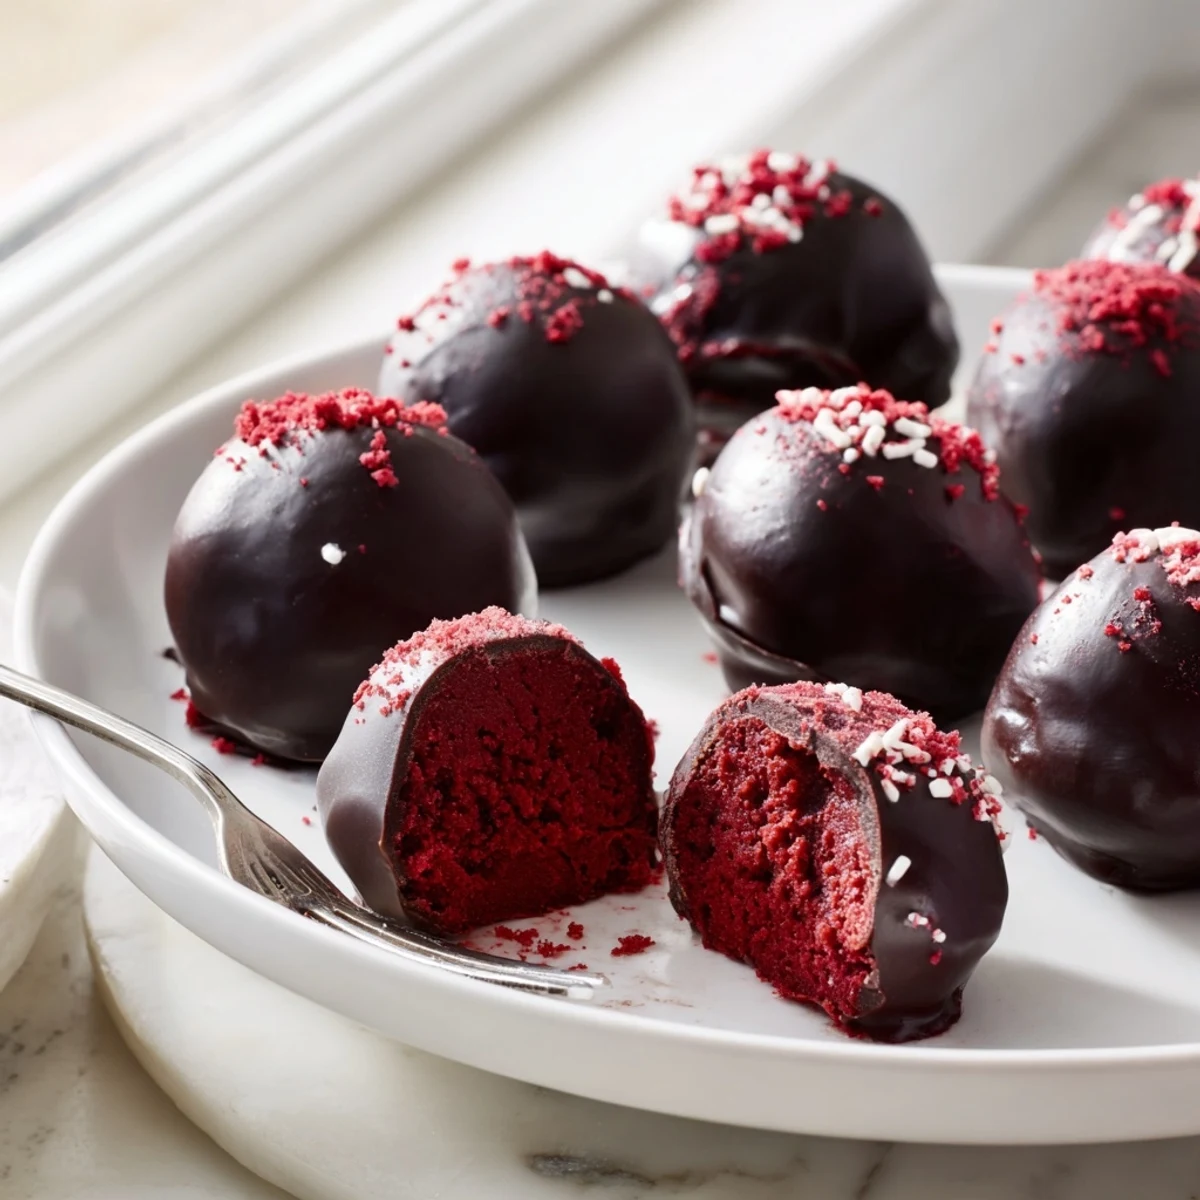
Save These decadent red velvet cheesecake balls combine the best of both worlds—moist, vibrant red velvet cake mixed with smooth, tangy cheesecake filling, all enrobed in a silky chocolate shell. Each bite delivers the perfect balance of sweetness and creaminess, making them an irresistible treat for any occasion.
The process starts with baking a simple red velvet cake from scratch, then crumbling it and combining it with a rich cream cheese mixture. After rolling into bite-sized balls and chilling, they're dipped in melted chocolate for that finishing touch. The result is 24 handheld desserts that look impressive and taste incredible.
These treats are incredibly versatile—use white chocolate for a stunning contrast, dark chocolate for intense richness, or even ruby chocolate for a unique twist. They store beautifully in the fridge or freezer, making them perfect for preparing ahead of parties, holidays, or gifting.
The smell of red velvet anything baking in the oven has this weird way of making my kitchen feel like a holiday, no matter what month it is. I stumbled onto the idea of turning leftover red velvet cake into cheesecake stuffed bites during a panicked night before a potluck where I had promised something impressive but had zero plan. These little chocolate dipped gems have since become my most requested contribution to every gathering, birthday, and random Tuesday night craving.
My neighbor Carla once watched me dip an entire batch at midnight while still in my slippers and declared it the most unhinged yet delicious thing she had witnessed all year.
Ingredients
- All-purpose flour (1 1/4 cups, 160 g): The backbone of your cake, spooned and leveled loosely to keep the crumb tender and light.
- Granulated sugar (3/4 cup, 150 g): Just enough sweetness without overpowering the cocoa and tang from the buttermilk.
- Unsweetened cocoa powder (2 tbsp, 16 g): A small amount that gives red velvet its signature subtle chocolate depth rather than full chocolate flavor.
- Baking soda (1/2 tsp) and salt (1/4 tsp): Standard leavening and seasoning that balance the chemistry of the cake.
- Buttermilk, room temperature (1/2 cup, 120 ml): The secret to that soft, velvety crumb texture, so never skip this or substitute regular milk without adding a splash of lemon juice.
- Unsalted butter, softened (1/2 cup, 110 g): Room temperature butter creams more evenly and gives you a smoother batter.
- Large eggs, room temperature (2): Cold eggs can cause the batter to seize or look curdled, so set them out early.
- Vanilla extract (1 tsp for cake, 1/2 tsp for filling): Real vanilla makes a noticeable difference here since the flavor profile is delicate.
- Red food coloring (1 tbsp): Gel coloring gives you the boldest red with the least liquid, keeping your batter thick.
- Cream cheese, softened (8 oz, 225 g): Full fat cream cheese creates the richest, most scoopable filling.
- Powdered sugar (1/4 cup, 30 g): Sweetens the filling gently without any graininess.
- White or dark chocolate, chopped or wafers (10 oz, 285 g): Melting wafers are the most foolproof option, but good quality chopped chocolate works beautifully if you temper it patiently.
- Red or white sprinkles (optional): A festive finishing touch that makes each ball look like a tiny party.
Instructions
- Bake the red velvet cake:
- Preheat your oven to 350 degrees F and grease an 8 by 8 inch pan with parchment. Whisk all your dry ingredients together in one bowl and the wet ingredients including that glorious red coloring in another, then gently fold them together until just combined. Pour the batter in, smooth the top, and bake for 18 to 20 minutes until a toothpick slides out clean.
- Whip up the cheesecake filling:
- Beat the cream cheese, powdered sugar, and vanilla in a medium bowl until silky and lump free, tasting a tiny spoonful because you deserve it. If the mixture feels too soft and sticky, pop it in the fridge for 15 minutes to firm up.
- Form the balls:
- Crumble the completely cooled cake into a large bowl with your hands, which is deeply satisfying, then add the cheesecake mixture and work it together like playdough until it forms a cohesive dough. Roll into 1 inch balls and set them on a parchment lined sheet, then freeze for a full hour until they are rock solid.
- Dip in chocolate:
- Melt your chocolate in 20 second bursts in the microwave, stirring between each, until it flows like silk. Drop a frozen ball in, roll it around gently with a fork to coat every surface, lift it out, and tap off the excess before placing it back on parchment.
- Set and garnish:
- Add sprinkles immediately while the chocolate is still wet and glossy, because it sets faster than you expect. Let them harden at room temperature or speed things up in the fridge for about 15 minutes.
 Save
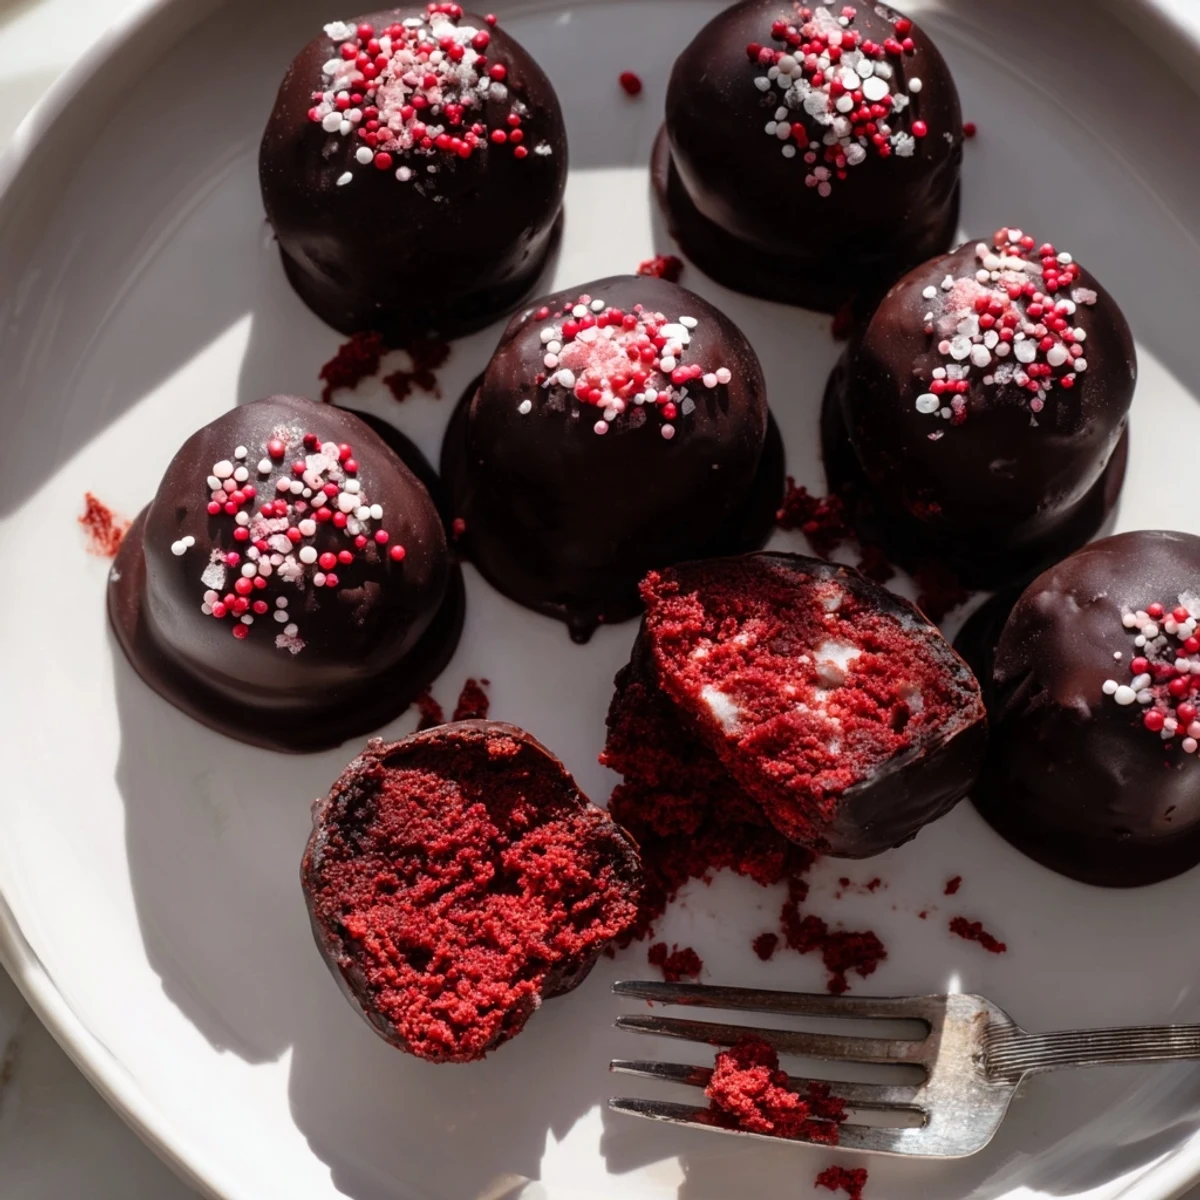
Save The moment someone bites into one of these and discovers the creamy center hiding under that crisp chocolate shell, their eyes go wide every single time.
Getting the Coating Right
Melting chocolate can be temperamental, and I learned the hard way that even a tiny drop of water will seize an entire bowl into a grainy, unusable lump.
Make Them Your Own
Ruby chocolate coating turns these into something that looks almost too pretty to eat, and a splash of Chambord or Baileys in the cheesecake filling adds a grown up warmth that surprises people.
Storing and Serving
These keep beautifully in an airtight container in the fridge for up to a week, and they actually taste better on day two when the flavors have had time to mingle.
- Freeze them in a single layer before transferring to a bag so they do not stick together.
- Let frozen balls sit at room temperature for about 10 minutes before serving so the chocolate is not too brittle.
- Always make extra because a batch of 24 sounds like a lot until people start reaching for thirds.
 Save
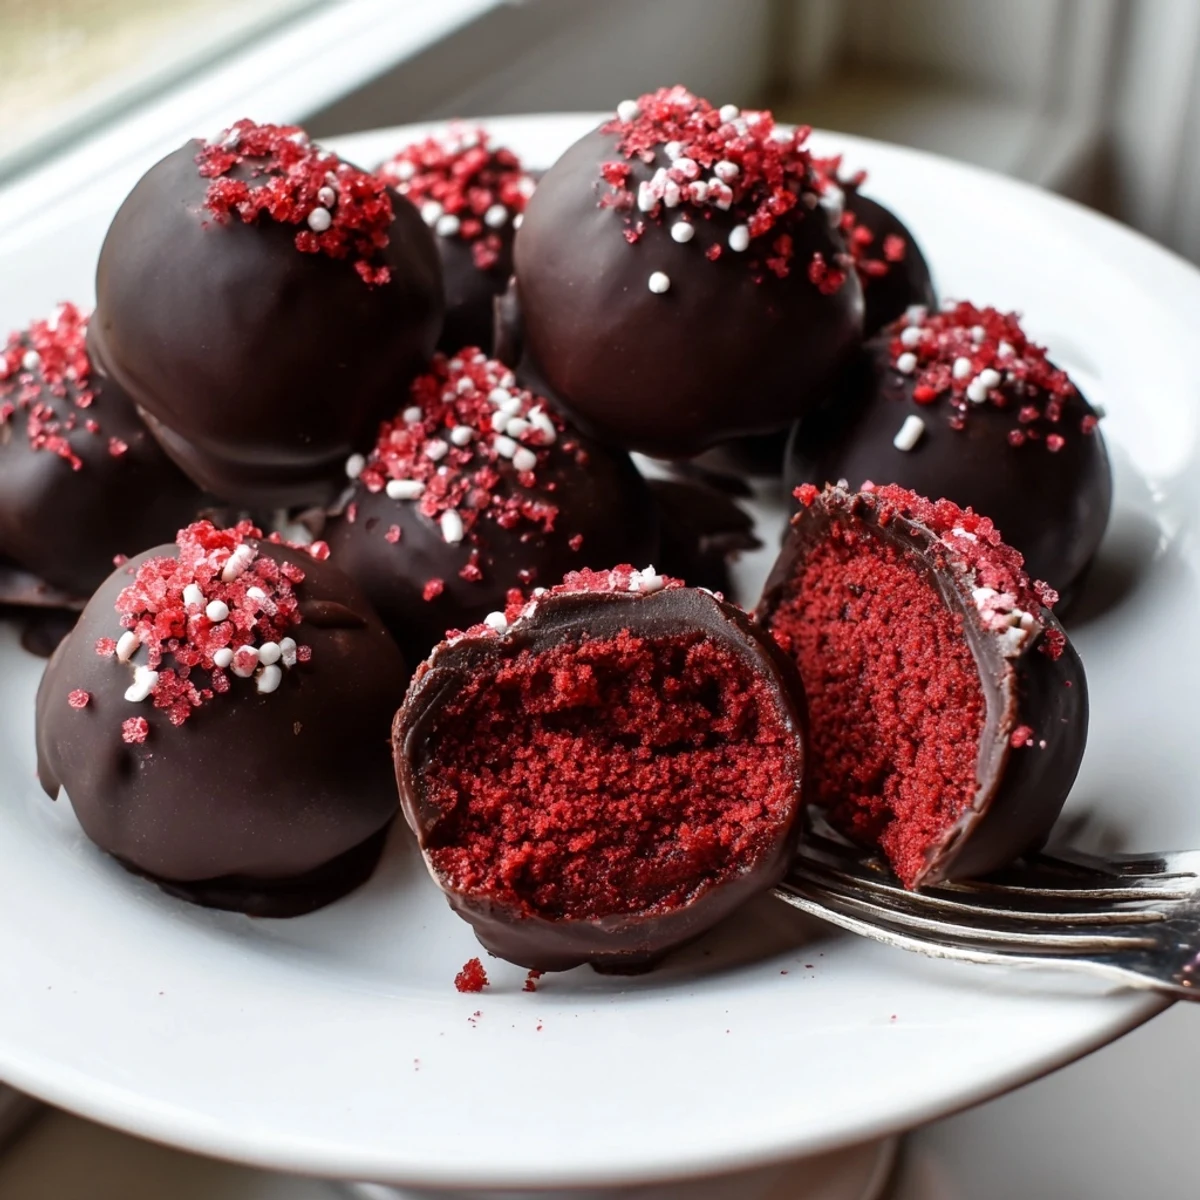
Save Every time I make these, I end up standing in the kitchen eating the ugly ones that did not dip cleanly, and honestly those imperfect ones taste the best. Share them if you must, but hide a few for yourself first.
Recipe FAQs
- → How long do red velvet cheesecake balls last?
-
These treats stay fresh in an airtight container in the refrigerator for up to one week. For longer storage, freeze them for up to one month. Place them in a single layer with parchment paper between layers to prevent sticking.
- → Can I use store-bought cake instead of homemade?
-
Absolutely. Use a boxed red velvet cake mix or even purchase a pre-made cake from a bakery. The key is crumbling it finely so it combines well with the cheesecake mixture. This shortcut saves time without sacrificing flavor.
- → What's the best chocolate for coating?
-
White chocolate creates a beautiful contrast against the red velvet, while dark chocolate adds rich depth. Chocolate melting wafers work best as they're designed for dipping and set up quickly. Avoid chocolate chips as they contain stabilizers that make coating difficult.
- → Why do my balls fall apart when dipping?
-
The mixture needs to be thoroughly chilled before dipping. If the dough is too soft, freeze for an additional 30 minutes. Also, avoid over-mixing the cake and cheesecake filling—a slightly crumbly texture helps them hold their shape better.
- → Can I make these alcohol-free?
-
Yes, the base version contains no alcohol. The note about adding liqueur is entirely optional. For family-friendly gatherings, simply omit any spirits and these treats remain just as delicious and appealing.
- → How do I prevent the chocolate from seizing?
-
Melt chocolate slowly in 20-second intervals, stirring between each. Even a drop of water can cause seizing, so ensure all utensils and bowls are completely dry. If seizing occurs, add a teaspoon of vegetable oil to restore smoothness.
