 Save
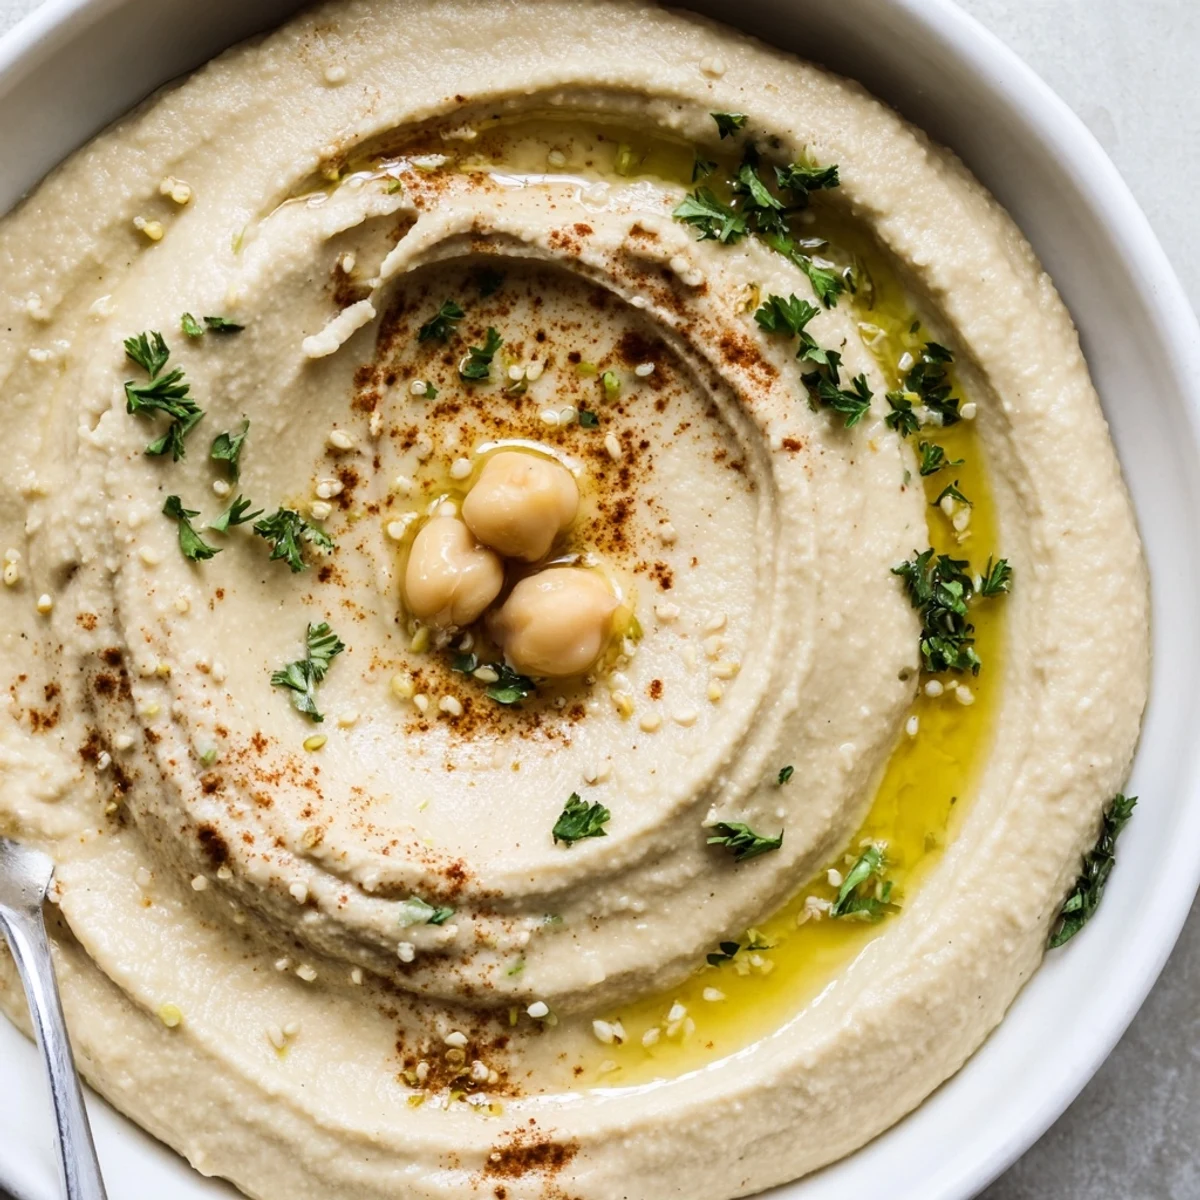
Save Smooth hummus combines cooked chickpeas with a creamy tahini-lemon base, garlic, cumin and salt. Pulse chickpeas in a food processor, gradually add cold water for a silky consistency, then drizzle in olive oil while blending to emulsify. Peel chickpeas for extra silkiness and adjust lemon, garlic or salt to taste. Serve at room temperature with a dusting of smoked paprika and chopped parsley.
The loud whir of my food processor at 11 pm on a Tuesday has become something of a ritual, because once you nail homemade hummus, the store bought tub becomes unthinkable. My neighbor once knocked on my door asking what smelled so good, and I handed her a warm pita loaded with the freshest batch straight from the bowl. That tiny kitchen in my first apartment had almost no counter space, yet somehow the food processor always had a permanent spot right next to the coffee maker. Ten minutes is all it takes to turn a can of chickpeas into something that disappears faster than you can say more please.
My friend Sara brought over a bag of carrots and three cans of chickpeas one rainy Saturday and declared we were doing a hummus taste test, pitting my version against her favorite brand from the Lebanese shop across town. We stood around my kitchen island with torn pita wedges, blind tasting each one, and even she admitted the homemade batch won. The trick, I told her, is patience with the blending and trusting the cold water trick.
Ingredients
- Chickpeas (1 can, 400 g, drained and rinsed): The foundation of everything, and rinsing them well removes the starchy liquid that can make hummus grainy.
- Tahini (4 tbsp, 60 g): A good tahini should taste nutty and pour easily, not dry or bitter, and this is where spending a little more genuinely pays off.
- Freshly squeezed lemon juice (2 tbsp): Bottled juice will flatten the flavor, so squeeze it fresh and strain out the seeds.
- Garlic (1 small clove, minced): One clove is enough to add depth without taking over, and mincing it first helps it blend evenly throughout.
- Cold water (3 tbsp, plus more if needed): This is the secret weapon for fluffiness, and adding it gradually lets you dial in the exact texture you want.
- Ground cumin (half tsp): Just a whisper of cumin rounds out the earthiness and makes the flavor feel complete rather than flat.
- Salt (three quarters tsp, or to taste): Start with less and adjust at the end, because the tahini and chickpeas already carry some sodium.
- Extra virgin olive oil (2 tbsp, plus more for drizzling): Added while blending for richness, and a generous final drizzle makes the presentation beautiful.
- Smoked paprika or ground sumac (optional garnish): A dusting of either one adds color and a subtle smoky or tangy finish that makes the bowl look restaurant worthy.
- Fresh parsley, finely chopped (optional garnish): A scattering of green brightens both the plate and the flavor.
Instructions
- Whip the tahini base:
- Drop the tahini and lemon juice into the food processor and blend for a full minute until the mixture turns pale, creamy, and visibly lighter than when it went in.
- Build the flavor layer:
- Add the minced garlic, cumin, and salt, then blend again so the seasonings weave evenly through the tahini before the chickpeas join the party.
- Blend in stages:
- Pour in half the chickpeas and blend for a minute, scraping down the sides with a spatula, then add the rest and keep going until the mixture looks almost impossibly smooth.
- Adjust the consistency:
- Add cold water one tablespoon at a time with the motor running, stopping to check after each addition, because it is easier to thin it out than to thicken it back up.
- Finish with olive oil:
- With the processor still spinning, drizzle in the olive oil slowly so it emulsifies into the hummus and gives it that luxurious, velvety finish.
- Taste and tweak:
- Stop the machine, grab a spoon, and check for salt and lemon, because every can of chickpeas is a little different and your palate is the final judge.
- Plate and garnish:
- Scoop the hummus into a shallow bowl, use the back of a spoon to create swoops and swirls, then drizzle generously with olive oil and dust with paprika or sumac and parsley before serving with warm pita or crisp vegetables.
 Save
Save There was a summer potluck where I brought a bowl of this hummus surrounded by cut vegetables and torn flatbread, fully expecting the dessert table to steal the show. By the end of the evening, someone had wiped the bowl clean with the last piece of pita and asked if I could teach them how to make it. That is the quiet power of something simple done really well.
What to Serve With It
Warm pita bread torn into rough triangles is the obvious and best choice, but I have also served this alongside roasted carrots, cucumber spears, and even spread thick on a sandwich with falafel and pickled turnips. A plate of crudités with radishes, bell peppers, and snap peas turns it into a proper snack spread without any extra cooking. For a heartier meal, spoon it under grilled chicken or alongside a big chopped salad with sumac vinaigrette.
Making It Your Own
The base recipe is a canvas, and over the years I have folded in roasted red peppers for sweetness, doubled the garlic on bold nights, and even stirred in a spoonful of harissa when I wanted heat. A handful of fresh herbs blended in at the end, think cilantro or mint, turns the color a vivid green and shifts the whole personality of the dip. Let the seasons and your pantry guide you, because hummus forgives almost every experiment.
Storage and Leftovers
An airtight container in the refrigerator keeps this hummus fresh for up to five days, though in my house it rarely lasts that long. Let it sit at room temperature for about twenty minutes before serving, because the chill mutes the flavor and firms the texture more than you want.
- Stir in a splash of water or lemon juice if it has thickened too much after refrigeration.
- Freeze individual portions in small containers for up to three months, then thaw overnight in the fridge.
- Always press plastic wrap directly onto the surface before sealing to prevent a skin from forming.
 Save
Save Keep a can of chickpeas and a jar of tahini in your pantry at all times, because you never know when the craving will hit or when an impromptu gathering will need something to nibble on. This humble dip has a way of bringing people together around the bowl, one torn piece of bread at a time.
Recipe FAQs
- → How do I get an ultra-smooth texture?
-
For a silkier finish, peel the chickpeas before blending, use a food processor or high-speed blender, and add cold water gradually while blending. Drizzling olive oil in with the motor running helps emulsify the mixture.
- → Can I use dried chickpeas instead of canned?
-
Yes. Soak and cook dried chickpeas until very tender, then proceed as usual. Cooked-from-dry chickpeas often yield a creamier mouthfeel than some canned varieties.
- → What are good garnish and serving options?
-
Finish with a drizzle of extra-virgin olive oil, a pinch of smoked paprika or sumac and chopped parsley. Serve with warm flatbread, vegetable sticks or crackers for contrast in texture.
- → How should I store leftovers?
-
Keep in an airtight container in the refrigerator for up to five days. Bring to room temperature before serving and stir in a little water or olive oil if it has thickened.
- → How can I adjust flavor balance?
-
Taste and tweak acidity with additional lemon, deepen savory notes with extra garlic or salt, and add a pinch of cumin for warmth. Small adjustments after blending yield the best balance.
- → Are there easy variations to try?
-
Stir in roasted red pepper for sweetness, extra garlic for bite, or chopped herbs for freshness. A small scoop of harissa or smoked paprika adds smoky heat.
