 Save
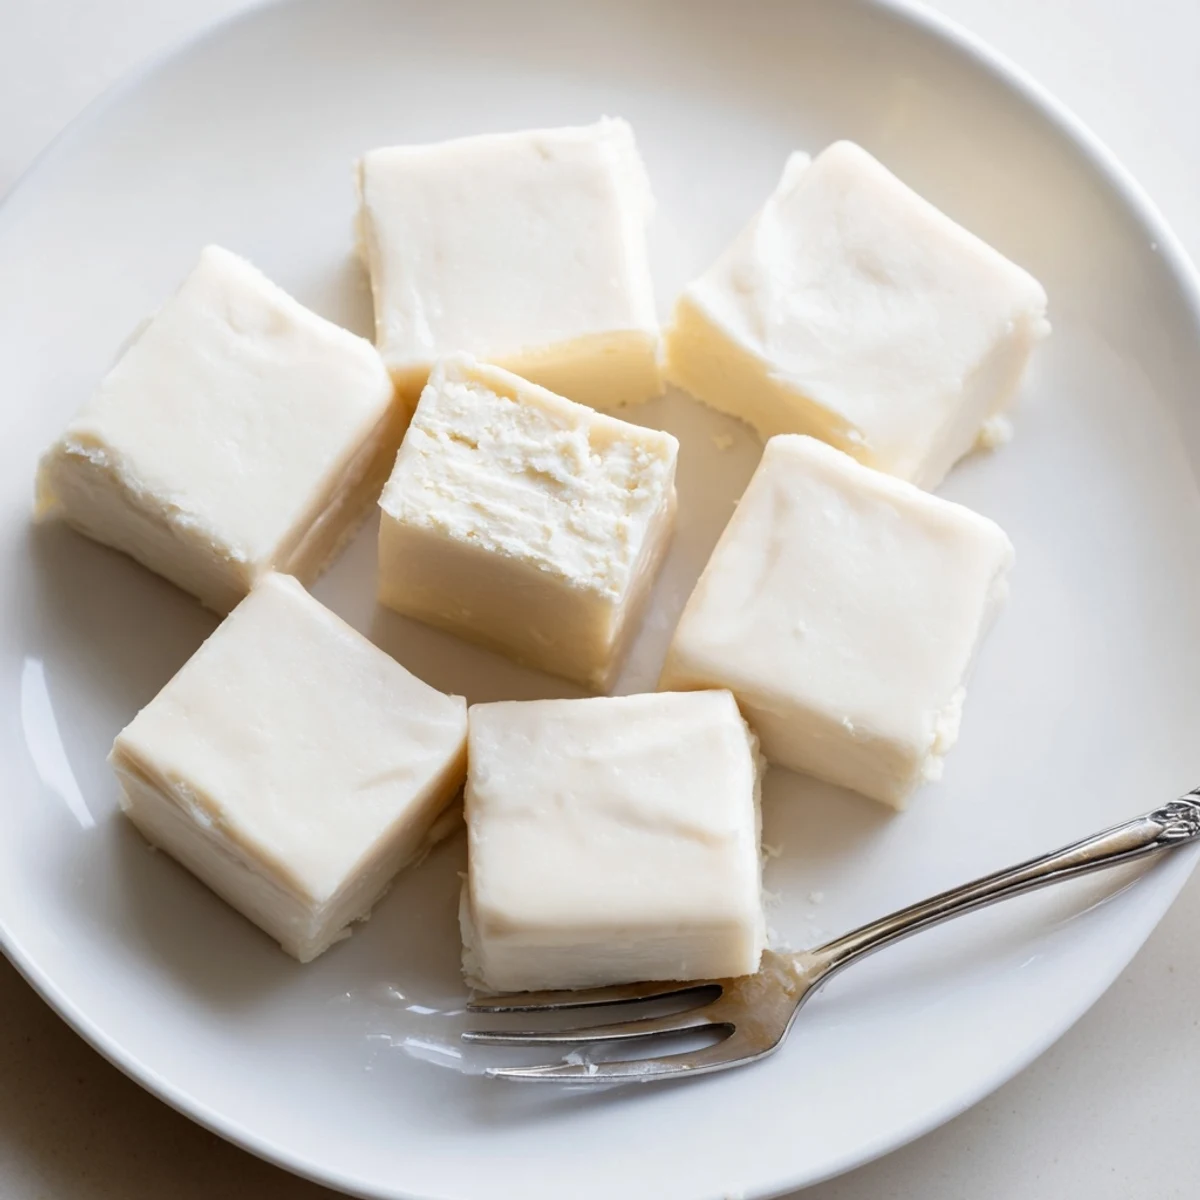
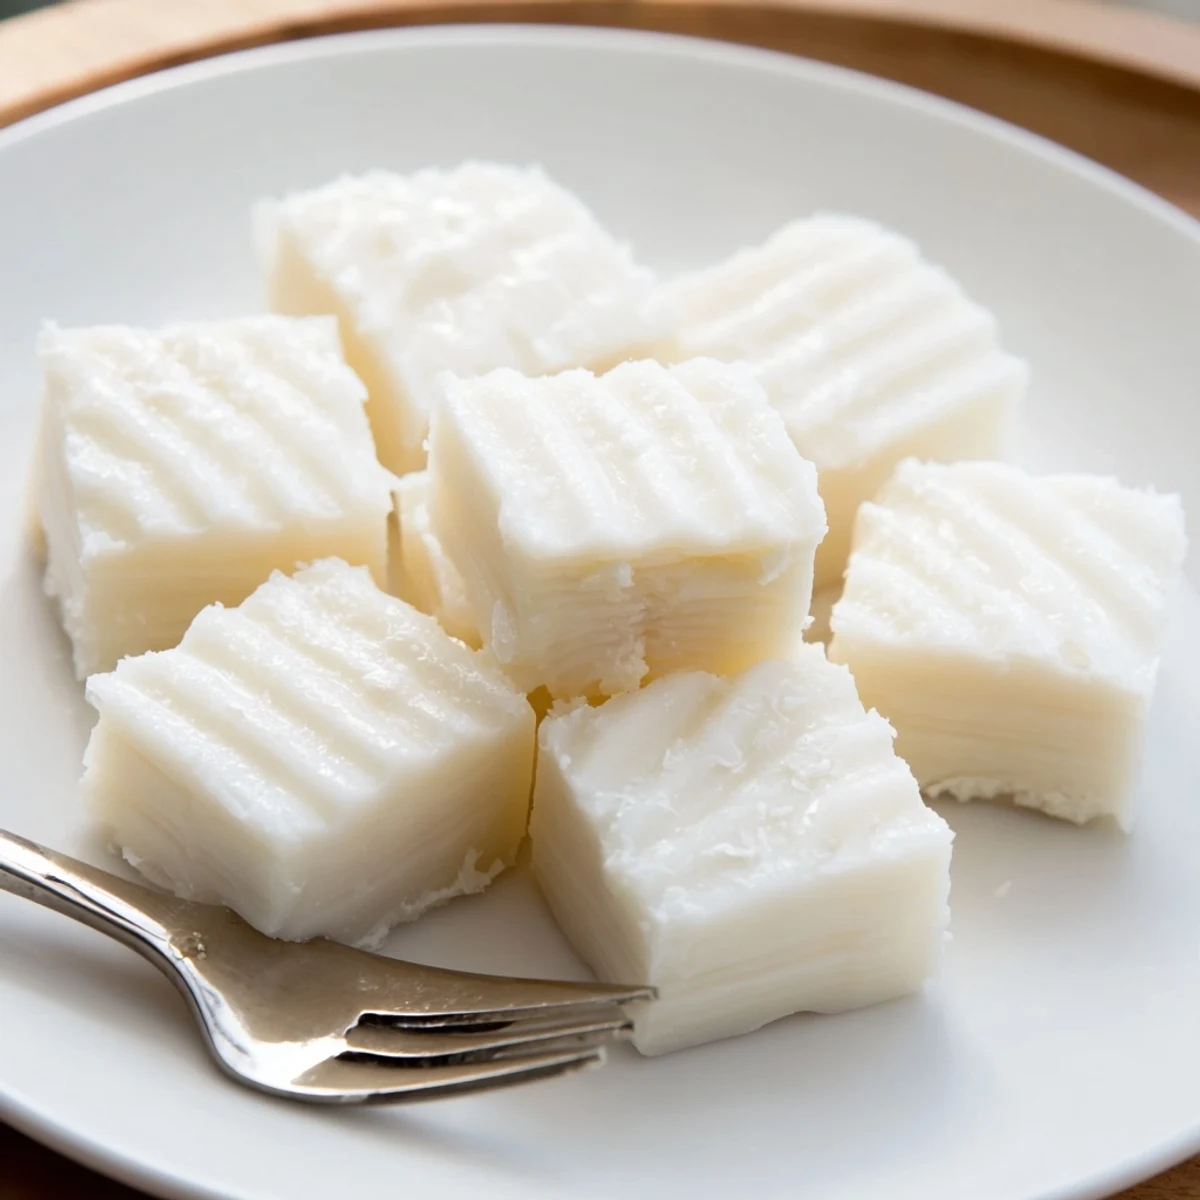
Save This old-fashioned Kentucky Cream Candy starts by gently boiling sugar with cream, milk and butter to the soft-ball stage (240°F). After cooling undisturbed to about 110°F, vigorous beating transforms the syrup into a creamy, opaque mass; then shape, cut and chill. Avoid humid days for best texture. Finish with chocolate dip or chopped pecans if wished.
The humidity in my kitchen that July afternoon should have been my first warning, but I was determined to crack the code on Kentucky Cream Candy after tasting it at a roadside shop somewhere between Louisville and Lexington. It was the kind of candy that makes you close your eyes, all silken dissolve and pure cream sweetness, and I needed to understand how three cups of sugar could transform into something so delicate. That first batch turned into a grainous mess I quietly threw away. The second batch, made on a bone dry October morning, was pure magic.
I wrapped a batch of these in wax paper and tucked them into tin containers for neighbors one December, and the lady next door actually called my mother to ask for the recipe. That phone call traveled through three relatives before it got back to me, and by then everyone in the family wanted a tin of their own.
Ingredients
- Granulated sugar (3 cups): The backbone of the candy, use fresh sugar since older bags can absorb ambient moisture and throw off your texture.
- Heavy cream (1 cup): This is what gives Kentucky Cream Candy its signature richness, so do not substitute with half and half.
- Whole milk (1/2 cup): Combines with the cream to create the perfect fat balance for that melt in your mouth finish.
- Unsalted butter (1 tablespoon): Adds a subtle roundness and helps prevent the sugar from crystallizing too aggressively.
- Salt (1/8 teaspoon): Just enough to keep the sweetness from becoming cloying, a tiny pinch that does heavy lifting.
- Vanilla extract (1 teaspoon): Added off the heat so the flavor stays bright and true rather than cooking out.
Instructions
- Prepare your surface:
- Line a 9x9 inch pan with parchment paper or butter a marble slab generously so the candy releases cleanly once set.
- Combine and melt:
- In a heavy bottomed saucepan, stir the sugar, heavy cream, milk, butter, and salt over medium heat until the butter melts completely and everything looks unified. Use a wooden spoon and keep the sides of the pan clean with a damp pastry brush if any sugar crystals cling.
- Cook to soft ball stage:
- Bring the mixture to a boil with constant stirring, then reduce the heat and let it cook undisturbed until your candy thermometer reads 240 degrees. This is the soft ball stage, and it is the whole game, so watch it like a hawk.
- Cool completely undisturbed:
- Remove from heat, pour in the vanilla extract without stirring it in, and walk away for 30 to 40 minutes until the temperature drops to 110 degrees. Even a single stir during cooling can cause premature crystallization and ruin the silkiness.
- Beat until creamy:
- Once cooled, grab your wooden spoon and beat vigorously for 8 to 10 minutes until the candy thickens dramatically, turns creamy, and loses its glossy sheen. Your arm will protest but this is where the texture is born.
- Shape and set:
- Working quickly before it firms up too much, pour or spoon the thickened candy onto your prepared surface and gently shape into logs or squares. Let it rest for 20 to 30 minutes until fully set, then cut into pieces and store airtight.
 Save
Save There is something deeply satisfying about watching a pot of sugar and cream become something otherworldly, and cutting those first perfect squares feels like a small act of alchemy.
When the Weather Matters
Candy making is one of the few kitchen pursuits where you really do need to check the forecast before you start. High humidity prevents the sugar from setting properly and can turn cream candy into a soft, weepy mess overnight, even if it looks perfect coming out of the pan. Dry, cool days are your best friend here, ideally with humidity below 35 percent. If you must make candy on a less than ideal day, run your air conditioner or a dehumidifier in the kitchen beforehand.
Adding Your Own Twist
The base recipe is a blank canvas that welcomes all kinds of additions once you feel confident with the technique. Fold in a half cup of toasted pecans or walnuts right at the beating stage for a nutty crunch that plays beautifully against the smooth cream. You can also dip fully set pieces in melted dark or milk chocolate and let them harden on parchment for a candy shop finish. A friend of mine swirls in a tablespoon of bourbon during the beating and it is extraordinary.
Storing and Gifting
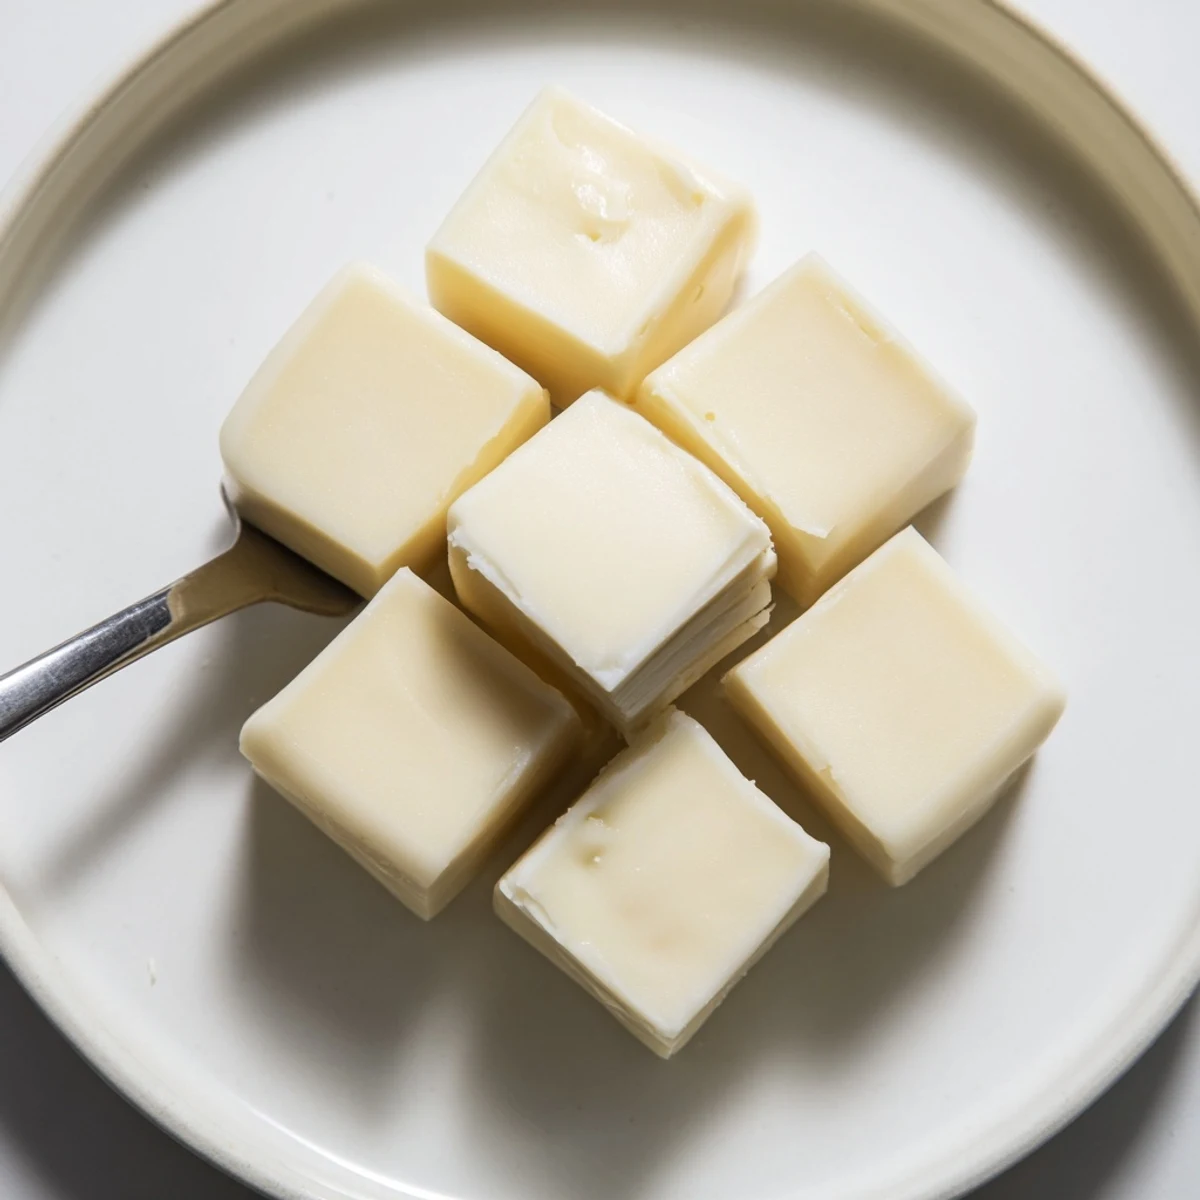
Properly stored cream candy will keep for up to two weeks at room temperature in a tightly sealed container, with layers separated by wax paper. For gifting, wrap individual pieces in small squares of wax paper and twist the ends like old fashioned penny candy. It makes a gorgeous presentation inside decorative tins or glass jars tied with kitchen twine.
- Always store candy away from direct sunlight and heat sources, which will soften and degrade the texture.
- If the candy begins to weep or soften, pop it in the refrigerator for 15 minutes to firm it back up before serving.
- Do not refrigerate long term, as condensation will make the surfaces sticky and dull.
 Save
Save Keep a batch tucked away in your pantry during the holidays and you will always have something sweet to offer unexpected guests. This candy has a quiet way of making any ordinary afternoon feel a little more special.
Recipe FAQs
- → What is the soft-ball stage and why is it important?
-
The soft-ball stage (about 240°F) ensures the sugar concentration is right so the finished candy sets with a tender, creamy texture rather than staying too soft or becoming brittle.
- → Can I skip using a candy thermometer?
-
Accurate temperature is key; if you lack a thermometer, test by dropping syrup into cold water to see if it forms a soft, pliable ball, but a thermometer gives more reliable results.
- → Why must the mixture cool undisturbed before beating?
-
Cooling without stirring lets sugar crystals begin to form evenly; beating at the right temperature then produces a smooth, opaque texture rather than a grainy one.
- → How long should I beat the mixture?
-
Beat vigorously for about 8–10 minutes until the gloss disappears and the mass thickens and holds shape; underbeating yields a sticky result, overbeating can dry it out.
- → How does humidity affect the outcome?
-
High humidity introduces moisture that prevents proper crystallization and can make the candy sticky or fail to set firmly. Aim to prepare on dry days.
- → What variations work well for flavor or texture?
-
Stir in or top with chopped pecans or walnuts for crunch, or dip finished pieces in chocolate for contrast. Vanilla is classic, but toasted nuts or a pinch of sea salt add depth.
