 Save
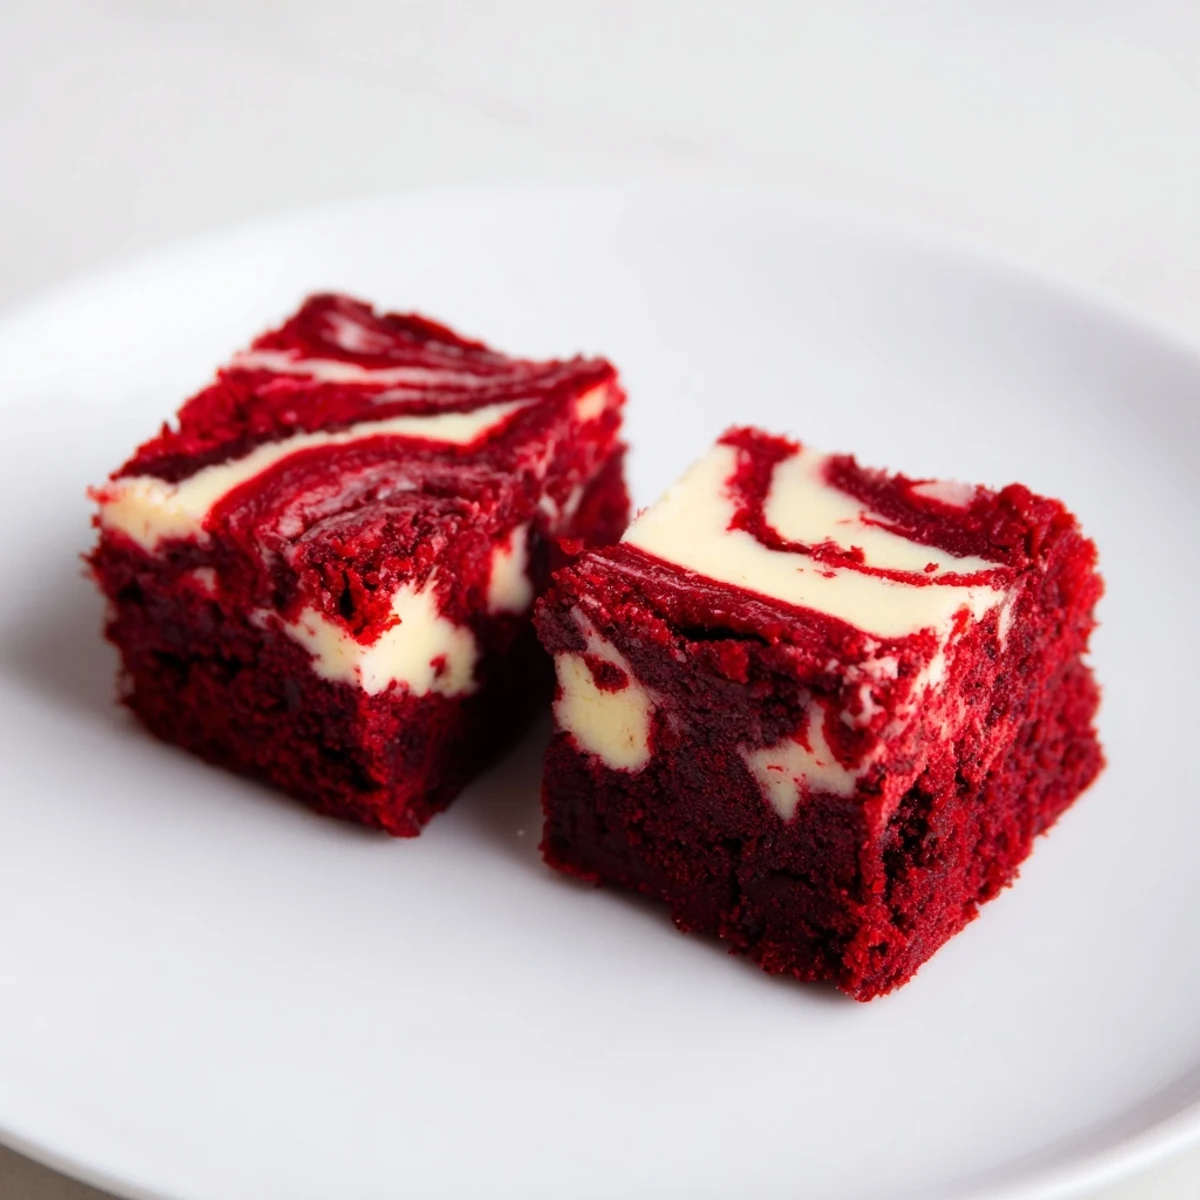
Save These decadent red velvet brownie bites combine rich, fudgy chocolate with a luscious cream cheese swirl. Ready in just 45 minutes, they yield 24 perfectly portioned treats ideal for parties, gifting, or satisfying sweet cravings. The vibrant red color and marbled cream cheese topping make them visually stunning, while the moist, tender texture ensures they disappear quickly from any dessert platter.
My college roommate used to make these for every floor gathering, and I swear people would materialize outside our door within minutes of the first batch cooling. The contrast between that velvety crimson crumb and tangy cream cheese swirl stopped conversation every single time. Now they are my go to when I need something that looks impressive but actually comes together in under an hour.
Last Christmas my niece helped me swirl the tops and got so artistic with her patterns that each brownie became its own little masterpiece. We ate the slightly messy ones right out of the pan while they were still warm and gooey. Those stolen bites might have been better than the perfectly swirled ones we actually served.
Ingredients
- Unsalted butter: Melted creates that dense fudgy texture we want in a brownie bite, salted butter throws off the balance
- Granulated sugar: Creates the crackly top and sweet foundation, do not reduce or the texture suffers
- Large egg: Room temperature eggs incorporate better and prevent that weird separated look
- Vanilla extract: Pure vanilla makes a difference here since the flavor profile is delicate
- Red food coloring: Gel gives you that dramatic velvet color with less liquid, liquid works too but might need an extra drop
- All purpose flour: Regular flour builds structure, do not pack it down or your brownies become cakey
- Unsweetened cocoa powder: Dutched cocoa gives a smoother chocolate flavor, natural cocoa works but tastes brighter
- Salt: Balances the sweetness and makes chocolate taste more chocolatey
- Cream cheese: Full fat softened to room temperature creates the silkiest swirl, cold cream cheese resists blending
- Additional sugar for swirl: Sweetens the tangy cream cheese just enough to complement without overpowering
- Egg yolk: Adds richness and helps the swirl set beautifully while baking
- Additional vanilla for swirl: reinforces the vanilla notes throughout the cream cheese layer
Instructions
- Prepare your oven and pan:
- Preheat to 350°F and line your mini muffin tin, skipping this step creates heartbreak when brownies stick forever
- Mix the brownie base:
- Whisk melted butter and sugar until they turn glossy and smooth, then add egg, vanilla, and food coloring until the color looks evenly distributed
- Combine dry ingredients:
- Sift flour, cocoa, and salt into the wet mixture and fold gently just until no streaks remain, overmixing makes them tough
- Make the cream cheese swirl:
- Beat softened cream cheese, sugar, yolk, and vanilla until completely smooth, any lumps will show up as ugly spots in your marbled tops
- Layer the batters:
- Spoon brownie batter first, about a tablespoon per cup, then drop a teaspoon of cream cheese mixture on top of each
- Create the marble effect:
- Run a toothpick through both layers in circles or figure eights, going too deep pulls brownie batter up through the cream cheese
- Bake to perfection:
- Bake 23 to 25 minutes until set with moist crumbs, underbaked centers collapse and overbaked ones lose their fudgy magic
- Cool completely:
- Let them rest in the pan 10 minutes before moving to a rack, warm brownies fall apart when you try to lift them
 Save
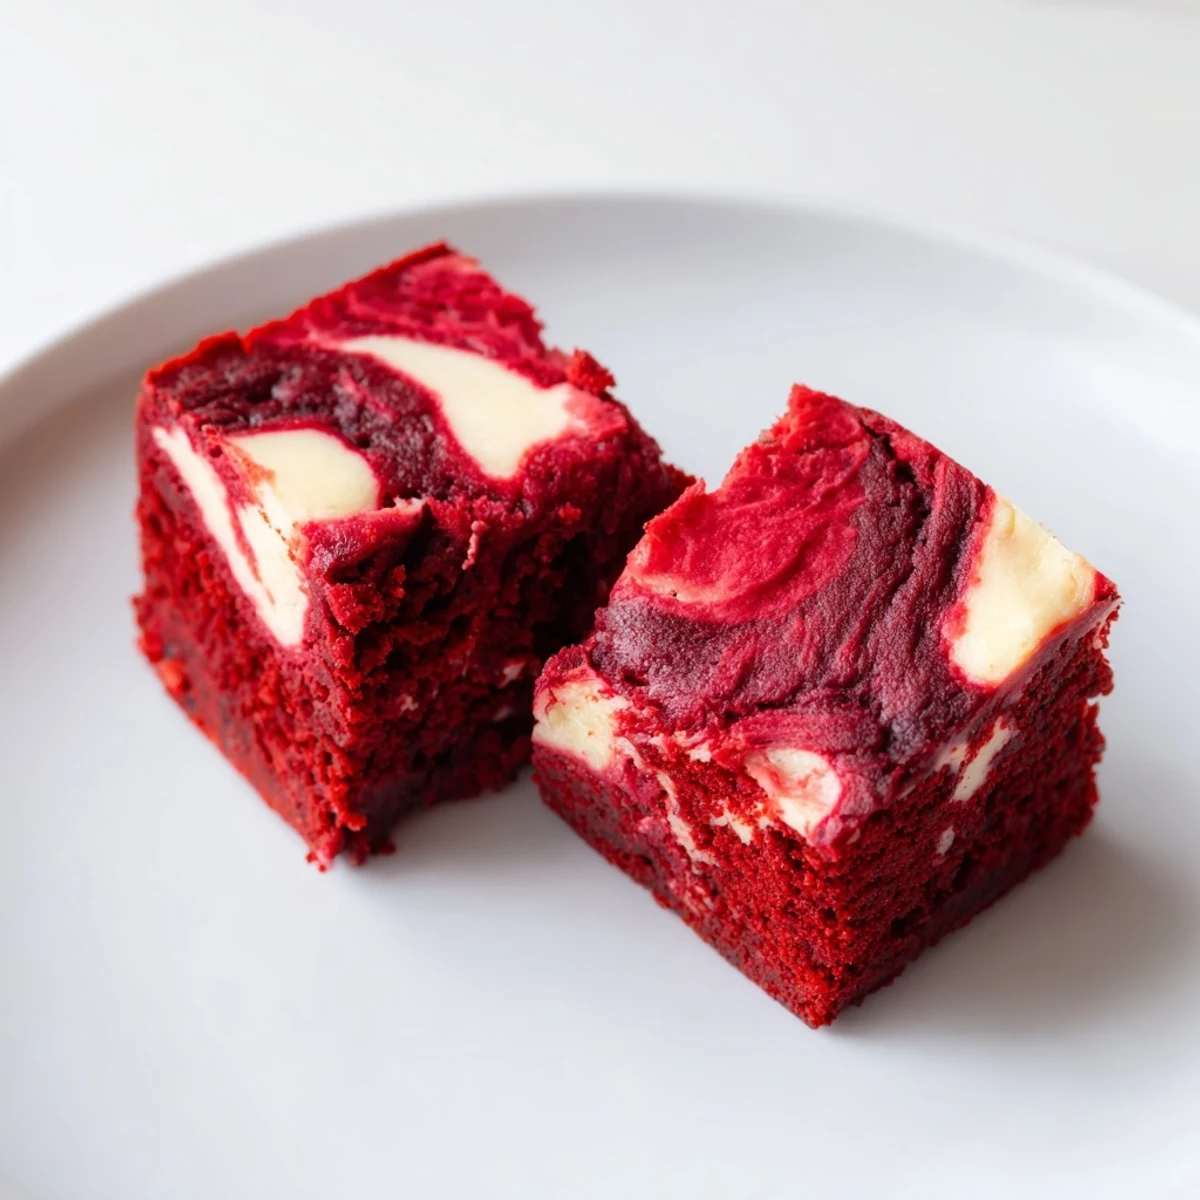
Save These became my signature contribution to book club meetings after everyone asked for the recipe three months in a row. Something about popping an entire brownie bite into your mouth makes the experience feel decadent yet portion controlled.
Getting That Perfect Swirl
I learned that swirling too enthusiastically blends the layers into an indistinct muddy color, while barely touching them leaves distinct blobs that look unfinished. A gentle figure eight motion with just three or four passes gives you that restaurant quality marbled look.
Pan Prep Matters
Paper liners make these portable and gift worthy, but greasing the pan directly gives you those crisp edges brownie purists crave. If you grease, let them cool longer before attempting to remove them or they will stick and break apart.
Storage And Make Ahead Tips
These actually taste better on day two when the flavors have had time to mingle and the texture becomes even more fudgy. Store them in the refrigerator since the cream cheese needs to stay cold, and bring to room temperature 20 minutes before serving.
- Freeze unswirled batter portions in muffin tins, then bake straight from frozen for fresh brownies anytime
- Layer between wax paper in an airtight container to prevent sticking
- These disappear faster than you expect, so consider making a double batch for events
 Save
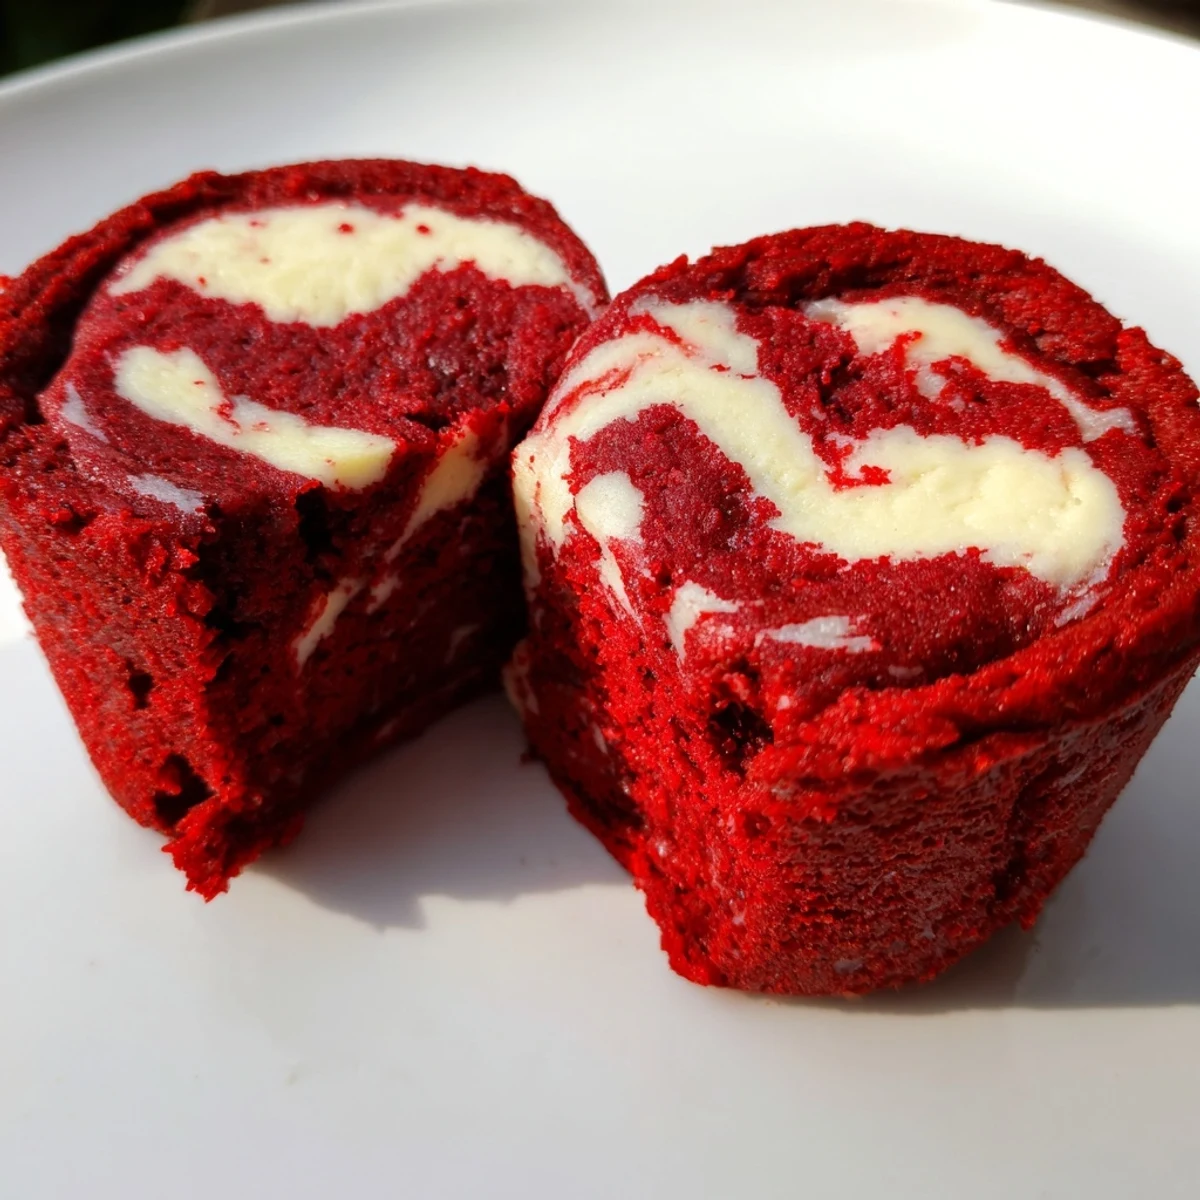
Save Watch these disappear from any party platter within minutes, and do not be surprised when people beg you for this recipe.
Recipe FAQs
- → Can I make these brownie bites ahead of time?
-
Yes, prepare them up to 2 days in advance. Store in an airtight container in the refrigerator to maintain freshness and fudgy texture.
- → What's the best way to achieve vibrant red color?
-
Use gel food coloring instead of liquid for a more intense red hue. Start with 1 teaspoon and add more until reaching desired color depth.
- → Can I freeze these brownie bites?
-
Absolutely. Freeze cooled bites in a single layer, then transfer to a freezer-safe bag. They'll keep well for up to 3 months. Thaw at room temperature before serving.
- → How do I know when the brownies are done baking?
-
Insert a toothpick into the center—it should come out with a few moist crumbs, not completely clean. This ensures fudgy texture rather than dry overbaking.
- → Can I use regular muffin tins instead of mini?
-
Yes, but baking time will increase to 25-30 minutes. You'll get fewer, larger portions—about 12 standard-sized brownies instead of 24 bites.
