 Save
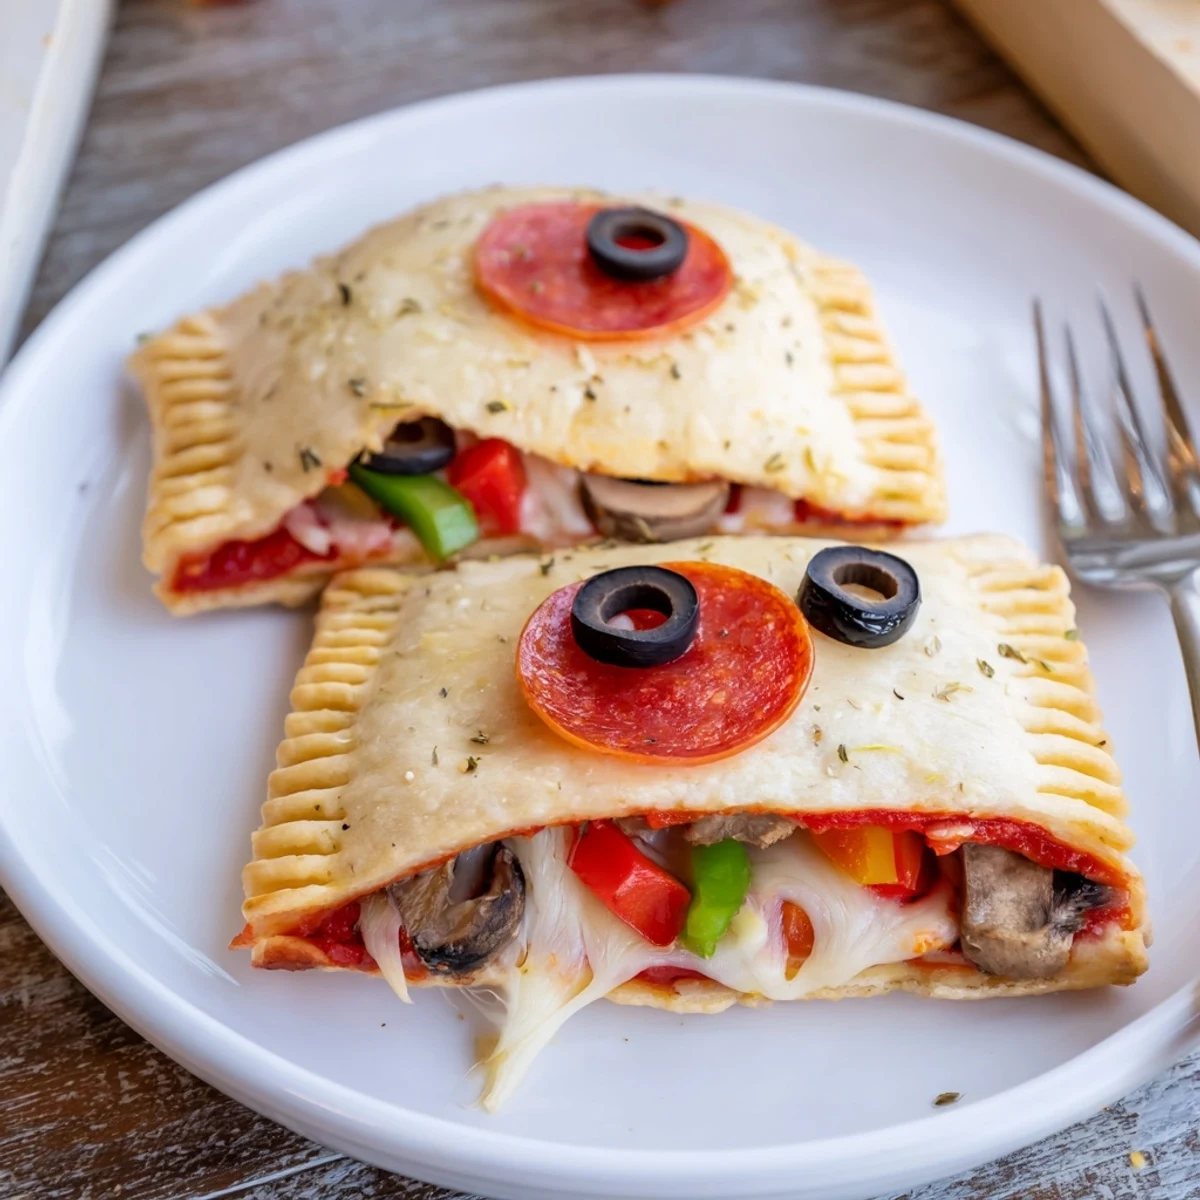
Save Quick camp or stovetop pockets: butter bread, spread pizza sauce, pile mozzarella and chosen toppings, seal in a pie iron and cook 3-4 minutes per side until golden and cheese-silky. Prep takes about 10 minutes; cook 8 minutes for four pockets.
Swap sausage, ham or fresh basil for variety. Brush with melted butter before sealing for deep brown crust. Use gluten-free bread if needed and trim edges for an even seal.
The sizzle of a blazing campfire always reminds me of the first time someone handed me one of these crispy pizza pockets, still steaming from the metal pie iron. The aroma of buttered bread and oregano mixed with hints of woodsmoke that lingered on my sweater long after. It was less about the outdoorsy magic and more about the satisfaction of gooey cheese stretching from the first bite. There’s a thrill in letting everyone assemble their own, even if the toppings end up haphazardly piled and nobody can ever wait for them to cool properly.
I made these one chilly evening in the backyard with my niece who insisted on adding every topping in arm’s length. We ended up laughing at molten cheese disasters and licking saucy fingers, realizing these pizza pockets make the best kind of summer memories. Even the neighbor’s dog hovered, hopeful for a fallen bit of pepperoni. We kept a tally for who could get the crispiest edge and declared each round a draw, every time.
Ingredients
- Bread: Soft sandwich bread works best—a day-old loaf holds up without tearing, and pressing the edges gently ensures a better seal.
- Pizza Sauce: A generous spoonful over each slice stops the pockets from drying out; I’ve swapped with pesto during basil season for a fresh twist.
- Mozzarella Cheese: Shred your own if you can—the melt is creamier, and it doesn’t clump as quickly.
- Toppings: Go wild: leftover veggies, a few slices of salami, or even a little cooked sausage. Just don’t overload or the pie iron won’t close!
- Butter: Brushing on melted butter creates that campfire crunch and helps release the pockets from the iron (plus, more flavor).
- Dried Italian Herbs: Optional, but a pinch tossed in makes it taste like a pizzeria special.
Instructions
- Warm Up the Pie Iron:
- Place the pie iron over the fire or stove for about two minutes, letting the metal heat while you prep ingredients. You’ll hear a quiet sizzle when it’s truly ready—don’t rush this step.
- Butter and Build:
- Brush one side of each bread slice with melted butter, setting aside four slices buttered side down. Spread sauce and sprinkle mozzarella, then load up on your favorite toppings before capping with the other bread, butter up.
- Seal and Trim:
- Carefully fit the sandwich inside the open pie iron, close it, and latch tight. Trim off any overhanging edges for a neat, sealed pocket; press firmly to crimp.
- Cook Over Campfire:
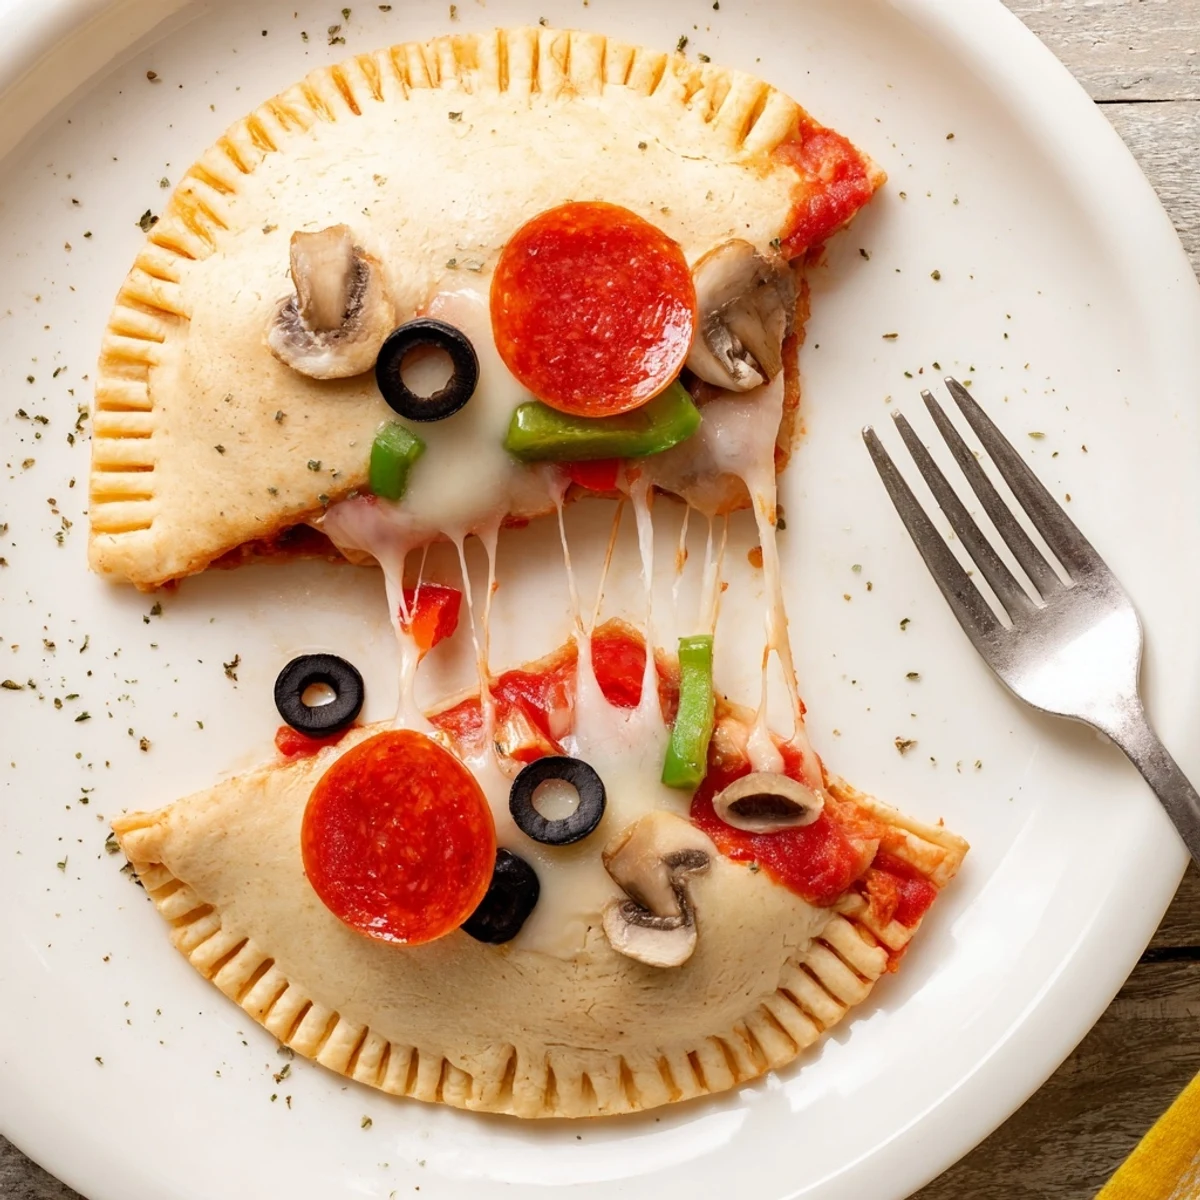
- Hold or lay the pie iron over the campfire, turning every few minutes. After 3–4 minutes per side, peek inside for that golden finish and bubbling cheese—let the aroma guide you.
- Unmold and Cool:
- Gently open the pie iron, nudge the pizza pocket out with tongs onto a plate, and let it cool slightly. The crust crisps as it sits and you’ll want that lava-hot cheese to settle before biting in.
 Save
Save One afternoon, we wrapped up a long hike and made these over glowing embers as the sun dipped low. I remember watching my friend’s skepticism melt away with that first bite, transforming a simple sandwich into pure campfire delight. Now, it’s an unspoken rule to bring the pie iron on every trip. After all, nothing beats the laughter that echoes after someone inevitably drops a hot pocket in the grass.
How to Master Even Heat Over a Campfire
The key is patience—slide glowing coals under the grate for steady, medium heat rather than hungry flames that scorch. A minute too long and the bread blackens, too little and the cheese stays stubbornly unmelted. It’s a game of angling and timing, but trust me, a gentle sizzle is the goal. If you’re unsure, open the iron and check; nobody ever complained about extra crispy edges in our group.
Swapping Toppings and Bread Without Fear
We’ve experimented far beyond classic pizza toppings: pesto and artichokes, barbecue chicken, or swapping in rye or gluten-free bread for our celiac cousins. Everyone builds their own, sometimes with truly “creative” results (let’s never speak of the Nutella-salami incident). The trick is always to keep the layers slim so the pie iron can close smoothly. There’s virtually no wrong way—just unfussy fun and delicious risks.
Serving and Sides Worth Sharing
Best served immediately, with plenty of napkins, and something bright and cold to drink. We usually pile a crisp green salad alongside to balance the richness and send the pizza pockets down with a little sparkle. If you must wait, wrap in foil to keep warm, but nothing beats them fresh off the fire.
- Let pizza pockets rest one minute to avoid molten cheese burns.
- Wipe the pie iron clean while still warm for easy cleanup.
- Serve with extra pizza sauce for happy dunking.
 Save
Save These pizza pockets have a way of turning any meal into a little celebration. They’re proof that simple food, shared outdoors or in, can be something you remember far longer than the mess it leaves behind.
Recipe FAQs
- → How long should I cook these in a pie iron?
-
Cook each pocket over medium heat about 3–4 minutes per side. Look for a deep golden crust and fully melted cheese; total cook time is roughly 8 minutes for four pockets.
- → Which bread works best?
-
Standard white or whole wheat sandwich bread gives a tender interior and crisp exterior. For sturdier pockets, use slightly firmer slices or pre-toast briefly. Gluten-free sandwich bread is a suitable swap for sensitivities.
- → How do I avoid a soggy center?
-
Use a modest amount of sauce (about 2 tbsp per slice), drain any wet toppings, and avoid overfilling. Butter the outside of the bread for a fast-browning barrier that helps keep the interior drier.
- → What topping combinations work well?
-
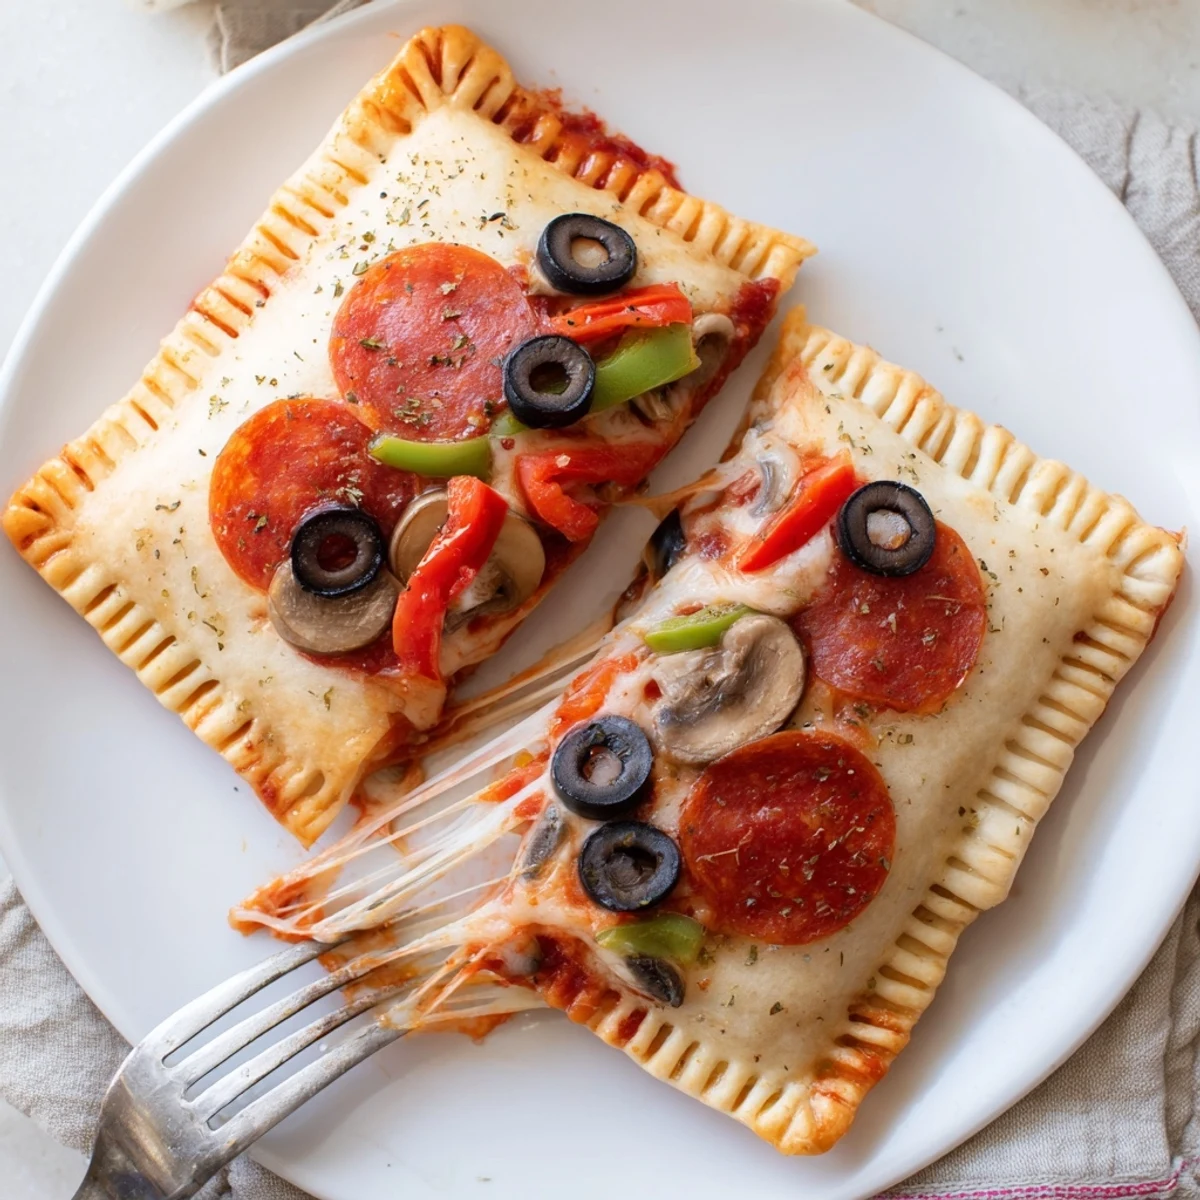
Classic pepperoni and mozzarella is reliable; try cooked sausage, ham and bell peppers, or mushrooms and olives for vegetarian options. Fresh basil added after cooking brightens the flavors.
- → Can I cook these on a stovetop instead of a campfire?
-
Yes. Heat a skillet over medium, place the closed pie iron in the pan and cook 3–4 minutes per side, or hold the pie iron above steady stovetop heat until the crust is golden and the cheese melts.
- → How should leftovers be stored and reheated?
-
Cool to room temperature, refrigerate in an airtight container up to 2 days. Reheat in a skillet or oven at 350°F (175°C) to restore crispness; avoid the microwave if you want a crunchy crust.
