 Save
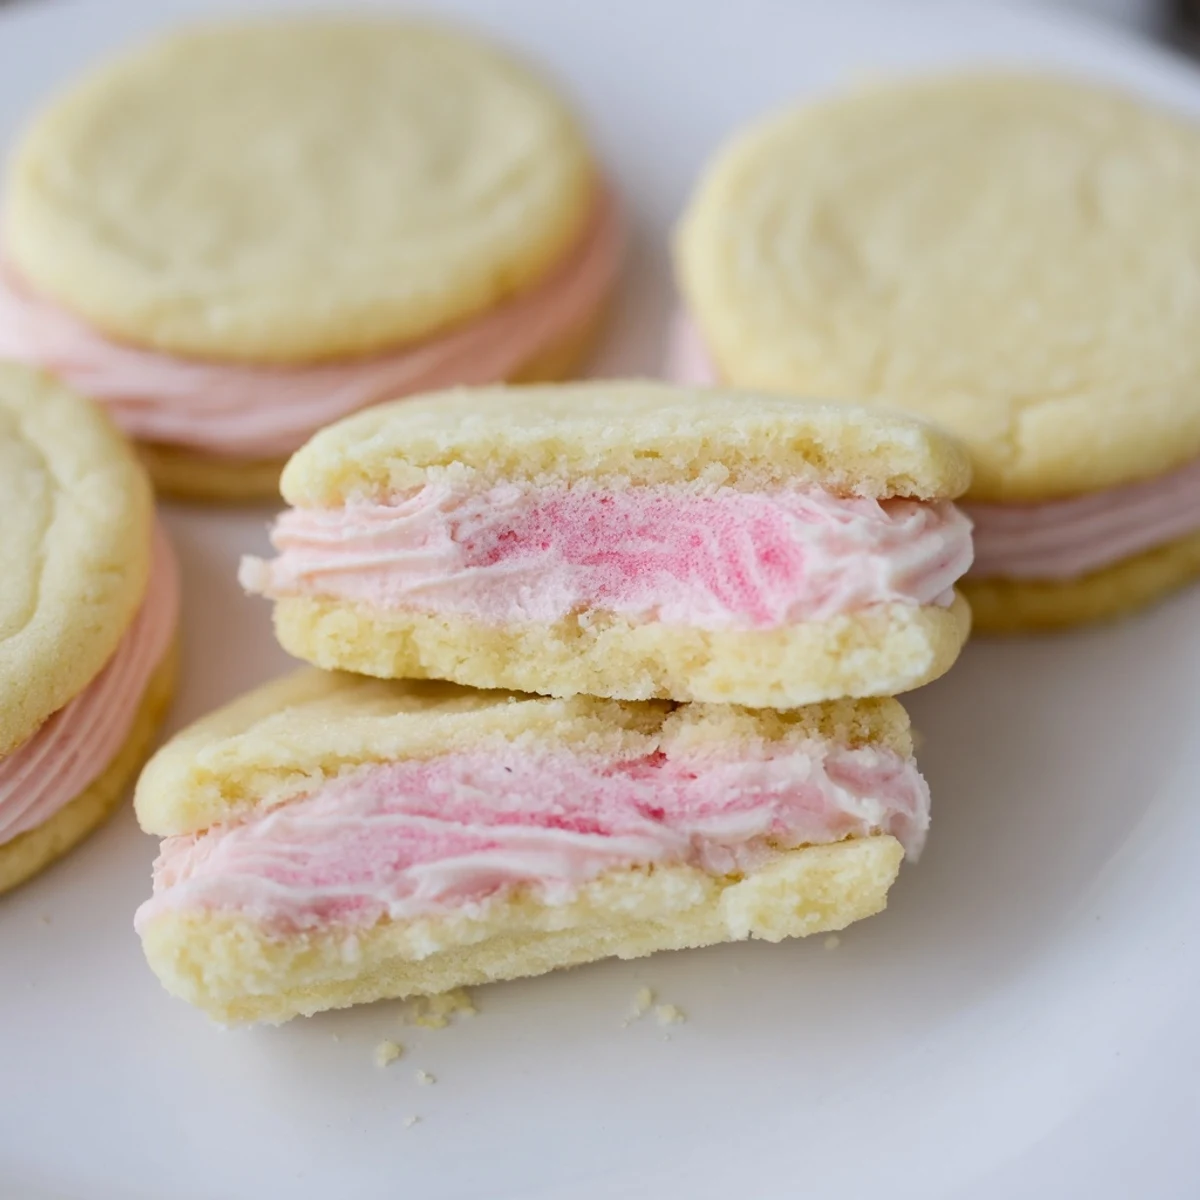
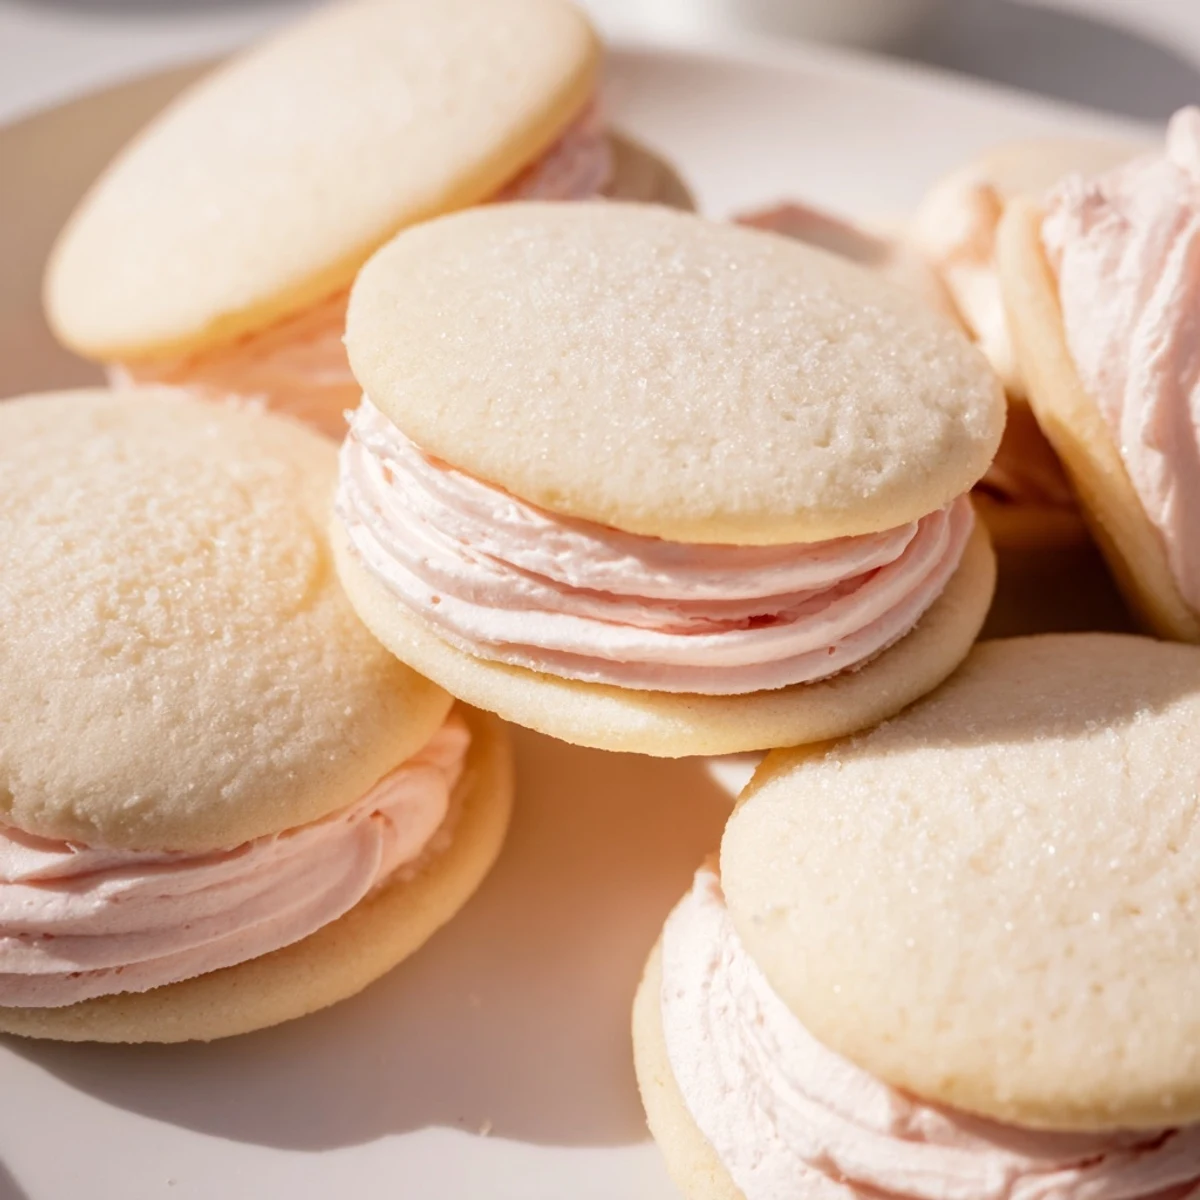
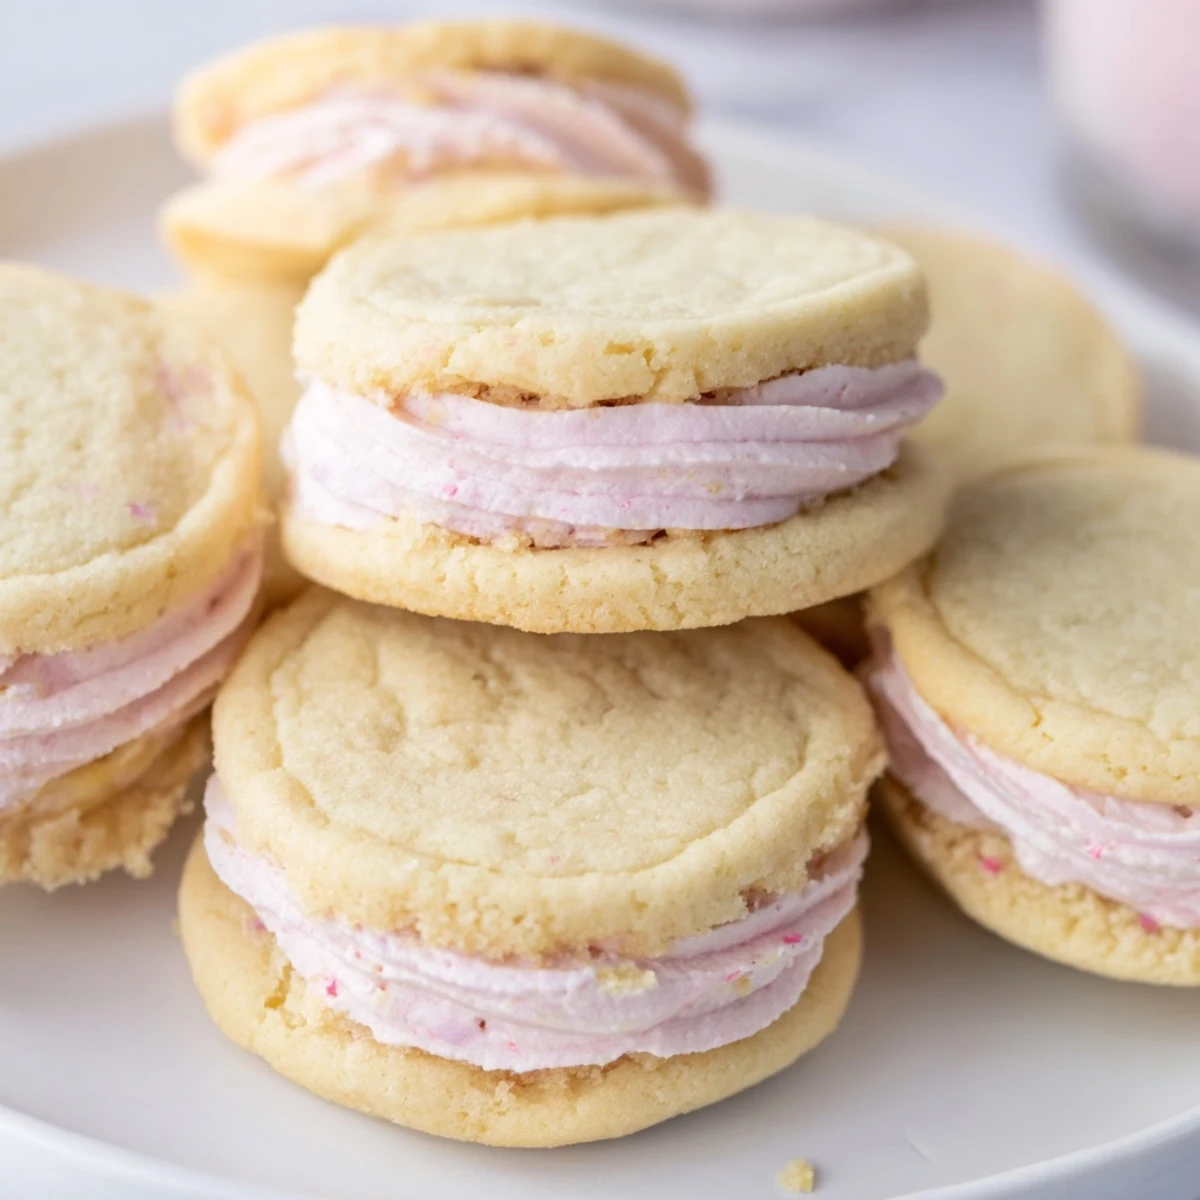
Save These delicate sugar cookies feature tender, buttery rounds sandwiched together with velvety pastel buttercream in soft shades of pink, yellow, green, blue, or purple. The dough requires chilling for easy handling, then bakes into golden edges with perfectly soft centers.
The filling whips up quickly with butter, powdered sugar, and vanilla, then gets tinted with gel coloring for those dreamy pastel hues. Assembly is simple—spread or pipe the colorful frosting between cooled cookies and let them set briefly.
Customize the look by rolling edges in pastel sprinkles, or swap vanilla for almond or lemon extract to change the flavor profile. These charming treats store beautifully at room temperature for three days, making them ideal for preparing ahead for spring gatherings, birthday parties, or elegant afternoon tea service.
The kitchen smelled like vanilla and anticipation when I first attempted these pastel sandwich cookies for my niece's spring birthday. I had this vision of dainty tea-party treats, but honestly, I was nervous about getting the colors just right without making them look like something from a cartoon. After some experimentation with gel coloring and a few too many taste tests, I found that the secret is in subtlety—a whisper of pink, a breath of mint green.
Last Easter, I made three dozen of these and arranged them on a vintage cake stand my grandmother passed down to me. My sister took one bite of the pink-filled ones and immediately asked if I could make them for her baby shower in lavender and mint. That's when I realized these cookies have this magical way of making any gathering feel special, like you've put thought into every tiny detail.
Ingredients
- 2 ½ cups all-purpose flour: The foundation of these delicate cookies. I've learned that weighing your flour gives the most consistent results, but if you're measuring by volume, fluff it first and spoon it in gently.
- ½ teaspoon baking powder: Just enough to give these cookies a subtle lift without making them too cakey or puffy.
- ¼ teaspoon salt: This tiny amount balances the sweetness and makes all the flavors sing together.
- ¾ cup unsalted butter, room temperature: Use real butter here. The flavor difference is worth it, and room temperature butter incorporates beautifully for that tender texture.
- 1 cup granulated sugar: This creates the classic sugar cookie taste while still letting the vanilla shine through.
- 1 large egg: Bind everything together and add structure. I always use room temperature eggs for better incorporation.
- 1 teaspoon pure vanilla extract: Never skip the vanilla. I use pure extract because imitation just doesn't have that warm, comforting depth.
- ½ cup unsalted butter for buttercream: Again, room temperature is non-negotiable here for that silky smooth consistency.
- 2 cups powdered sugar, sifted: Sifting is crucial. I learned this the hard way when I ended up with lumpy buttercream and had to start over.
- 1 ½ tablespoons milk: Adjust this based on your desired consistency. Sometimes I need a tiny bit more on humid days.
- 1 teaspoon pure vanilla extract: Because you can never have too much vanilla in a buttercream filling.
- Pinch of salt: Just enough to cut through the sweetness and add dimension.
- Pastel gel food coloring: Gel coloring is so much better than liquid. It won't thin out your buttercream, and a tiny bit goes a long way.
Instructions
- Whisk the dry foundation:
- In a medium bowl, combine the flour, baking powder, and salt with a whisk. This ensures everything is evenly distributed before it meets the wet ingredients.
- Cream butter and sugar:
- Beat the butter and sugar on medium speed for 2 to 3 minutes until it's pale and fluffy. Don't rush this step. That airiness is what makes these cookies so tender.
- Add egg and vanilla:
- Mix in the egg and vanilla extract until everything is well combined. Scrape down the sides of the bowl to catch any pockets of flour.
- Bring dough together:
- Gradually add the dry ingredients, mixing just until you no longer see streaks of flour. Overmixing at this stage can make your cookies tough.
- Chill the dough:
- Divide the dough in half, flatten each piece into a disc, wrap tightly in plastic, and refrigerate for at least 30 minutes. This step is essential. It prevents the cookies from spreading too much in the oven.
- Prepare for baking:
- Preheat your oven to 350°F and line two baking sheets with parchment paper. I do this while the dough chills so everything is ready to go.
- Roll and cut:
- On a lightly floured surface, roll one disc of dough to ¼ inch thickness. Cut out rounds with a 2-inch cookie cutter and place them 1 inch apart on your prepared sheets.
- Bake to perfection:
- Bake for 8 to 10 minutes until the edges are just beginning to turn golden. Let them cool on the sheets for 2 minutes before transferring to a rack. They'll firm up as they cool.
- Make the buttercream:
- Beat the butter until creamy, then slowly add the powdered sugar, milk, vanilla, and salt. Beat until smooth and fluffy, about 2 to 3 minutes.
- Create pastel magic:
- Divide the buttercream into small bowls and tint each with a different pastel color. Start with a tiny amount of gel coloring. You can always add more.
- Assemble the sandwiches:
- Spread or pipe buttercream onto the flat side of half the cookies. Top with remaining cookies, pressing gently. The contrast of colors peeking out is just lovely.
- Let them set:
- Allow the assembled cookies to sit for about 20 minutes so the buttercream firms up slightly. This makes them easier to handle and serve.
 Save
Save My daughter helped me decorate a batch last weekend, and she was so proud of her uneven swipes of green buttercream. We sat at the kitchen table with two mismatched mugs of tea, eating the slightly crooked ones first, and I realized that's what baking is really about. Not perfection, but those small moments of connection over something sweet you made together.
Getting That Perfect Pastel
The trick to sophisticated pastel colors is using gel food coloring and adding it gradually. I dip a toothpick into the gel and swirl it into the buttercream, mixing well before deciding whether to add more. It's better to build up the color slowly than to overshoot and end up with something that looks more circus than spring garden. For the most cohesive look, I like to create a color palette that feels intentional—maybe soft pink, mint green, and butter yellow for Easter, or lavender, pale blue, and blush for a baby shower.
Make-Ahead Magic
These cookies are actually fantastic for making ahead of time, which is why I love them for entertaining. The cookie dough discs can be wrapped and frozen for up to a month. Just thaw them in the refrigerator overnight before rolling and baking. The undecorated baked cookies will keep in an airtight container for two days. Fill them the day of your event for the freshest taste and texture. The buttercream can also be made 2 to 3 days ahead and stored in the refrigerator. Just bring it to room temperature and give it a quick whip before using.
Serving Suggestions
I love serving these on a pretty cake stand or arranged on a vintage plate with doilies. They're perfect for afternoon tea, baby showers, bridal showers, or any spring celebration. I've also packed them in clear treat bags tied with pastel ribbon as party favors. One Easter, I placed a different color cookie at each place setting, and guests loved finding out which color they got.
- Try rolling the edges of the assembled sandwiches in pastel sprinkles for extra flair and texture
- A squeeze of lemon juice in the buttercream creates a lovely bright flavor that pairs beautifully with the pastel theme
- If you want to get fancy, pipe the buttercream in a swirl pattern before sandwiching the cookies together
 Save
Save There's something so satisfying about biting into these cookies and seeing that pretty line of pastel buttercream peeking out. I hope they bring as much joy to your table as they've brought to mine.
Recipe FAQs
- → How far in advance can I make these?
-
The dough can be prepared and chilled up to 2 days before baking. Once assembled, the cookies stay fresh in an airtight container at room temperature for up to 3 days, making them perfect for preparing ahead of time for events.
- → Can I freeze these cookie sandwiches?
-
Yes, freeze the assembled cookies in a single layer on a baking sheet until firm, then transfer to a freezer-safe container. They'll keep well for up to 2 months. Thaw at room temperature for 1-2 hours before serving.
- → Why does the dough need to chill?
-
Chilling firms up the butter in the dough, preventing the cookies from spreading too much while baking. It also makes the dough easier to roll out and cut into clean shapes without sticking to your rolling pin or counter.
- → Can I use liquid food coloring instead of gel?
-
Liquid coloring will work but may alter the buttercream's consistency, making it softer or potentially curdling. Gel coloring provides concentrated color without adding extra liquid, keeping the frosting stable and pipeable.
- → What size cookie cutter works best?
-
A 2-inch round cutter creates perfectly portioned sandwiches that are easy to eat in 1-2 bites. Larger 3-inch cutters work too—just expect fewer total sandwiches and consider increasing the filling amount slightly.
- → How do I know when the cookies are done baking?
-
Look for edges that are just beginning to turn golden while the centers remain pale. The cookies should be set but still soft to the touch. They'll firm up as they cool on the baking sheet, so avoid overbaking to maintain their tender texture.
