
 Save
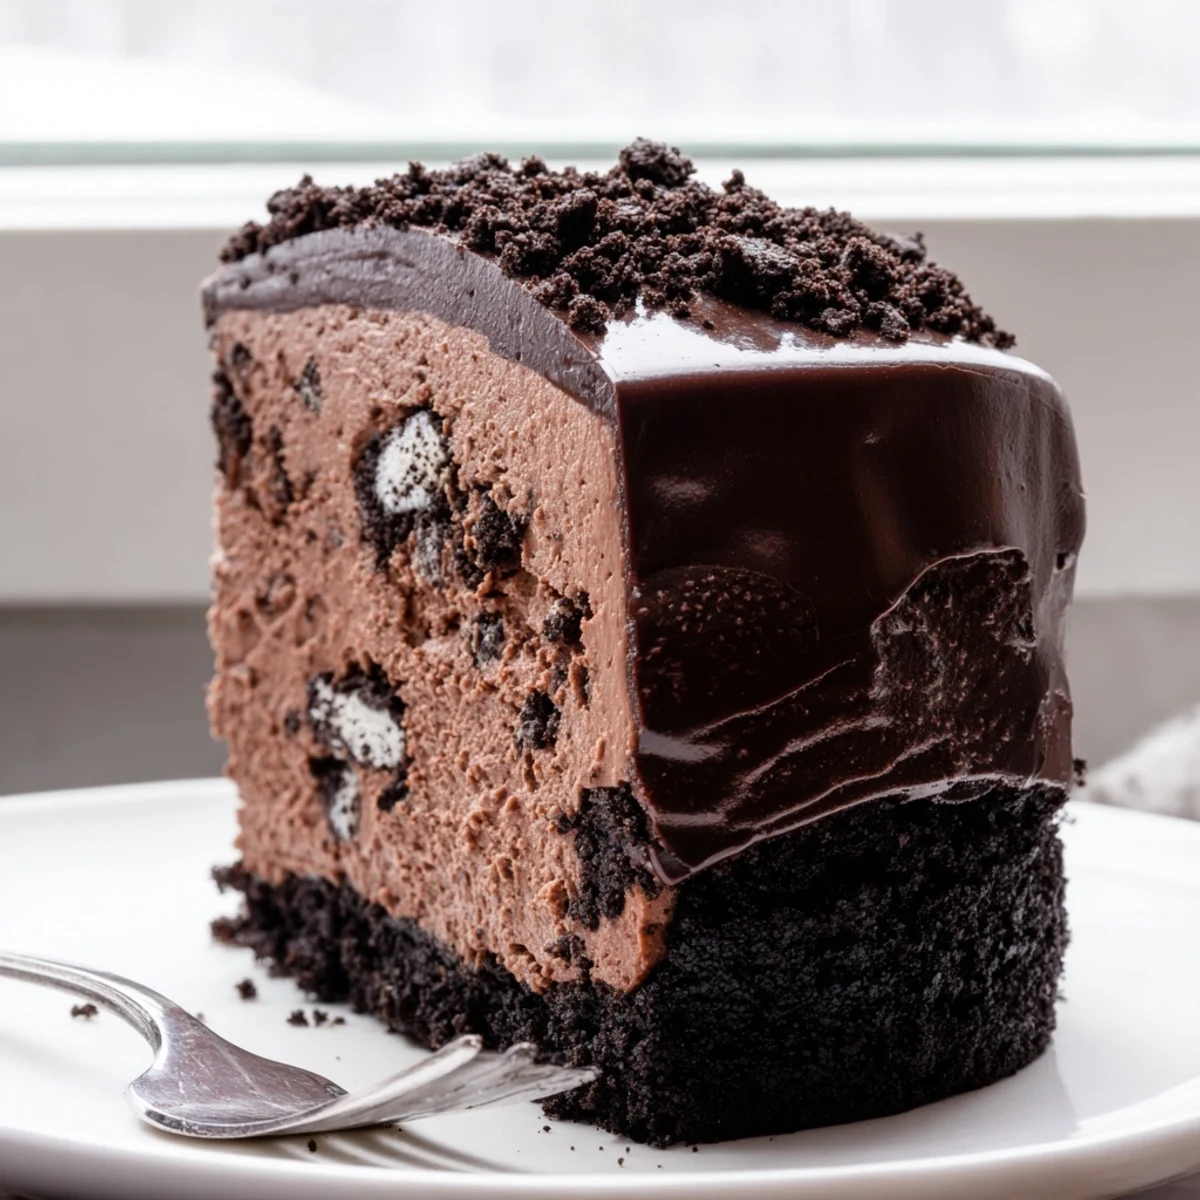
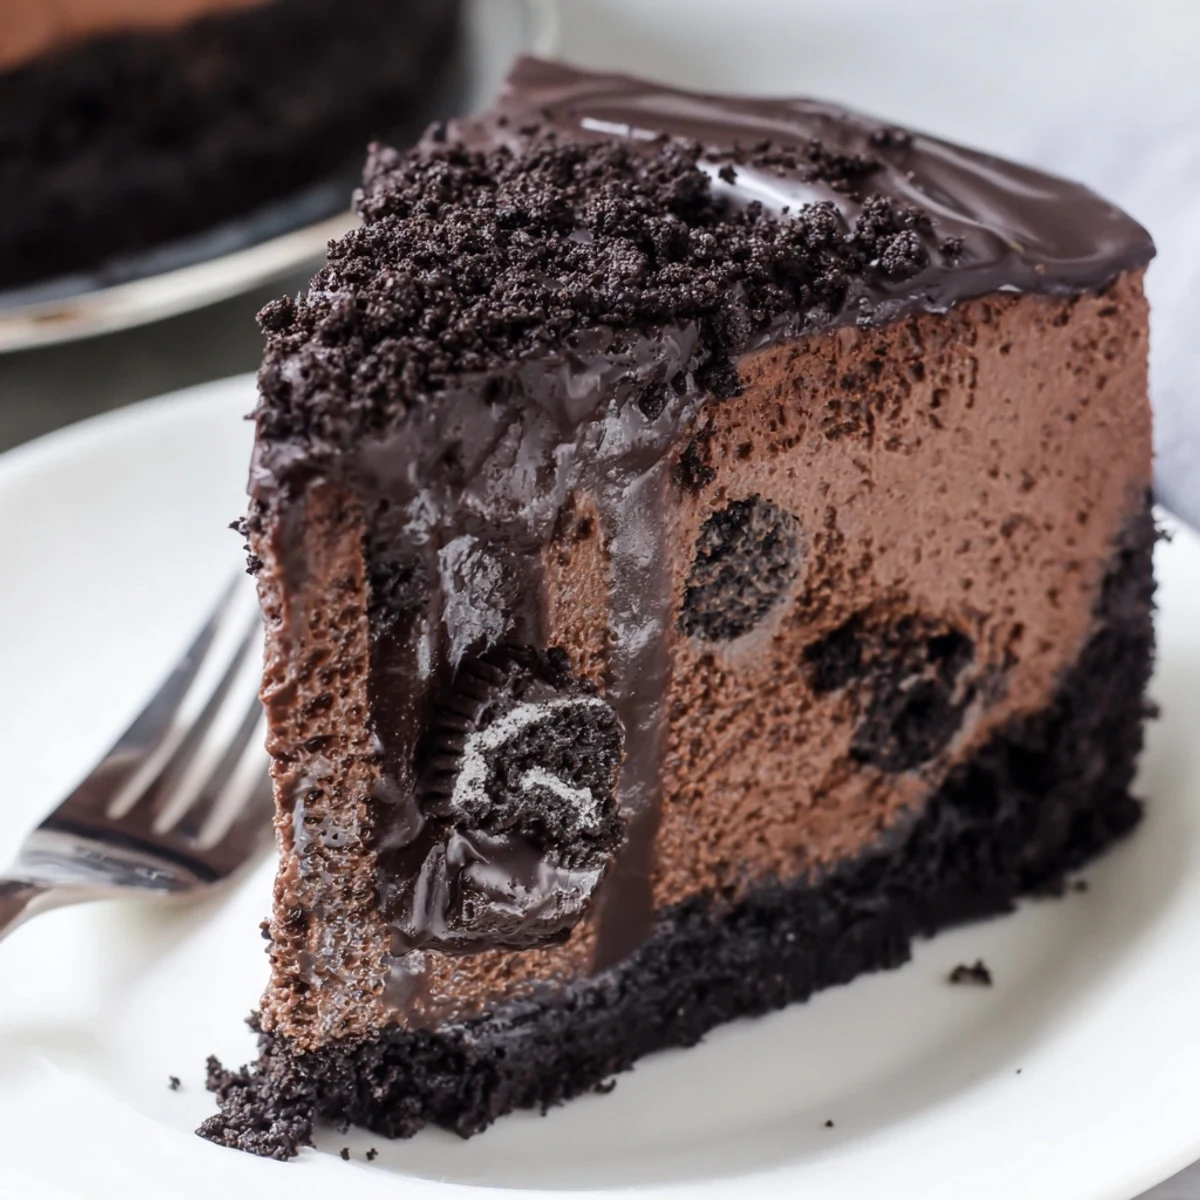
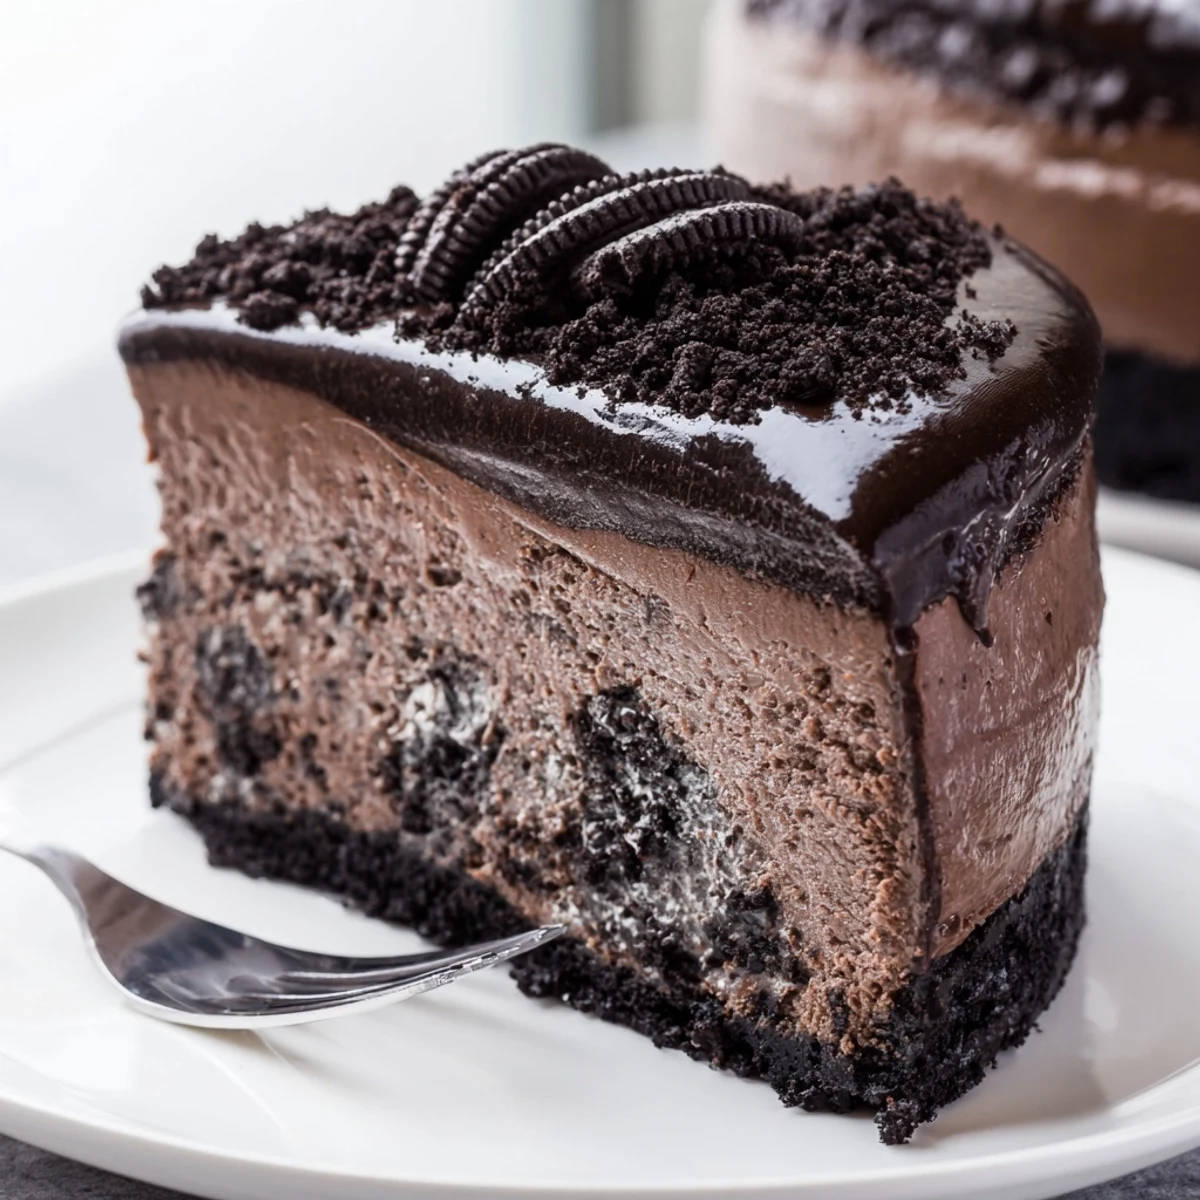
Save This Oreo chocolate cheesecake brings together three irresistible layers: a buttery Oreo cookie crust, a silky dark chocolate cream cheese filling studded with chopped Oreos, and a glossy chocolate ganache finish.
Plan ahead for chilling time—at least four hours or preferably overnight—to achieve that perfect slice. The contrast of textures from the crunchy base to the creamy filling makes every bite memorable.
Serve it chilled with fresh berries or a dollop of whipped cream for an elegant dessert that impresses at any gathering.
My kitchen still smells like melted chocolate at three in the morning, and honestly I am not even mad about it. This Oreo chocolate cheesecake started as a birthday promise to my youngest, who handed me a crayon drawing of her dream cake three weeks early. That sketch had seven layers and a unicorn on top, but she accepted this chocolate monster with zero complaints after the first bite.
I burned the first ganache because I walked away to referee a fight over crayons, so now I stand guard like a sentinel whenever cream approaches a simmer. My friend Maria watched me make this once and declared it better than any bakery cheesecake she had paid forty dollars for, which might be the greatest compliment of my cooking life.
Ingredients
- 28 Oreo cookies for the crust: Pulse these with the filling still inside, because that creamy center binds everything together beautifully.
- 5 tbsp unsalted butter, melted: Just enough to make the crumbs hold their shape when pressed.
- 675 g cream cheese, softened: Leave it out for a full hour, because cold cream cheese guarantees lumps you will never chase down.
- 200 g granulated sugar: Balances the deep bitterness of the dark chocolate without stealing the show.
- 200 g dark chocolate, melted and cooled: Use something you would happily eat by the square, since it drives every flavor in the filling.
- 30 g unsweetened cocoa powder: Reinforces the chocolate intensity without adding extra sweetness.
- 180 ml sour cream, room temperature: This is the secret to that velvety texture that makes people close their eyes at the first bite.
- 1 tsp pure vanilla extract: A quiet background note that rounds out all the richness.
- 3 large eggs, room temperature: Add them one at a time on low speed to keep the batter dense and creamy rather than airy.
- 8 Oreo cookies, roughly chopped: Folded in at the end for little pockets of crunch throughout the filling.
- 120 ml heavy cream: Heated until just simmering to bloom the chocolate into glossy ganache.
- 120 g dark chocolate, chopped: The topping should mirror the same chocolate you used inside for consistency.
- 2 Oreo cookies, crushed: An optional garnish that adds a finishing crackle to every slice.
Instructions
- Build the crust foundation:
- Pulse the Oreos in a food processor until they resemble dark sand, then pour in melted butter and pulse again until everything feels like wet soil. Press firmly into the bottom of a foil wrapped springform pan and bake for ten minutes until set.
- Whip the filling base:
- Beat softened cream cheese and sugar together on medium speed until the mixture turns completely smooth with no pale streaks. Scrape the bowl twice because cream cheese loves to hide in clumps along the bottom edge.
- Add the chocolate layer:
- Pour in the melted and cooled dark chocolate along with cocoa powder, mixing until the batter turns a deep, uniform brown. Watch for dry pockets of cocoa hiding along the sides of the bowl.
- Incorporate the dairy and eggs:
- Blend in sour cream and vanilla just until they disappear into the batter. Add each egg on low speed, mixing briefly after each one, and stop the moment the last yolk vanishes to avoid whipping air into the cheesecake.
- Fold and pour:
- Toss in the chopped Oreos by hand with a spatula, scooping gently from the bottom so the pieces distribute evenly. Pour the batter over your cooled crust and smooth the top with confident, even strokes.
- Bake low and slow:
- Bake at 160 degrees Celsius for about forty five to fifty minutes until the edges are set but the center still wobbles like gelatin when you gently shake the pan. Turn off the oven, crack the door, and let it sit inside for one hour to cool gradually without cracking.
- Chill with patience:
- Move the cheesecake to the counter until it reaches room temperature, then refrigerate for at least four hours or preferably overnight. This waiting period is when the texture transforms from soft custard into dense, sliceable perfection.
- Finish with ganache:
- Heat cream until small bubbles form around the edge of the saucepan, then pour it directly over the chopped chocolate and wait two minutes before stirring from the center outward until glossy. Spread it over the chilled cake and scatter crushed Oreos on top before it sets.
 Save
Save The night before my daughter actual birthday I crept into the kitchen at midnight to add the ganache, and found my husband already standing there with a fork and a guilty expression. We ended up eating the first slice together in silence by refrigerator light, and it remains one of my favorite memories of this recipe.
Getting Ahead Without Losing Quality
This cheesecake actually improves after a night in the refrigerator, which makes it the rare dessert that rewards procrastination. You can make it up to two days before serving and it will slice even cleaner because the flavors have had time to settle and marry.
Serving Suggestions That Elevate Every Slice
A small pile of fresh raspberries or strawberries on the plate cuts through the richness with a welcome flash of tartness. A modest dollop of barely sweetened whipped cream never hurts either, especially if you are trying to convince yourself this is a balanced meal.
Tools and Troubleshooting
A food processor makes quick work of the crust, but a ziplock bag and a rolling pin will get you there with a little more effort and frustration. The electric mixer is your best friend for the filling, though a sturdy whisk and strong arms can manage in a pinch.
- If the center sinks dramatically after cooling, you likely underbaked it by ten minutes, but it will still taste phenomenal.
- A pinch of flaky sea salt on the ganache before it sets transforms the topping from sweet to absolutely unforgettable.
- Always use a knife dipped in hot water and wiped clean between cuts for bakery worthy slices.
 Save
Save Every time I make this cake for someone new they ask for the recipe before finishing their first bite, and I always say the same thing. Just promise me you will wait the full four hours before cutting into it, because patience is the real secret ingredient here.
Recipe FAQs
- → Can I make this cheesecake ahead of time?
-
Yes, this cheesecake actually benefits from being made in advance. You can prepare it up to two days ahead and store it covered in the refrigerator. The flavors meld and the texture firms up beautifully overnight.
- → Why does my cheesecake crack on top?
-
Cracks usually occur from overmixing the batter, which incorporates too much air, or from sudden temperature changes. Mixing eggs on low speed and letting the cheesecake cool gradually inside the oven with the door cracked helps prevent this issue.
- → Can I use milk chocolate instead of dark chocolate?
-
You can substitute milk chocolate, but the cheesecake will be significantly sweeter and less intensely chocolatey. A semi-sweet chocolate (around 60% cacao) is a good middle ground if dark chocolate feels too intense for your taste.
- → How do I get clean slices when cutting the cheesecake?
-
Use a sharp knife dipped in hot water and wiped clean between each cut. The warm blade glides through the ganache and filling smoothly, giving you bakery-quality slices every time.
- → Is there a gluten-free option for the crust?
-
Absolutely. Replace the standard Oreos with your preferred gluten-free chocolate sandwich cookies. The rest of the ingredients are naturally gluten-free, though always verify labels on chocolate and cocoa powder to be certain.
- → How should I store leftover cheesecake?
-
Cover the cheesecake tightly with plastic wrap or transfer slices to an airtight container. It keeps well in the refrigerator for up to five days. You can also freeze individual slices wrapped tightly for up to two months.