 Save
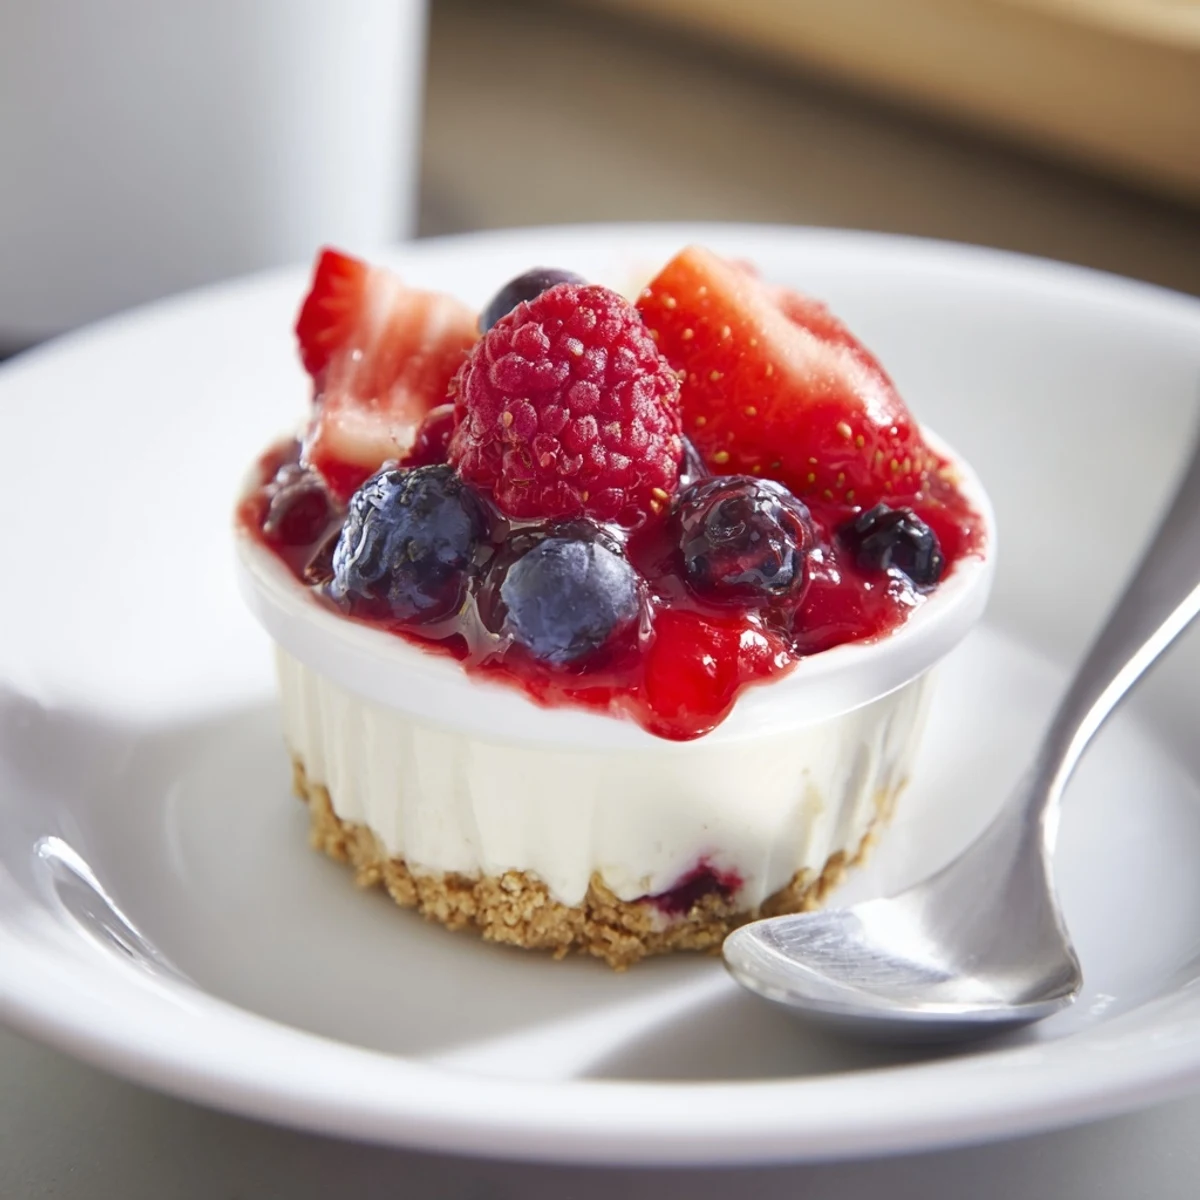
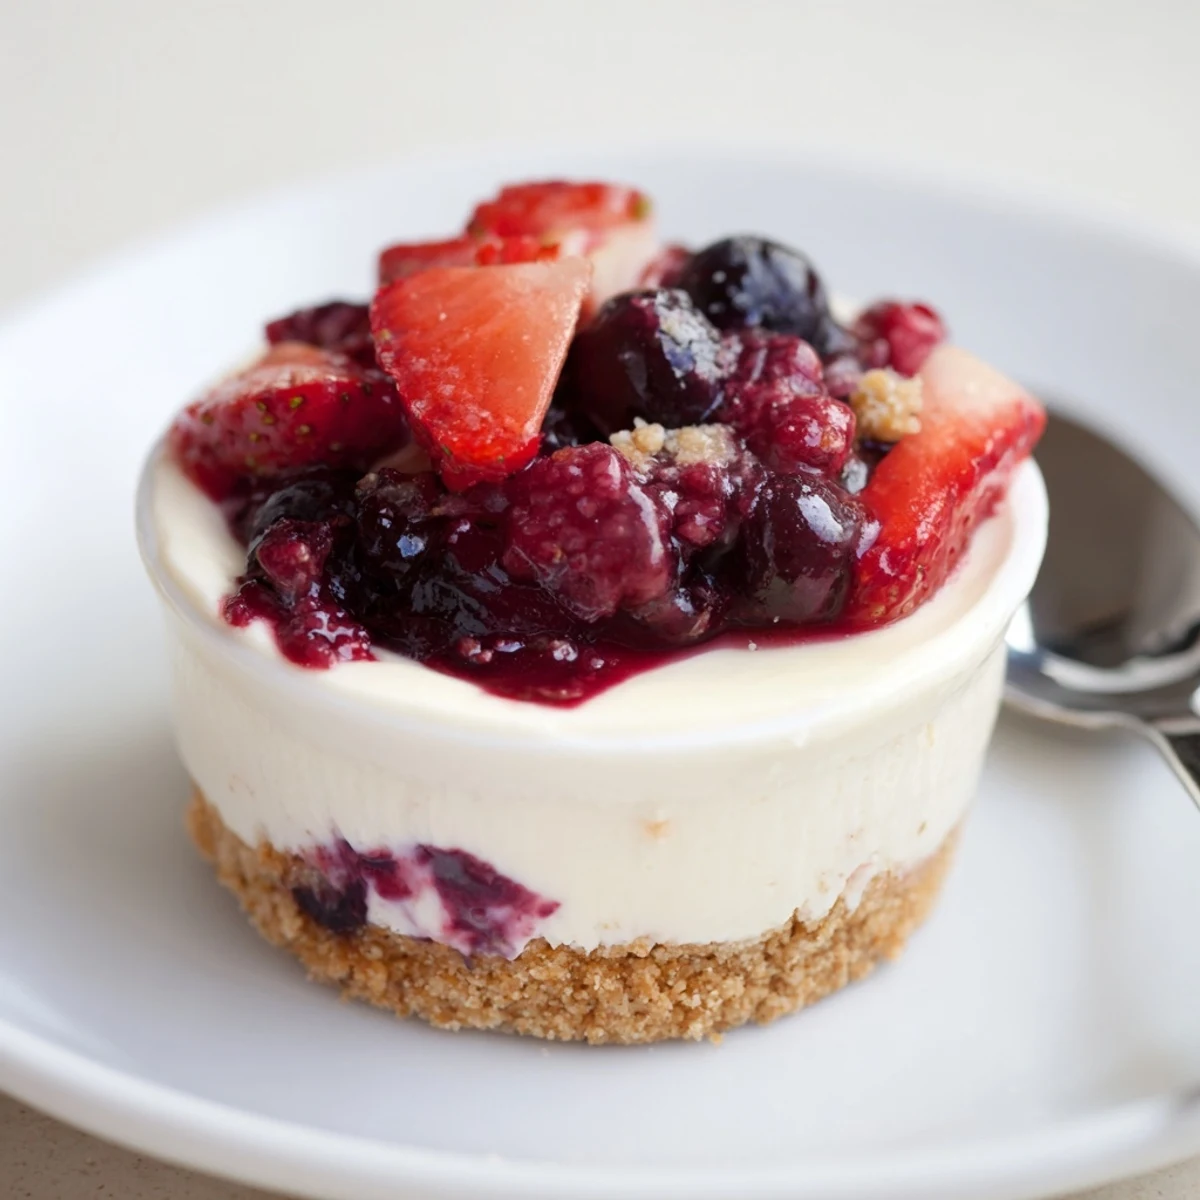
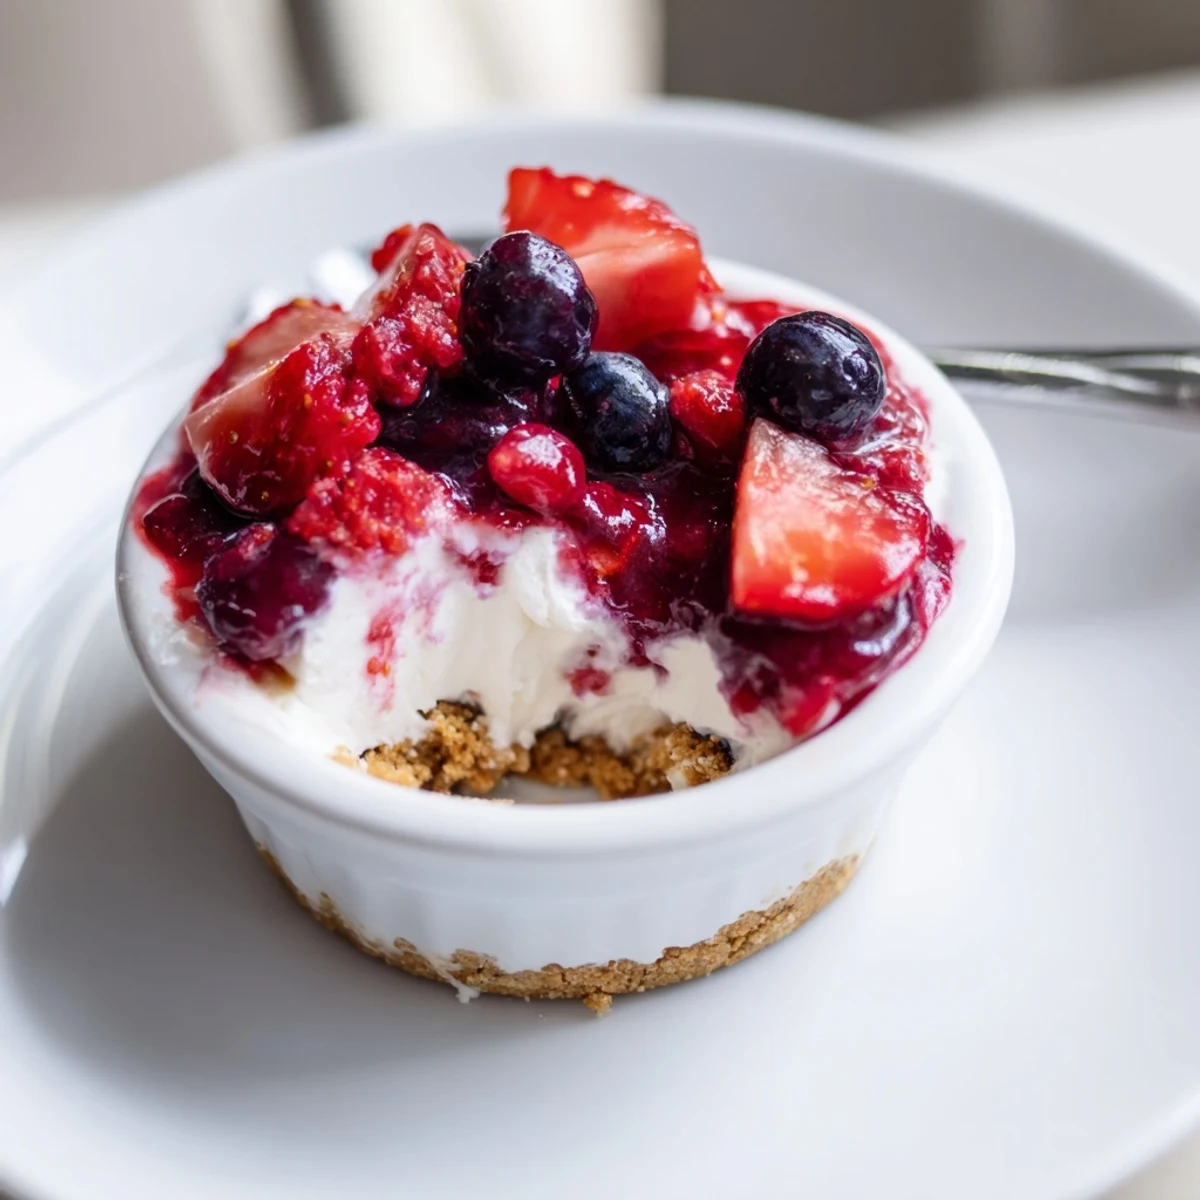
Save These no-bake cheesecake cups layer a buttery crushed-biscuit base with a silky cream cheese and whipped cream filling, topped with macerated mixed berries. Assemble in glasses, chill at least 3 hours to set. Use gluten-free biscuits for dietary swaps, add a splash of berry liqueur for depth, and serve straight from the fridge for best texture and balance.
The sound of biscuit crumbs crunching under my rolling pin instantly sets the mood for these berry no bake cheesecakes — it&aposs a bit like orchestrating dessert without the stress of an oven. I once whipped up a batch during an impromptu summer dinner, racing the setting sun, and found the assembly as joyful as the first cold bite. There is something deeply satisfying in the way rich cream cheese meets tart, syrupy berries, all layered in tumblers that gleam like little jewels. No-fuss, all flavor — and not a bead of sweat in the kitchen.
One rainy afternoon, I assembled these for a friend&aposs birthday, our laughter mingling with the scent of lemon and vanilla. We filled mismatched glasses, sneaking tastes between layers, happy for low-key celebration and dessert that asked nothing more than a bit of patience and a spoon.
Ingredients
- Graham crackers or digestive biscuits: Crushed finely, these form a sturdy and buttery base that softens just enough after chilling — let yours sit for a minute before pressing for best results.
- Unsalted butter: Melted and warm, it helps bind the biscuit crumbs and gives that tasty, rich flavor I always crave with cheesecake.
- Cream cheese: Make sure it&aposs fully softened for ultra-smooth filling; I leave mine out while measuring everything else.
- Heavy cream: Use it cold right from the fridge and whip until stiff peaks — it lightens the filling without making it runny.
- Powdered sugar: Sifts in effortlessly, melting into the cream cheese for that gentle sweetness.
- Vanilla extract: Just a splash brings warmth and dimension to the filling; feel free to double if you&aposre a vanilla lover.
- Lemon zest (optional): Adds a subtle zing that brightens every bite — I find it especially good with summertime berries.
- Mixed fresh berries: Choose the ripest you can find for vibrant color and burst of tartness; use a mix for complexity.
- Sugar: Tossed with berries, it draws out their juices and makes the topping glisten beautifully.
- Lemon juice: A quick toss softens the berries and sharpens their flavor — don&apost skip it, even for winter berries.
Instructions
- Make the biscuit base:
- In a bowl, mix cracker crumbs with melted butter until evenly moistened; the buttery smell lets you know it's ready. Scoop and press the mixture into your serving glasses, aiming for a level, compact layer.
- Whip up the cheesecake layer:
- Beat softened cream cheese until smooth, then add powdered sugar, vanilla, and lemon zest. In a separate bowl, whip the cold cream until peaks hold, then gently fold into the cream cheese mixture until it&aposs pillowy soft.
- Layer the cheesecake filling:
- Spoon or pipe the creamy mixture over each biscuit base, smoothing the tops with a spatula or the back of a spoon.
- Macreate the berry topping:
- Toss mixed berries with sugar and lemon juice; wait 10–15 minutes for the juices to start pooling and berries to shine.
- Top and chill:
- Layer juicy berries over the cheesecake filling in each glass, letting some syrup drip down the sides. Cover and chill for at least 3 hours, or overnight if you can resist.
 Save
Save I realized these cheesecakes had moved from recipe to ritual when my niece insisted they tasted 'like summer holidays in a cup' — the kind of compliment that makes washing all those extra bowls totally worth it.
On Choosing Your Berries
Fresh berries are key — I grab whatever looks best at the market, though even frozen berries can work in a pinch if you thaw and drain them first. If you can taste the tartness and sweetness before adding sugar, you can tweak your mixture for the juiciest bite.
Serving Glasses Make It Special
There&aposs something delightful about seeing every layer through glass; mismatched jars or tumblers transform simple ingredients into an elegant treat. For parties, I love lining them up on a tray so everyone picks their favorite.
Mistakes I Learned From
One time I doubled the lemon and things got a bit too sharp, proving that a little zest goes a long way with fresh berries. Use a light hand and taste as you go for your perfect balance.
- If you want to prep ahead, keep berry topping separate until just before serving.
- Don't have a piping bag? Use a zip-top bag and snip a corner.
- Chill the empty glasses first for an extra-cold dessert.
 Save
Save Hope these berry no bake cheesecakes bring you as much fun in the making as they do in the first bite. Here&aposs to moments shared over sweet, chilled treats.
Recipe FAQs
- → How long should I chill the cups?
-
Chill for a minimum of 3 hours to allow the filling to firm up; overnight yields a denser, more set texture and easier slicing or spooning.
- → How can I prevent a soggy biscuit base?
-
Press the biscuit and melted butter mixture firmly into the glass and chill briefly before adding the filling. A thin layer of melted chocolate or a quick bake of the base (if desired) also creates a moisture barrier.
- → Can I make these ahead and how should I store them?
-
Yes—assemble and cover the glasses, then refrigerate for up to 2–3 days. Keep chilled until serving to maintain texture; avoid freezing as the dairy filling may separate on thawing.
- → What are good ingredient swaps for diet restrictions?
-
Use gluten-free crushed biscuits for a gluten-free option and swap cream cheese with a dairy-free soft cheese plus chilled coconut cream whipped to stiff peaks for a vegan-friendly version.
- → How do I get a smooth, airy filling?
-
Beat the softened cream cheese until completely smooth before adding sugar and flavorings. Whip the cold cream to stiff peaks and fold gently into the cheese to keep the filling light without deflating it.
- → Any serving or garnish suggestions?
-
Top with whole or lightly crushed fresh berries, lemon zest or a mint leaf just before serving. Pair with a glass of Prosecco or a sweet white wine for balance.
