 Save
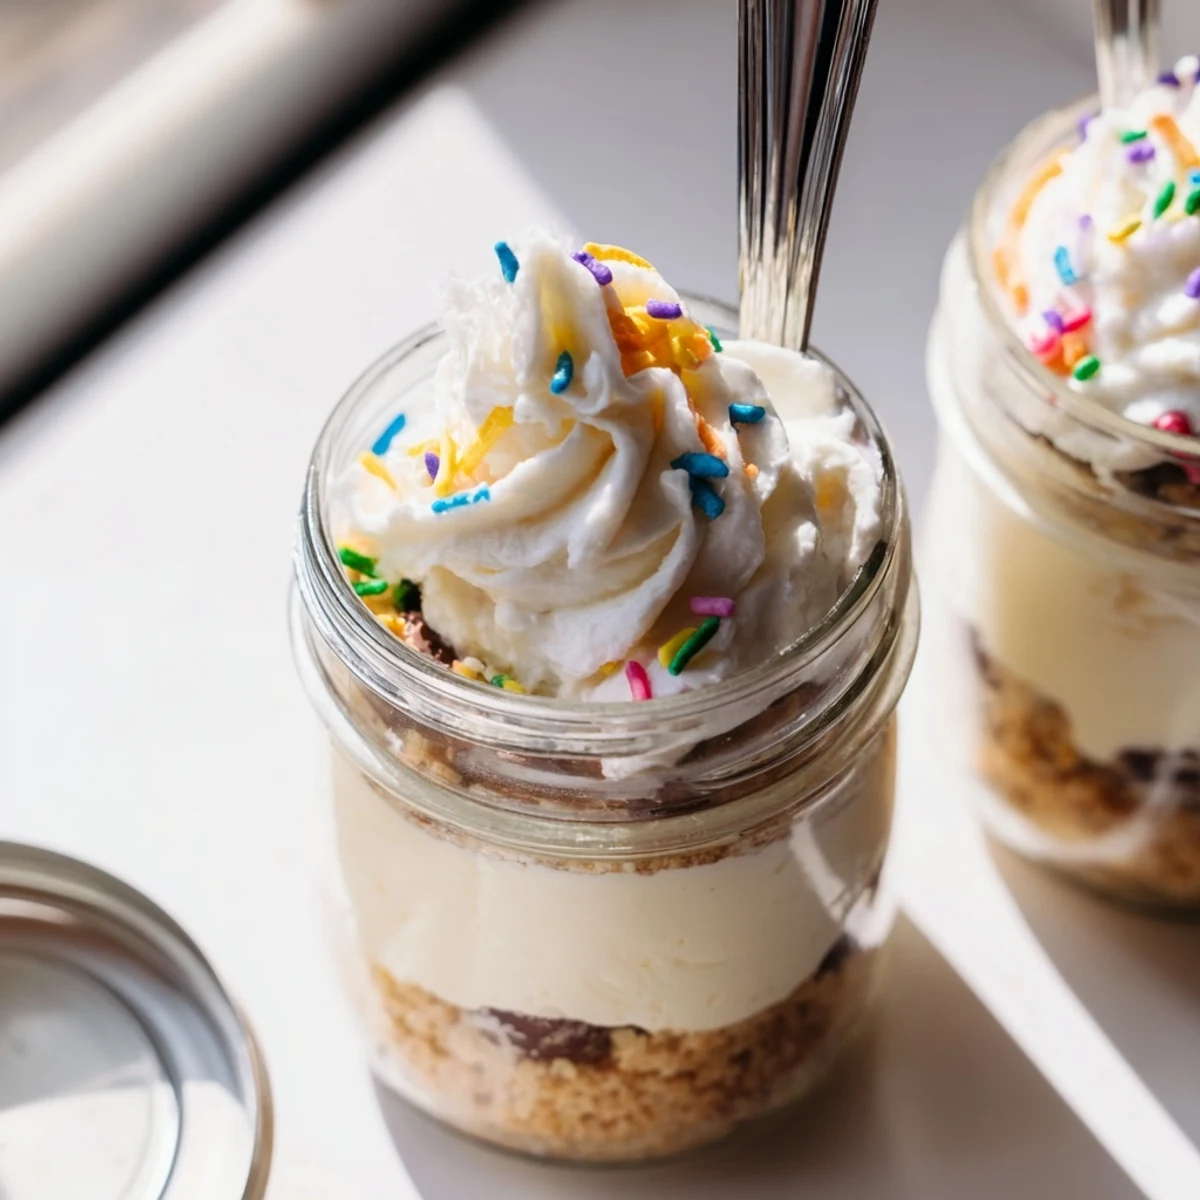
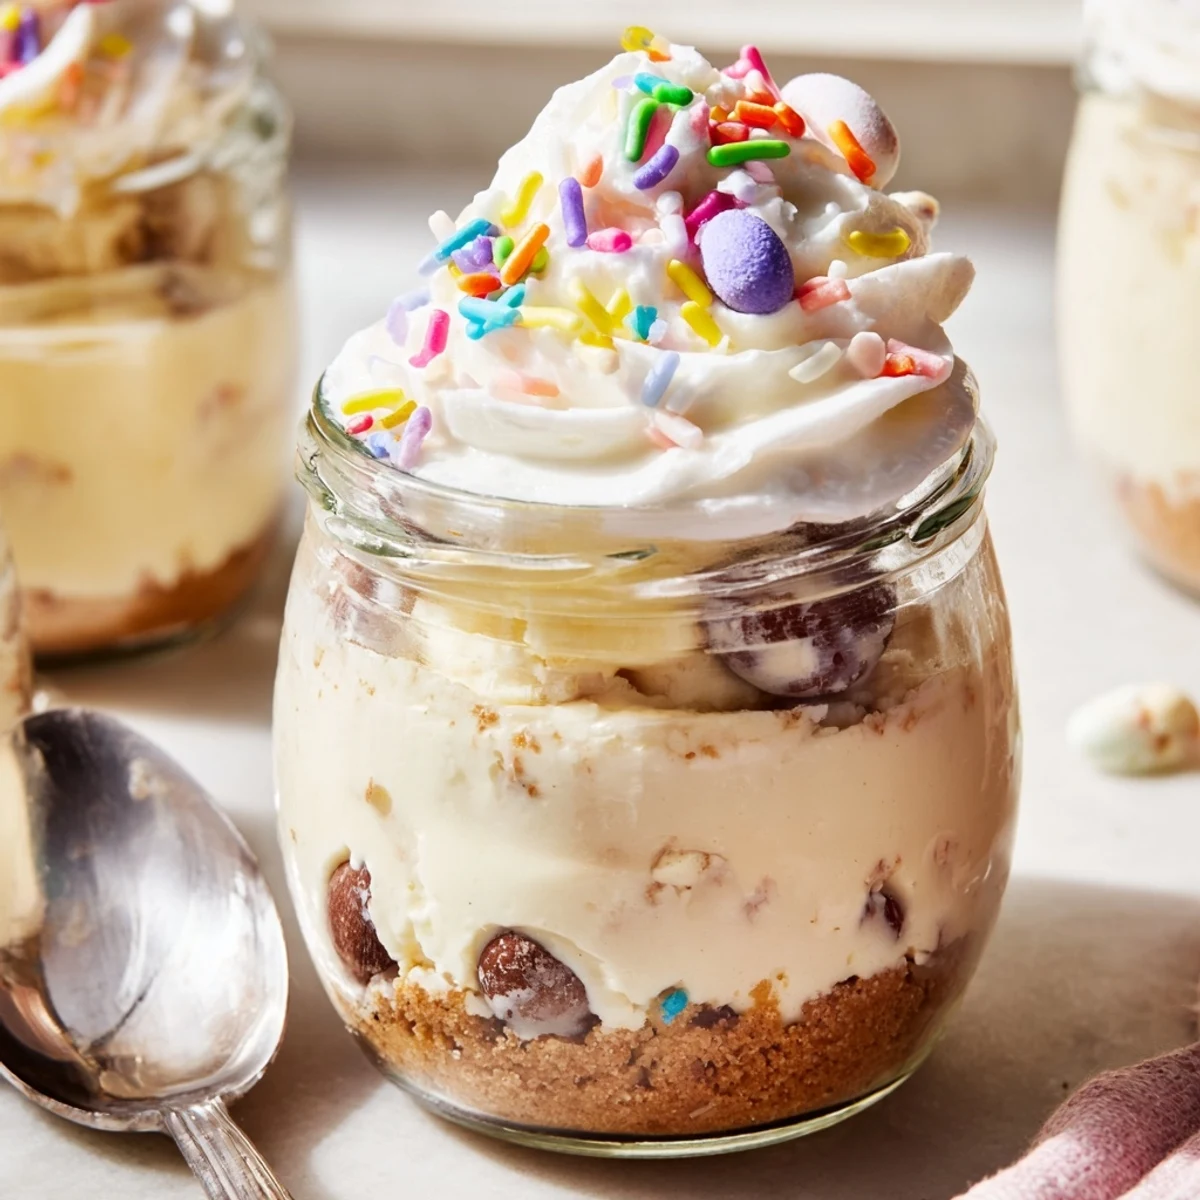
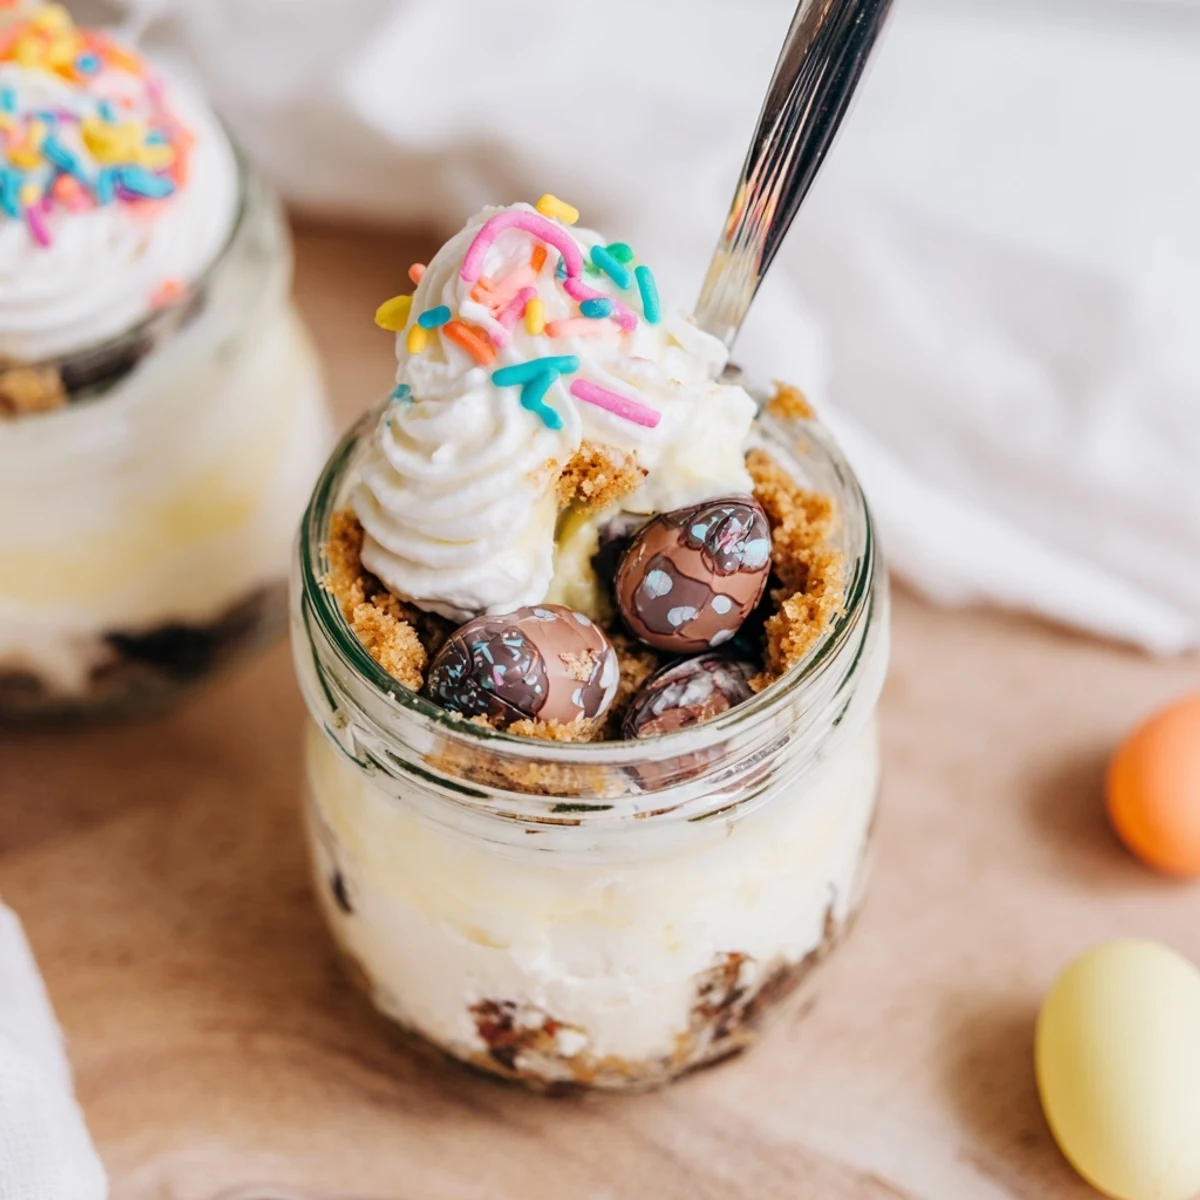
Save These individual Easter treats feature layers of creamy no-bake cheesecake filling nestled between buttery cookie crumbs, with surprise chocolate eggs hidden inside each jar. The dessert comes together quickly with just 25 minutes of prep time, then chills until perfectly set. Each jar gets topped with fluffy whipped cream and festive sprinkles for a colorful presentation that's perfect for spring gatherings.
The no-bake method makes these ideal for busy holiday weekends, and you can prepare them up to 24 hours in advance. The individual portions are naturally portioned and look beautiful displayed on a dessert table. Kids love discovering the hidden chocolate eggs nestled within the creamy layers.
Last Easter, my kitchen counter looked like a pastel explosion with jars lined up like little soldiers waiting for their sweet surprise. Id spent the morning hiding eggs around the yard for the kids, but these jars held a different kind of treasure. Something about individual desserts makes people feel special, like theyre getting their own little present. The way those chocolate eggs peek through the creamy layers still makes me smile every time I lift a spoon.
My neighbor Sarah brought these to our book club meeting last spring, and I swear I ate two before anyone even noticed. She told me her grandmother used to make something similar, but the jar idea came from wanting something transportable for potlucks. Now I make a batch every time April rolls around. The best part is watching kids and adults alike get equally excited about digging in to find whats buried inside.
Ingredients
- 1 cup digestive biscuits or graham crackers: digestive biscuits give a lovely buttery caramel note, but graham crackers work perfectly for that classic American cheesecake vibe
- 3 tbsp unsalted butter, melted: use good quality butter here since its the foundation of your crust
- 8 oz cream cheese, softened: room temperature cream cheese is non negotiable for that silky smooth texture
- 1/3 cup granulated sugar: just enough sweetness without overpowering the creamy tang
- 1 tsp vanilla extract: pure vanilla makes a difference you can really taste
- 1 cup heavy cream, cold: the colder the better for achieving those perfect stiff peaks
- 18 mini chocolate Easter eggs: solid eggs hold their shape better than hollow ones when layered
- 1/2 cup whipped cream: for that cloud like crown on top
- 2 tbsp rainbow sprinkles or pastel sugar pearls: because everything tastes better with a little celebration on top
Instructions
- Build the buttery foundation:
- Mix those crushed biscuits with melted butter until every crumb is glistening and coated. Press about two tablespoons into the bottom of each jar, using the back of a spoon to create an even crust layer.
- Whip up the clouds:
- Beat that softened cream cheese with sugar and vanilla until it transforms into a silky smooth mixture. In another bowl, whip your cold heavy cream until it stands in proud stiff peaks that dont budge.
- Combine and conceal:
- Gently fold the whipped cream into your cream cheese mixture, treating it like youre folding in precious air. Spoon half the cheesecake filling over your crusts, then tuck 2 or 3 mini eggs into each jar like little buried treasures.
- Hide and chill:
- Cover those chocolate secrets with the remaining cheesecake mixture, smoothing the tops with your spatula. Let the jars chill in the fridge for at least 2 hours, though overnight is even better for that firm, sliceable texture.
- Decorate and serve:
- Before serving, crown each jar with whipped cream, scatter extra Easter eggs on top, and finish with a shower of sprinkles for that festive finish.
 Save
Save My daughter asked if we could make these for her school spring celebration, and I ended up making three dozen. Watching her classmates carefully excavate their jars like little archeologists hunting for chocolate treasure was better than any Easter egg hunt. One boy told me it was the best thing hed ever eaten, which is basically the highest compliment a fourth grader can give.
Make It Your Way
Ive tried using chocolate cookies for the crust when I want something darker and more intense. That bitter sweet chocolate against the creamy cheesecake filling creates this sophisticated flavor profile adults secretly love. You can also swap out the mini eggs for peanut butter cups, chopped peanut butter eggs, or even fresh berries if you want something lighter.
Timing Is Everything
The beauty of these jars is that they demand almost no active cooking time, but they do require patience. That two hour chill period is non negotiable, but it works in your favor since you can make them the day before and actually enjoy your own party. I often assemble everything while catching up on my favorite shows, then pop them in the fridge and forget about them until its time to celebrate.
Serving Suggestions
Set up a little toppings station at your Easter brunch and let guests customize their own jars. Some people go wild with extra sprinkles while others prefer an additional dollop of whipped cream. Kids especially love getting creative and making theirs unique.
- Keep these chilled until the last possible moment since the filling softens quickly at room temperature
- Small mason jars with wide mouths make assembly and serving so much easier
- Leftovers keep beautifully in the fridge for up to three days, if they last that long
 Save
Save Theres something wonderful about a dessert that feels like opening a present, complete with sweet surprises hidden inside. These little jars have become our familys most requested Easter tradition.
Recipe FAQs
- → How long do cheesecake jars need to chill?
-
The jars need to chill for at least 2 hours to set properly, though overnight chilling yields the firmest texture. The no-bake filling needs time to firm up in the refrigerator so layers hold their shape when served.
- → Can I make these ahead of time?
-
Yes, these can be prepared up to 24 hours in advance and kept refrigerated. Store them covered or with lids tightly secured. Add whipped cream topping and sprinkles just before serving for the freshest presentation.
- → What size jars work best?
-
Small glass jars holding 6-8 ounces each are ideal. This allows enough room for multiple layers of crust, filling, hidden eggs, and topping. Mason jars, repurposed glass food jars, or small dessert glasses all work perfectly.
- → Can I substitute the mini chocolate eggs?
-
Absolutely! You can use any Easter candy, chocolate candies, or even fresh berries instead of the eggs. Just ensure whatever you hide inside is shelf-stable and won't become mushy during chilling time.
- → Do I need an electric mixer?
-
An electric mixer makes the process easier, but you can use a whisk and some elbow grease. The key is beating the cream cheese until completely smooth and whipping the heavy cream to stiff peaks before combining.
- → Can I use different cookies for the crust?
-
Yes, digestive biscuits or graham crackers work beautifully, but you can also use vanilla wafers, chocolate sandwich cookies, or even shortbread cookies. Just crush them finely and mix with melted butter as directed.
