 Save
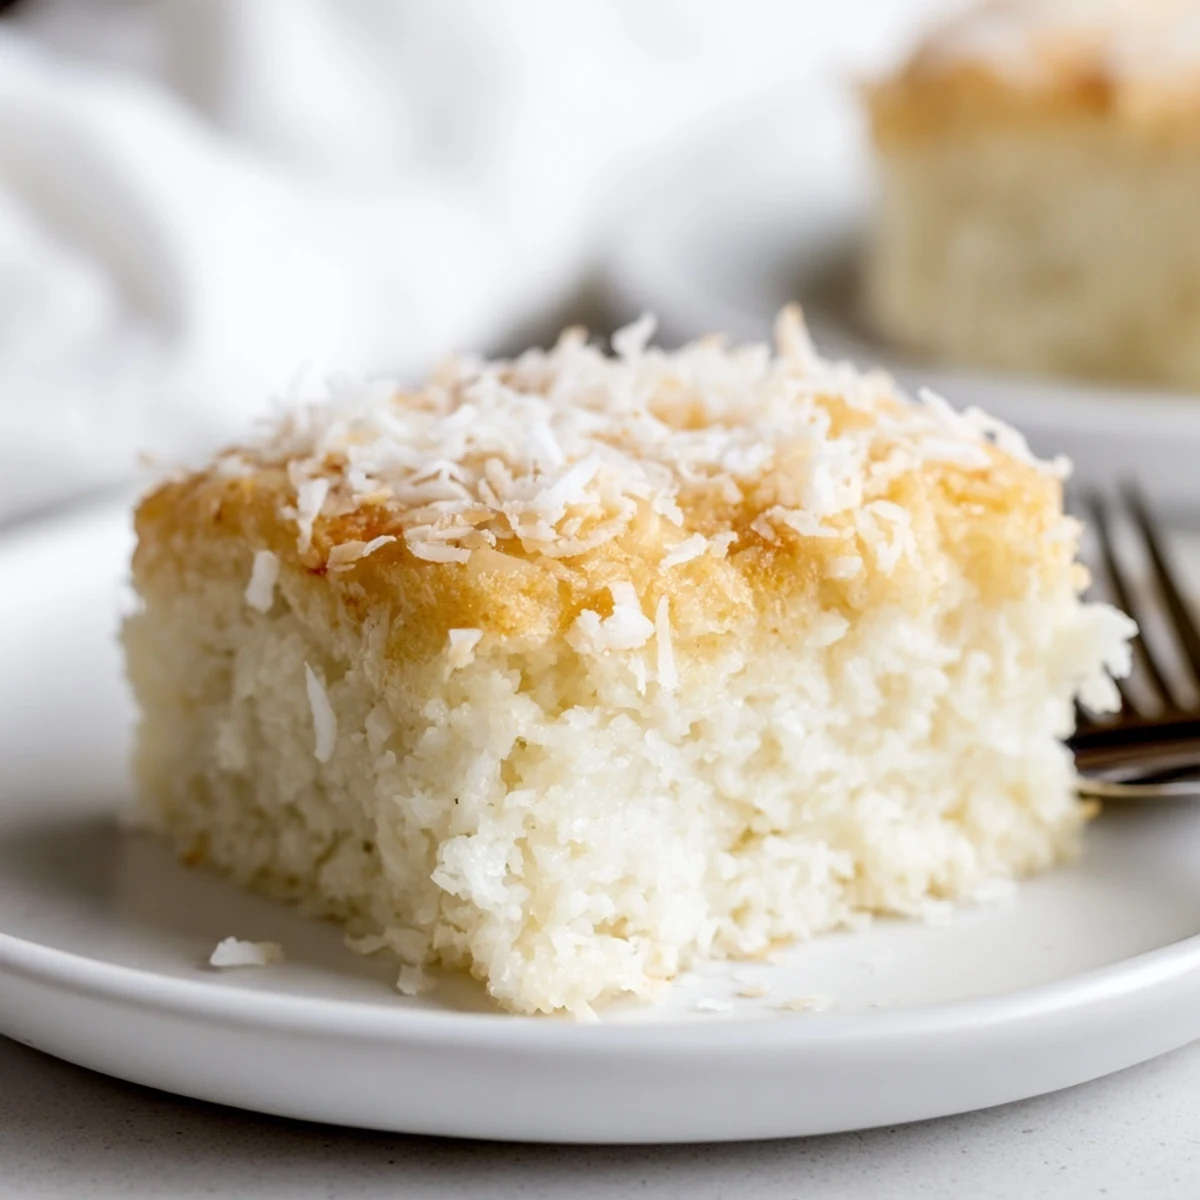
Save This gluten-free treat combines sweet rice flour with creamy coconut milk for a uniquely chewy texture. The batter comes together quickly, bakes into golden squares, and keeps beautifully for days. Perfect alongside fresh fruit or vanilla ice cream.
The kitchen filled with this incredible toasted coconut aroma that had my roommates wandering in from different parts of the house, asking what on earth I was making. I'd never worked with mochiko flour before, and watching the batter transform from this strange glossy mixture into something golden and slightly puffed felt like kitchen magic.
I brought this to a potluck last summer and watched my friend Sarah take one bite, eyes widen, and immediately ask for the recipe. She said it reminded her of this tiny bakery in Oahu her family used to visit, which was honestly the best compliment I could have hoped for. Now it is my go-to when I need something that feels special but does not require me to stress out in the kitchen.
Ingredients
- Sweet rice flour (mochiko): This creates that signature chewy bounce, and regular rice flour simply will not give you the same texture or mouthfeel
- Granulated sugar: Do not reduce this or the cake will not set properly and you will lose that beautiful golden crust
- Baking powder: Just enough to give the cake a slight lift without making it fluffy like a traditional cake
- Fine salt: Crucial for balancing the sweetness and letting the coconut flavor really shine through
- Full-fat coconut milk: Shake that can well and use the good stuff because this is where all that rich coconut flavor comes from
- Whole milk: Combines with the coconut milk to create the perfect custard-like consistency, though any milk alternative works here
- Large eggs: Room temperature eggs will incorporate much more smoothly into the batter and help create that uniform texture
- Unsalted butter, melted and cooled: Adds richness and helps prevent the cake from becoming too dense or rubbery
- Pure vanilla extract: Do not skip this because it rounds out all the coconut flavors beautifully
- Unsweetened shredded coconut: This toasts up in the oven creating these amazing crispy bits on top that are honestly my favorite part
Instructions
- Get your oven ready:
- Preheat to 350°F and grab a 9x13-inch pan, but do yourself a huge favor and line it with parchment paper because removing this cake otherwise will be unnecessarily frustrating.
- Whisk the dry ingredients:
- In a large bowl, combine the mochiko, sugar, baking powder, and salt until everything looks evenly distributed.
- Mix the wet ingredients:
- Whisk together the coconut milk, whole milk, eggs, melted butter, and vanilla in a separate bowl until the mixture is completely smooth with no streaks of egg white remaining.
- Combine everything:
- Pour the wet ingredients into the dry and stir with a spatula just until combined, because overmixing will make the cake tough and rubbery.
- Pan and tap:
- Pour the batter into your prepared pan and give it a couple of gentle taps on the counter to release any air bubbles trapped inside.
- Add the topping:
- Sprinkle the shredded coconut evenly over the surface, pressing it down ever so slightly so it sticks to the batter.
- Bake until golden:
- Bake for 55 to 60 minutes until the edges are a deep golden brown and a toothpick in the center comes out mostly clean with just a few moist crumbs.
- Patience pays off:
- Cool completely in the pan on a wire rack because slicing this while warm will give you mushy edges instead of clean squares.
 Save
Save My grandmother tried this recipe and immediately declared it better than the version she used to get from her favorite Hawaiian bakery decades ago. She now requests it for every family gathering, and I honestly cannot think of a better compliment than that.
Making It Dairy-Free
Swapping the whole milk for more coconut milk and using coconut oil instead of butter actually creates an even more intense coconut flavor. The texture remains just as chewy and satisfying, though the cake might be slightly softer at room temperature.
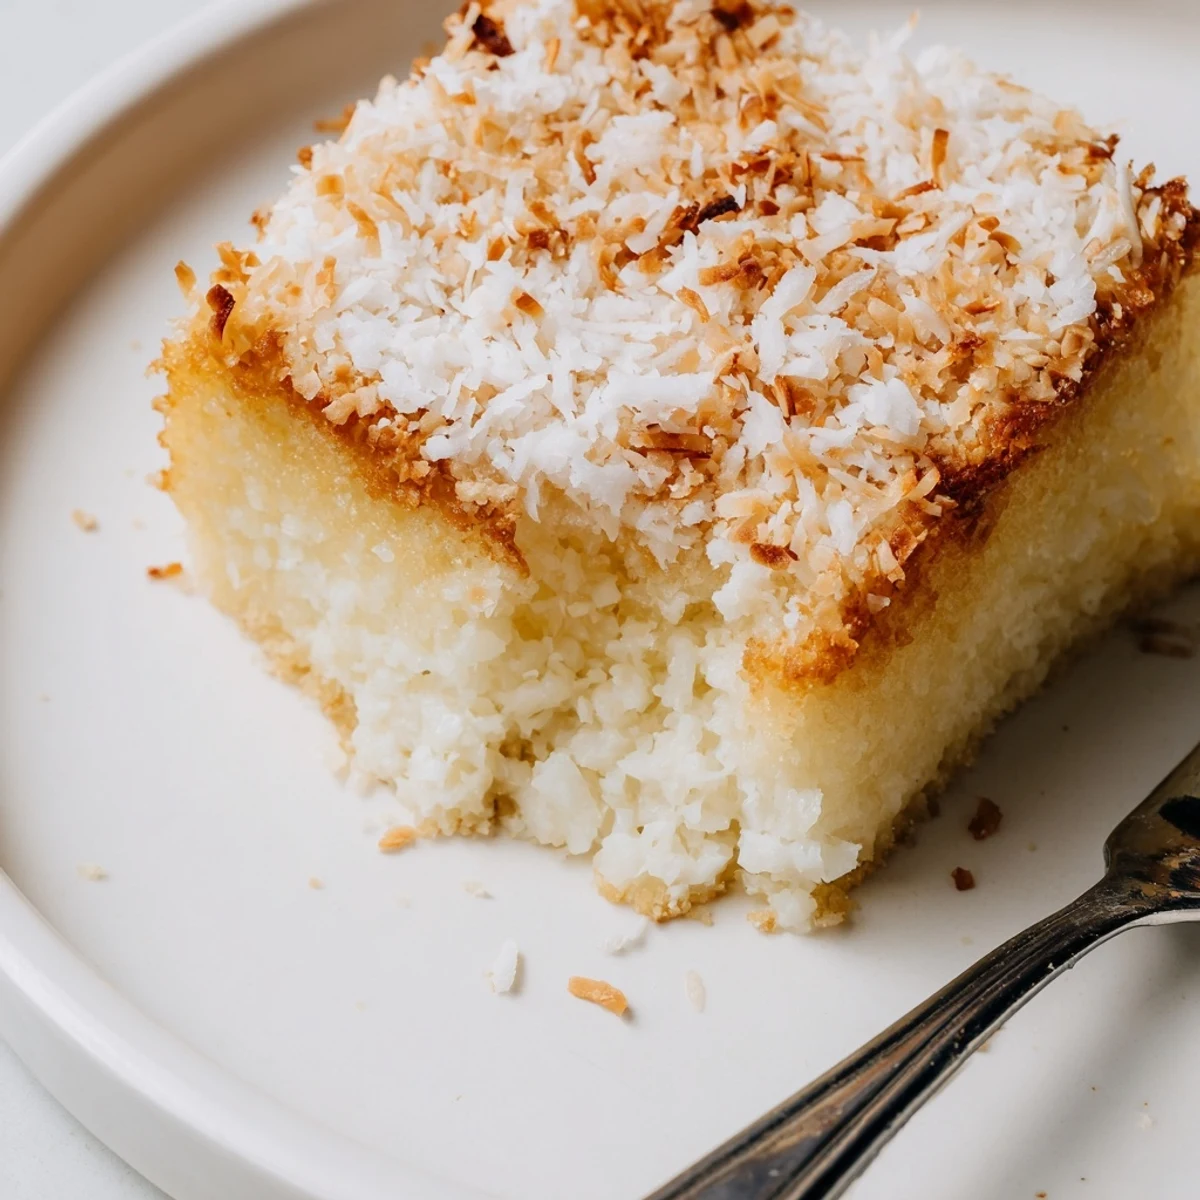
Getting That Perfect Toast
The shredded coconut on top can go from beautifully golden to burnt pretty quickly in the last few minutes of baking. I always start checking at the 50-minute mark and will loosely tent with foil if the coconut is getting too dark before the center is set.
Serving And Storing
This cake actually develops a better texture on day two as the flavors meld and the exterior becomes wonderfully chewy-crispy. Store it at room temperature for up to two days in an airtight container, though honestly it rarely lasts that long in my house.
- Try warming individual squares in the microwave for about 15 seconds before serving
- A scoop of vanilla ice cream alongside creates this perfect hot-cold contrast
- Fresh tropical fruits like mango or pineapple make this feel extra special
 Save
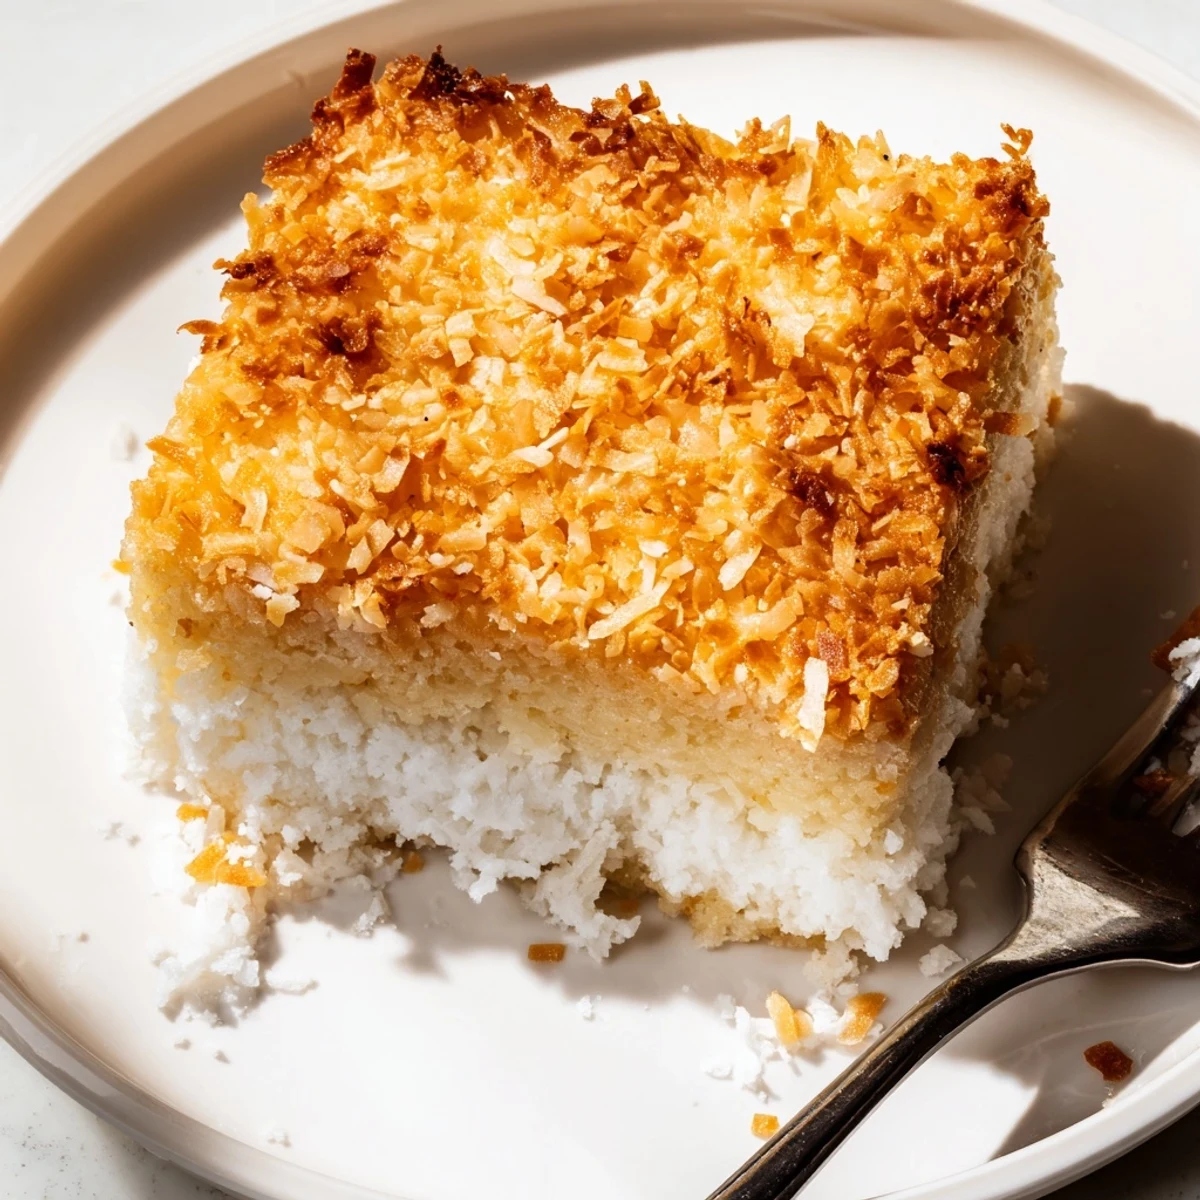
Save There is something so satisfying about cutting into this cake and hearing that slight crisp from the toasted coconut topping. Hope it brings as much joy to your kitchen as it has to mine.
Recipe FAQs
- → What makes mochi cake chewy?
-
Sweet rice flour, also known as mochiko, creates that signature chewy texture. Unlike wheat flour, it develops a soft, elastic consistency when baked.
- → Can I make this dairy-free?
-
Yes. Replace whole milk with coconut milk and swap butter for melted coconut oil. The coconut flavor becomes even more pronounced.
- → How should I store leftovers?
-
Keep in an airtight container at room temperature for 2 days, or refrigerate for up to 5 days. The texture remains pleasantly chewy.
- → Why did my center sink slightly?
-
This can happen if underbaked or if the oven door opened too early. Ensure a toothpick comes out mostly clean before removing from the oven.
- → Can I add mix-ins?
-
Sweetened red bean paste swirled into the batter creates a Hawaiian variation. Chopped macadamia nuts or chocolate chips also work well.
