 Save
Save Create velvety-smooth frozen goodness using nothing but ripe bananas. This naturally sweet, dairy-free alternative to traditional frozen desserts comes together in just 10 minutes with minimal effort. The secret lies in freezing sliced bananas overnight, then blending them until they transform into a lusciously creamy texture that rivals soft-serve.
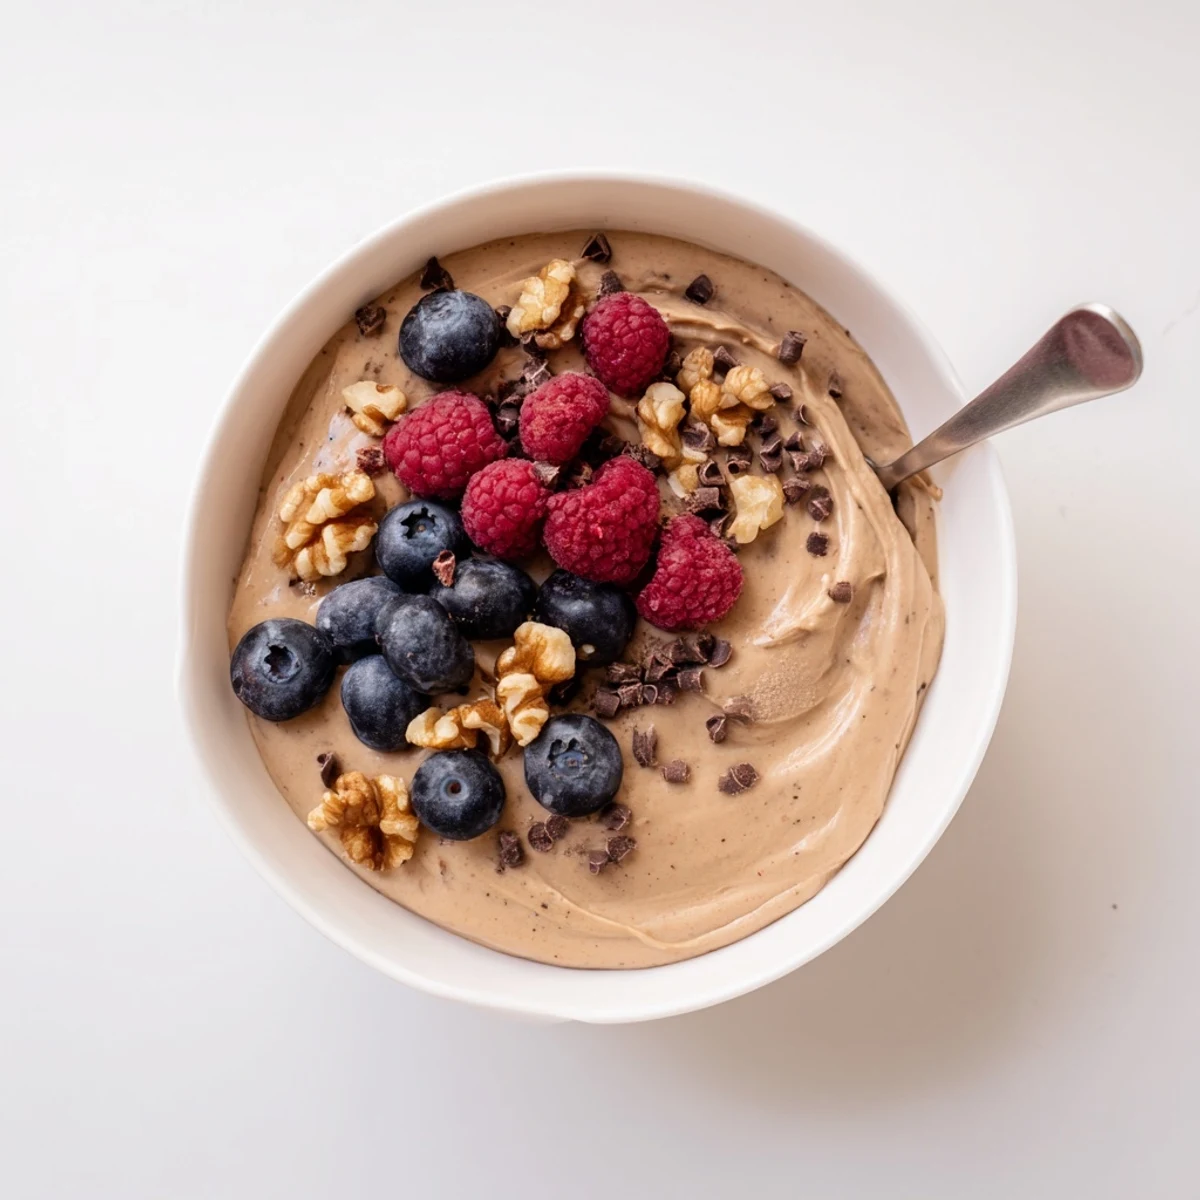
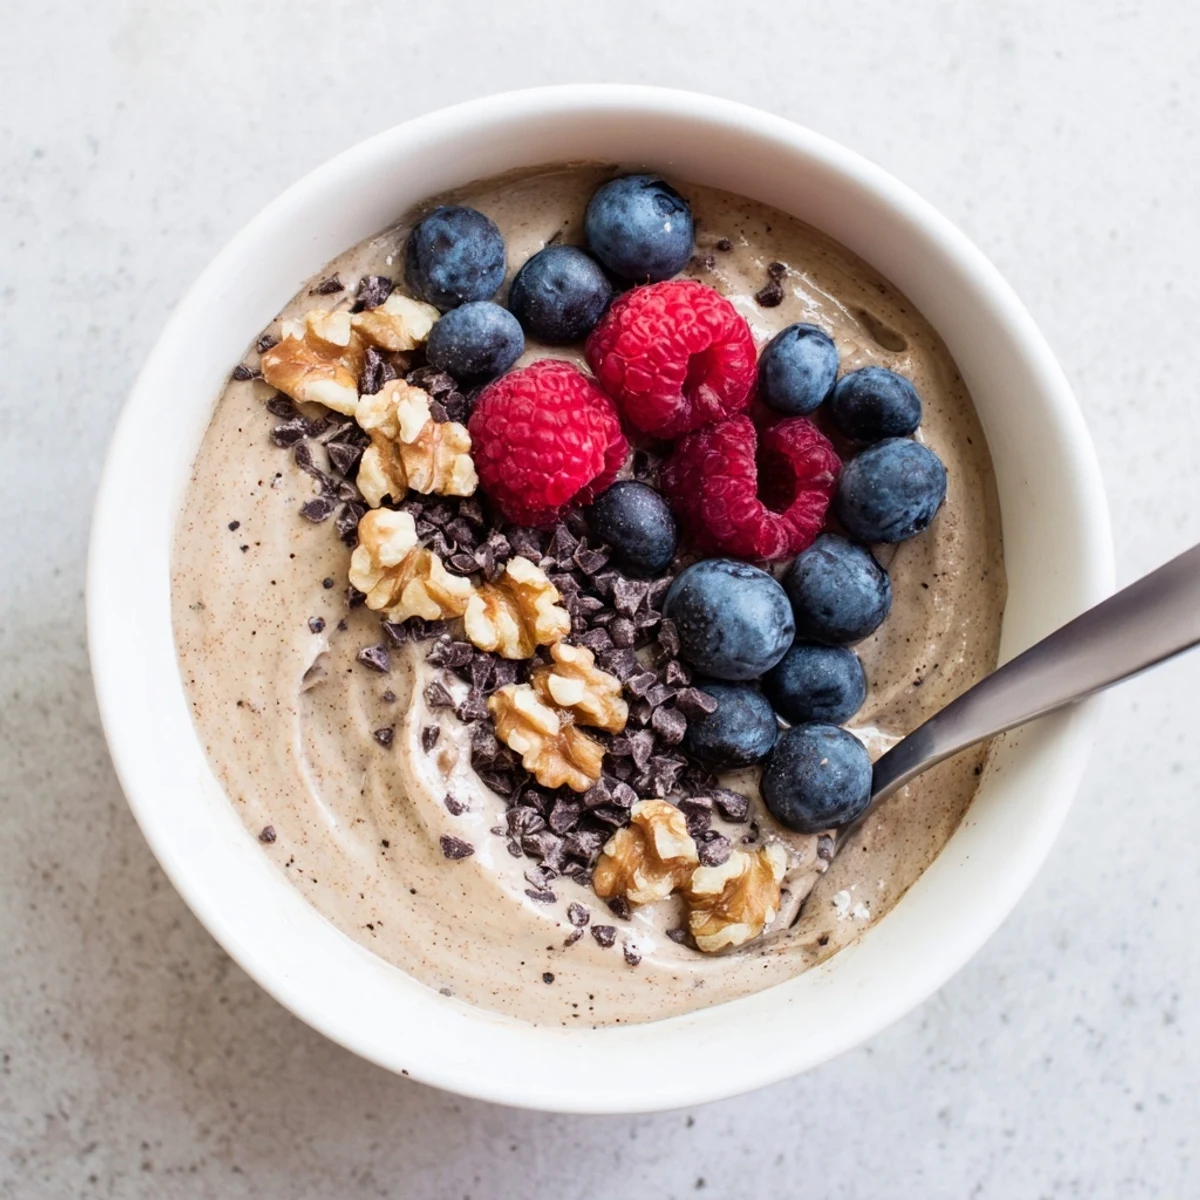
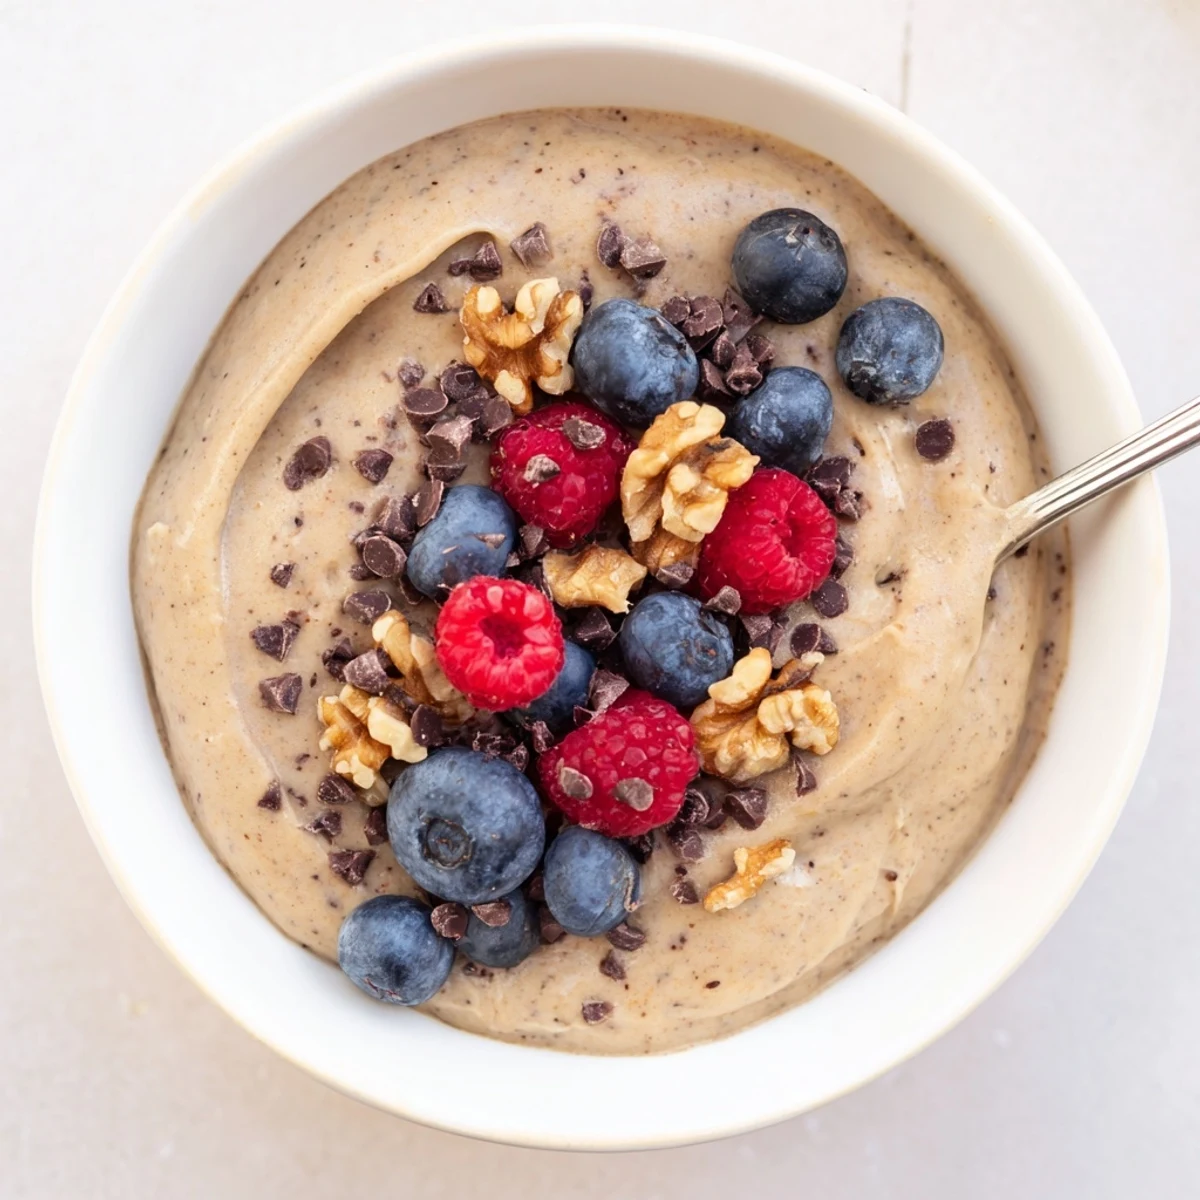
Customize your bowl with vanilla, cocoa powder, or nut butter for added depth. Top with fresh berries, crunchy nuts, or dark chocolate chips for contrasting textures and flavors. Perfect for hot summer days or as a nutritious dessert any time of year.
My freezer is always stocked with peeled bananas, and it all started because I bought too many at the farmers market one humid July afternoon. I tossed the speckled ones into a bag and forgot about them until a late night craving hit. That impromptu discovery changed my snacking habits forever, and now I honestly prefer this over store bought ice cream.
I served this at a backyard gathering last summer, and my friends refused to believe there was no dairy involved. The look on their faces when I revealed the secret ingredient was pure bananas was absolutely priceless.
Ingredients
- 3 large ripe bananas: The darker and more speckled the peel, the sweeter and creamier your nice cream will turn out, so never throw away those ugly bananas.
- 1 tsp vanilla extract: This optional touch rounds out the flavor beautifully and makes it taste like real ice cream rather than a frozen banana smoothie.
- 1 to 2 tbsp unsweetened cocoa powder: Add this if you want a rich chocolate version that rivals any chocolate gelato you have ever had.
- 2 tbsp nut butter: Almond or peanut butter adds a luxurious richness and a subtle savory depth that keeps you coming back for another spoonful.
- Fresh berries, chopped nuts, or dark chocolate chips for topping: Texture contrasts make each bowl exciting, so pile on whatever you are craving that day.
Instructions
- Peel and slice the bananas:
- Cut each banana into roughly one inch coins and try to make them fairly uniform so they freeze evenly and blend without stubborn chunks.
- Freeze the slices solid:
- Spread them in a single layer on a parchment lined baking sheet and freeze for at least two hours until every piece is rock hard.
- Blend until magic happens:
- Drop the frozen pieces into your food processor or high speed blender and let it run, scraping down the sides patiently as it transforms from crumbly shards to silky soft serve.
- Add your flavor twists:
- Toss in vanilla, cocoa powder, or nut butter now and blend again until everything is uniformly swirled through the creamy base.
- Serve or firm it up:
- Eat it right away for an impossibly soft texture, or pack it into a container and freeze for one to two hours if you prefer scoopable firmness.
- Top and enjoy:
- Pile on fresh berries, toasted nuts, or chocolate chips and dig in before it melts, which in my house is usually within about three minutes.
 Save
Save One rainy afternoon my niece walked into the kitchen, watched me blend frozen bananas, and declared it the coolest thing she had ever seen someone do with fruit. She now makes it on her own every weekend and texts me photos of her latest toppings.
Flavor Adventures Worth Trying
Once you master the basic version, start throwing in frozen mango chunks or a handful of berries during blending for entirely different flavor profiles that never get old.
The Right Tools Make It Easy
A food processor with a wide bowl gives the smoothest result with the least scraping effort, though a standard blender works if you have patience and a good spatula.
Storing Your Leftovers
If you end up with extra, press a piece of parchment directly against the surface before sealing the container to minimize ice crystals forming overnight.
- Let it sit at room temperature for about five minutes before scooping if it has been in the freezer for more than a few hours.
- A quick re blend in the food processor brings back the original creamy texture beautifully.
- Consume within one week for the best flavor and smoothest consistency.
 Save
Save Keep a bag of frozen banana slices ready at all times, and you will always be ten minutes away from a wholesome frozen treat that feels like pure indulgence.
Recipe FAQs
- → Why is my nice cream icy instead of creamy?
-
Icy texture usually means the bananas weren't frozen long enough or your blender lacks power. Ensure bananas are frozen solid for at least 2 hours, preferably overnight. A high-speed blender works best—pause frequently to scrape down sides and let the machine rest if needed.
- → Can I make nice cream without a high-speed blender?
-
A food processor works well, though it may take slightly longer. Avoid using standard blenders as they often struggle with frozen fruit. If using a lower-powered appliance, let bananas thaw for 5 minutes before processing to ease the strain.
- → How long does nice cream keep in the freezer?
-
Best enjoyed immediately for soft-serve texture. If frozen longer than 2 hours, it becomes quite firm. Let thaw 10-15 minutes before serving, or re-blend with a splash of plant milk to restore creaminess. Stored in an airtight container, it keeps up to 1 week.
- → What other fruits work for nice cream?
-
Mango creates exceptionally creamy results due to its natural fiber content. Strawberries, pineapple, and blended berry combinations also work beautifully. Mix fruits or add banana as a base for creaminess with more delicate fruits like berries.
- → Why use overripe bananas?
-
Overripe bananas contain more natural sugars, resulting in sweeter finished product without added sweeteners. They also blend more smoothly, creating that luxurious ice cream-like texture. Brown-spotted bananas are ideal—avoid completely black ones as flavor may be fermented.
