 Save
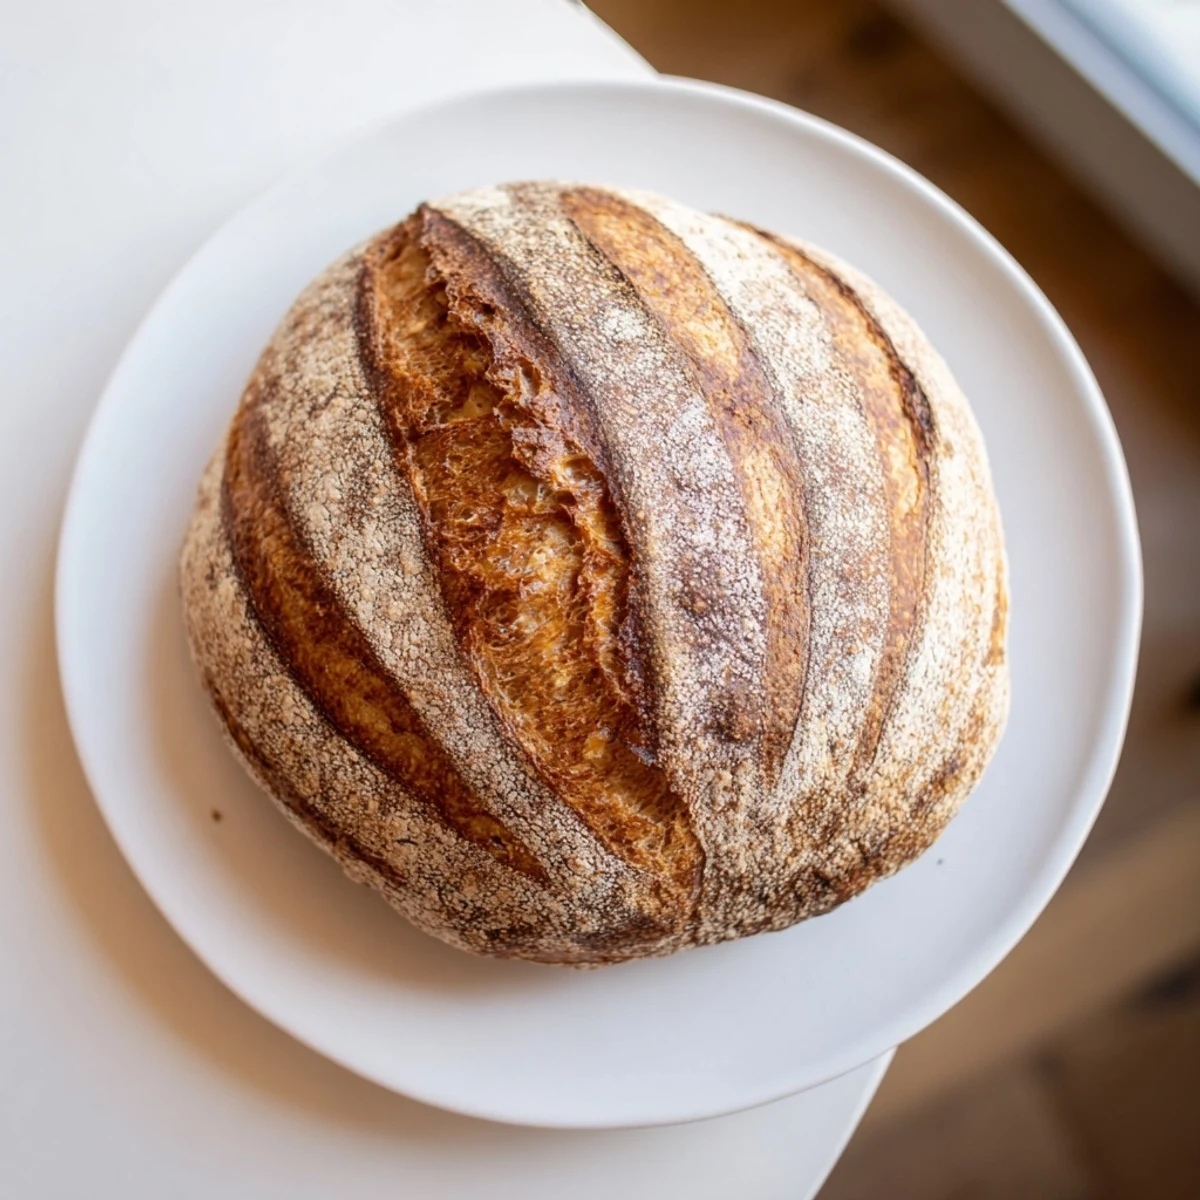
Save Create an authentic sourdough loaf using wild yeast starter for naturally tangy, complex flavors. This traditional method yields a beautiful crackling crust and tender chewy crumb through slow fermentation.
The process involves mixing bread flour with water, active starter, and sea salt, followed by periodic stretching and folding to develop strength. After rising at room temperature, the dough undergoes cold fermentation for 8-12 hours, enhancing flavor depth.
Baking in a preheated Dutch oven creates steam for exceptional oven spring, resulting in a bakery-quality loaf with deep golden color and professional appearance.
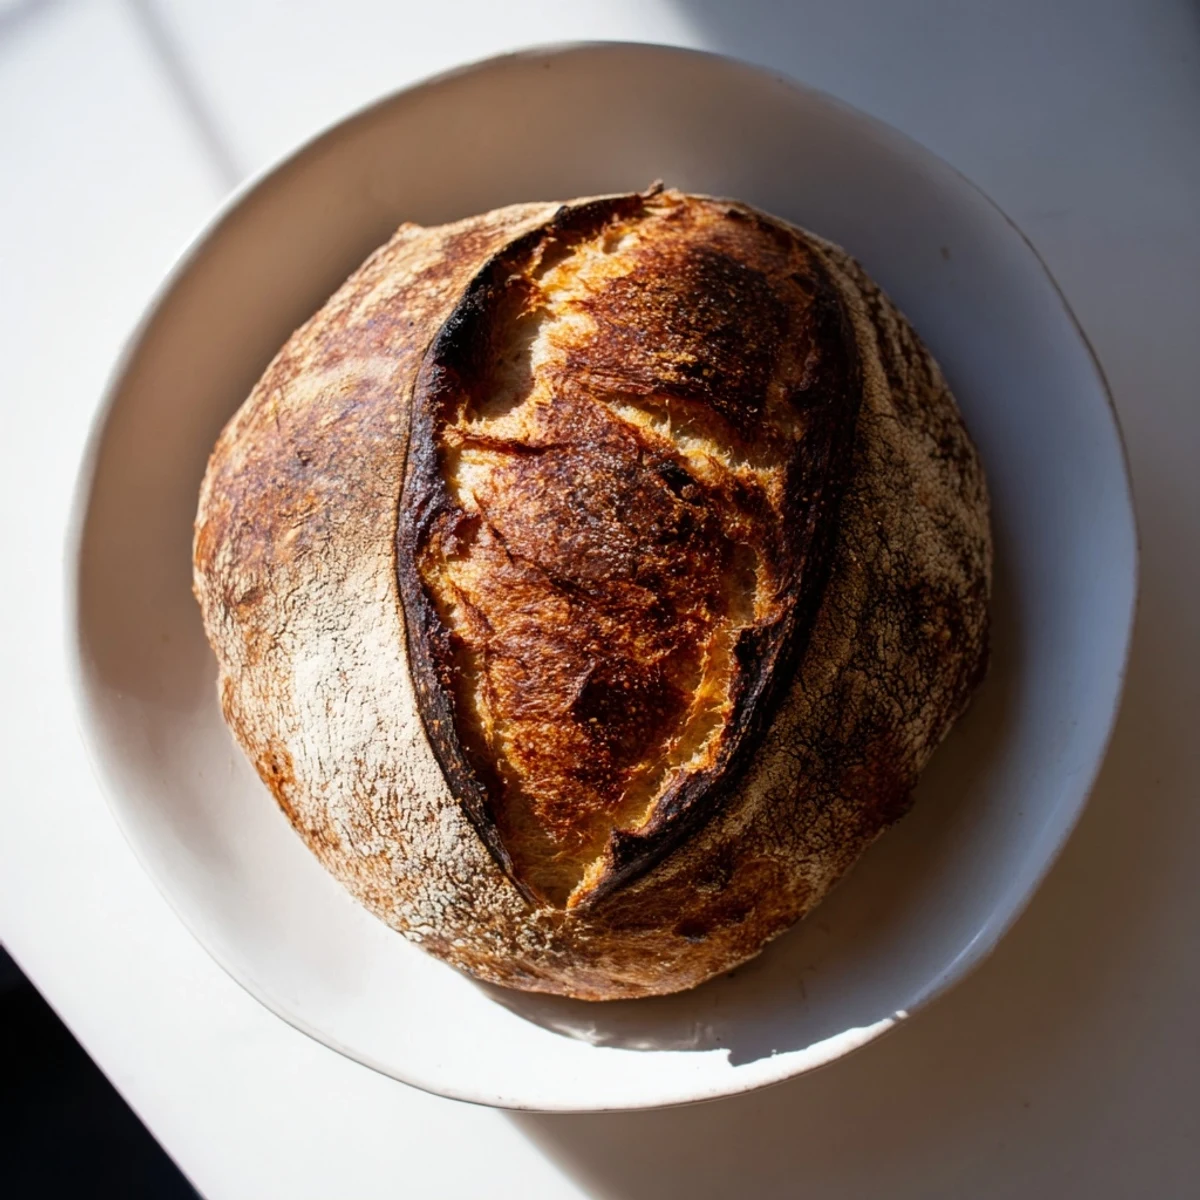
My kitchen smelled like a bakery for three straight days when I finally got my sourdough starter alive enough to bake with. I had been trying for months, throwing out more failed bubbly experiments than I care to admit, but that first successful loaf changed everything. The crackle of the crust cooling on the rack might be one of the most satisfying sounds I have ever heard.
I brought this loaf to a dinner party where everyone pretended not to be hungry until I broke open the crust. Suddenly people were hovering around the cutting board, asking questions about fermentation and hydration levels. Bread does that to people, especially when it is still warm from the oven.
Ingredients
- 500 g bread flour: High protein content creates the structure and chew that makes sourdough so satisfying to eat
- 350 g water: Room temperature hydrates evenly, though you might need slightly more or less depending on your flour and humidity
- 100 g active sourdough starter: This is your leavening agent and flavor source, make sure it is bubbly and doubles within 4 hours of feeding
- 10 g fine sea salt: Fine grain dissolves easily into the dough, strengthening gluten while keeping the flavor bright
- Rice flour or additional bread flour: Rice flour in your proofing basket prevents sticking better than anything else I have found
Instructions
- Mix and rest:
- Combine flour and water in a large bowl until no dry bits remain, then cover and walk away for an hour
- Add starter and salt:
- Scrape in your starter, sprinkle the salt, and squeeze everything together until it forms a shaggy ball
- Stretch and fold:
- Every 30 minutes for 2 hours, grab one edge of the dough and stretch it up, then fold it over the center, rotating the bowl each time
- Bulk fermentation:
- Let the dough rise at room temperature until it has roughly doubled, which takes 4 to 6 hours depending on how warm your kitchen is
- Shape the loaf:
- Turn the dough onto a lightly floured surface and fold the edges toward the center to create tension, then flip it over and use a bench scraper to drag it into a smooth round
- Cold proof:
- Place the dough seam side up in a floured proofing basket, cover, and refrigerate for 8 to 12 hours while you sleep
- Preheat like you mean it:
- Put your Dutch oven in the oven and crank it to 230°C (450°F) for at least 30 minutes before baking
- Score and bake:
- Invert the dough onto parchment, slash the top with a sharp blade, then transfer everything into the hot Dutch oven and cover
- Create the crust:
- Bake covered for 20 minutes, then remove the lid and bake another 20 minutes until the crust is deeply golden and sounds hollow when tapped
 Save
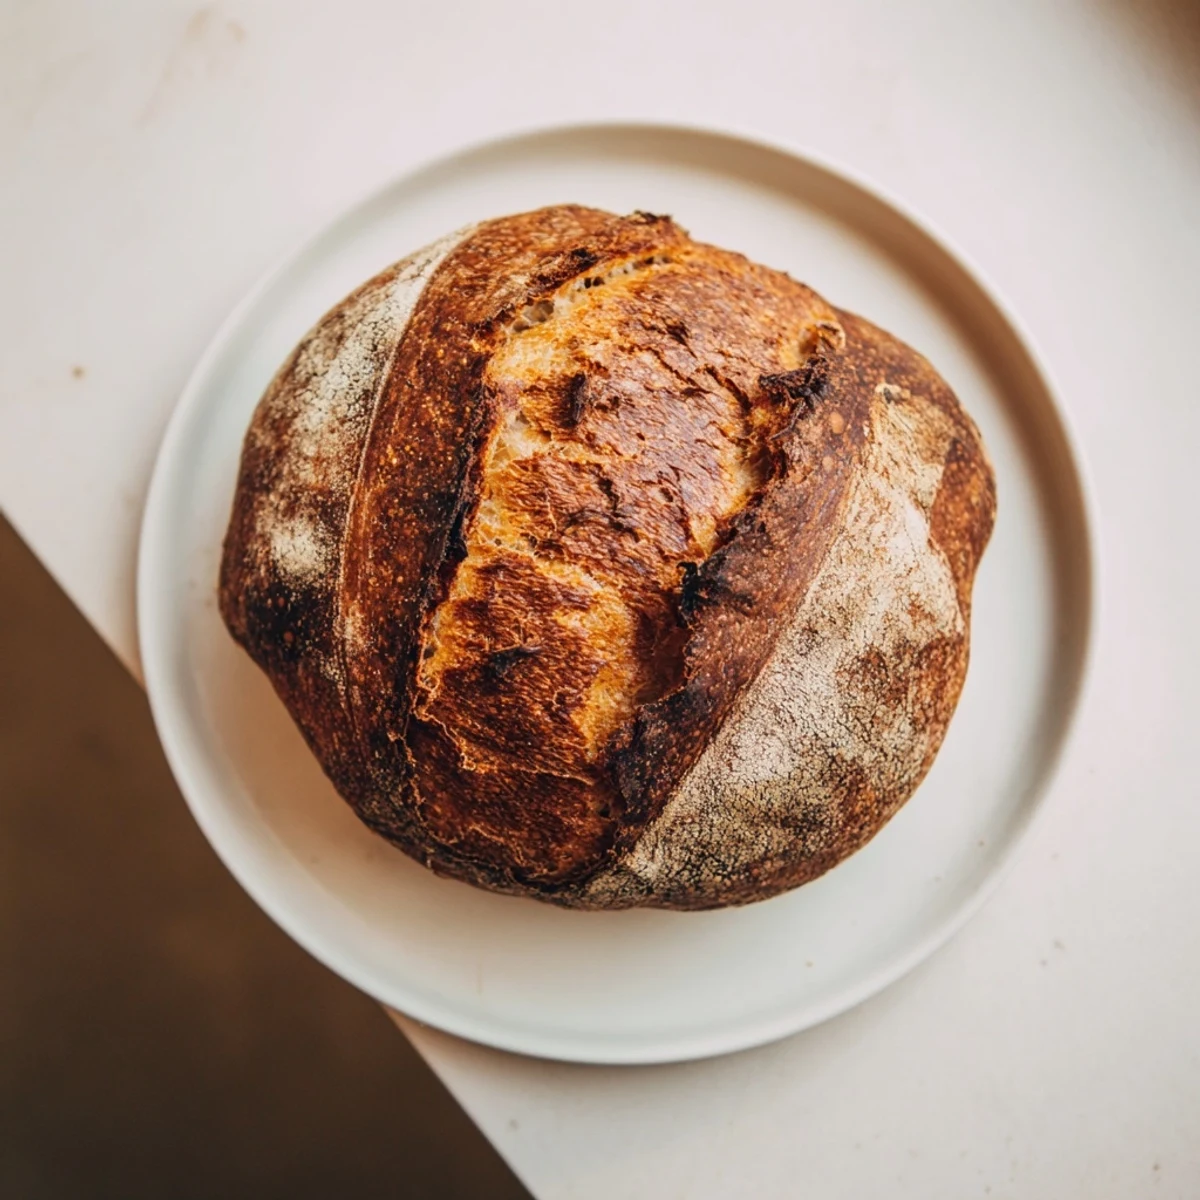
Save Slicing into that first loaf, steam rising up as the knife broke through the crackling crust, I understood why people get obsessed with sourdough. It is not just bread, it is a relationship you build with something alive.
The Starter Situation
Maintaining a starter feels like having a low maintenance pet that lives in your fridge. Feed it equal parts flour and water, discard half if you are not baking, and keep it at room temperature when you want it active and hungry. The flavor develops over time, so an older starter often produces more complex loaves.
Shaping Without Stress
I used to overwork my dough, trying to make it perfectly smooth, but tension matters more than perfection. Use your bench scraper to drag the dough across the counter rather than adding tons of flour. The friction against the surface creates the skin you need for a beautiful oven spring.
Temperature Makes All the Difference
Cold dough is much easier to score and handles better when transferring to your hot Dutch oven. The overnight refrigeration step is not just about convenience, it improves the flavor and gives you better control during the most critical part of the bake.
- A hot oven is non negotiable for that dramatic oven spring
- Wait at least an hour before slicing, or the steam will escape and make the crumb gummy
- Leftovers make the best toast you will ever eat
 Save
Save There is something deeply satisfying about turning flour, water, and salt into something this beautiful. Happy baking.
Recipe FAQs
- → What makes sourdough different from regular bread?
-
Sourdough uses wild yeast and beneficial bacteria naturally present in flour, creating natural fermentation instead of commercial yeast. This process develops complex tangy flavors, improves digestibility, and yields a longer-lasting loaf with superior texture and crust characteristics.
- → How do I know when my dough is properly proofed?
-
Properly proofed dough will have roughly doubled in size. The poke test is reliable: gently press a floured finger into the dough - if the indentation slowly fills back halfway, it's ready. If it springs back completely, it needs more time. If it stays indented, it may be over-proofed.
- → Can I bake this without a Dutch oven?
-
Yes, though results may vary. Create steam by placing a metal pan on the bottom oven rack while preheating, then pour ice water into it when you put the bread in. Alternatively, bake on a baking stone or heavy sheet pan covered with a large metal bowl for the first 20 minutes.
- → Why is cold fermentation recommended?
-
Cold fermentation in the refrigerator (8-12 hours) slows yeast activity while allowing enzymes to continue breaking down flour. This develops deeper, more complex flavors, improves texture, and makes scheduling easier since you can bake when convenient the next day.
- → How should I store sourdough bread?
-
Store at room temperature in a paper bag or wrapped in a clean kitchen towel for up to 3 days. Avoid plastic bags which trap moisture and make the crust soggy. For longer storage, slice and freeze in an airtight container, toasting slices directly from frozen.
- → What if my starter isn't active enough?
-
An active starter should double in size within 4-8 hours of feeding at room temperature, with many bubbles on the surface. If yours seems sluggish, feed it equal parts flour and water twice daily for 2-3 days before baking. The starter should float when dropped in water - a reliable test for readiness.
