 Save
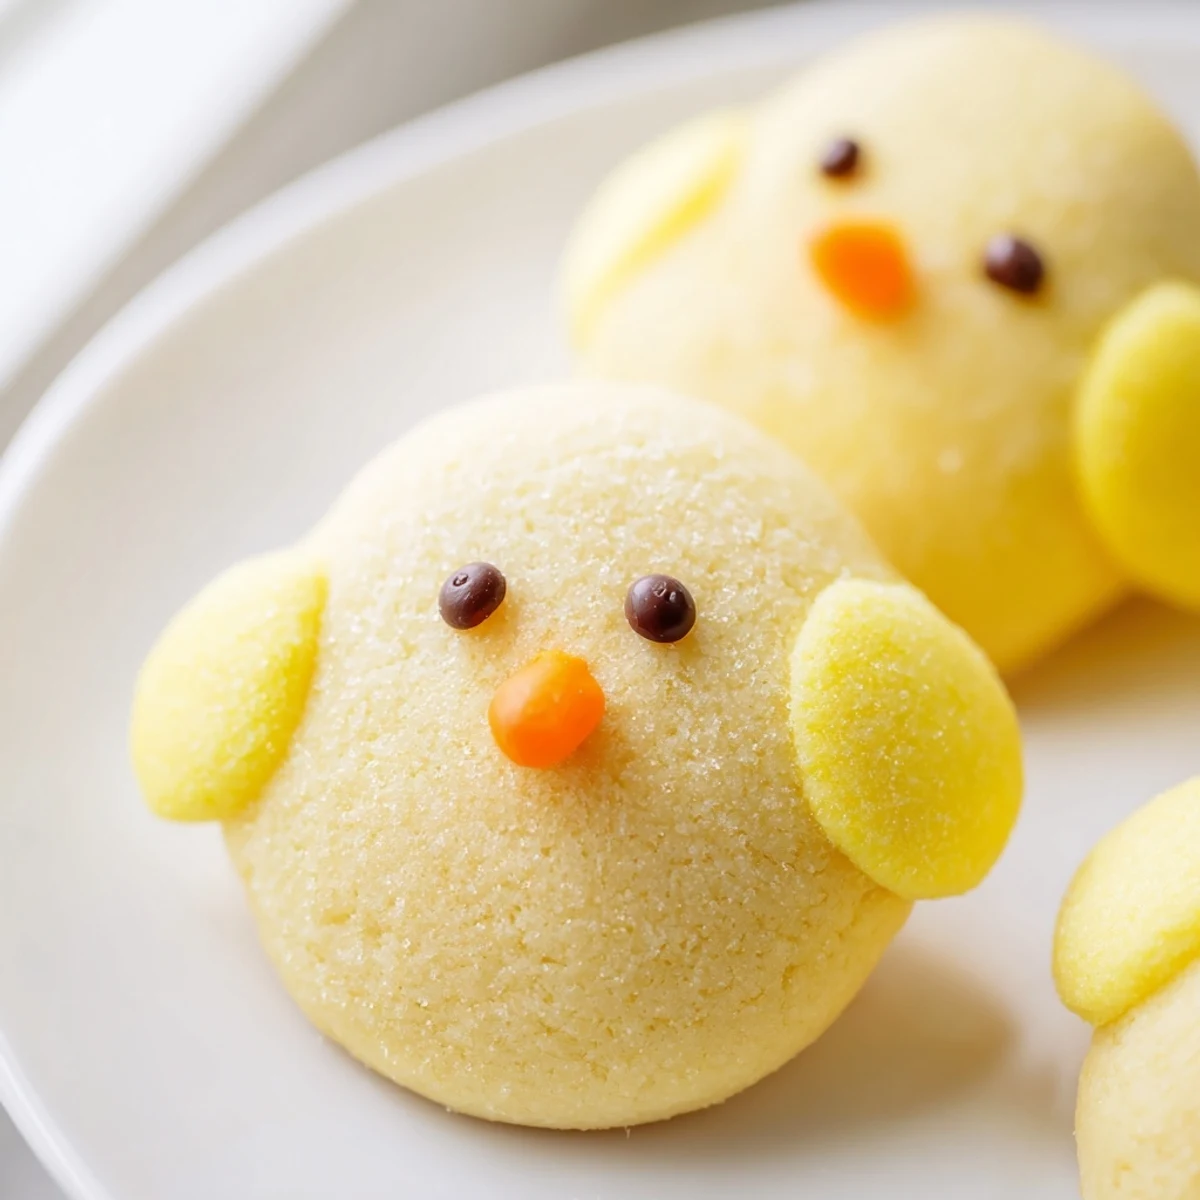
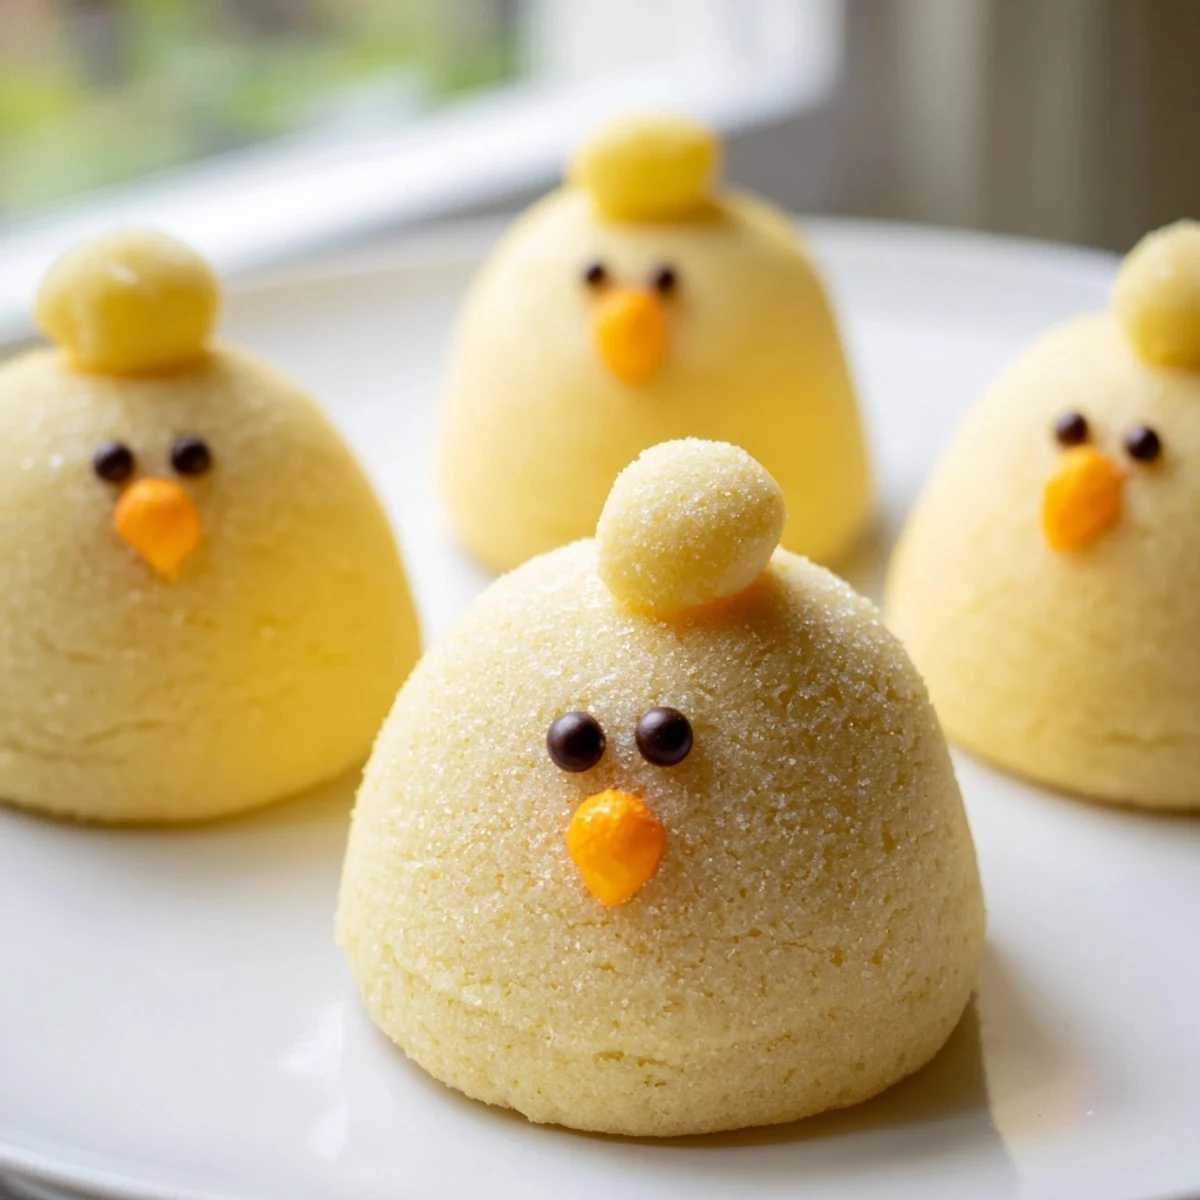
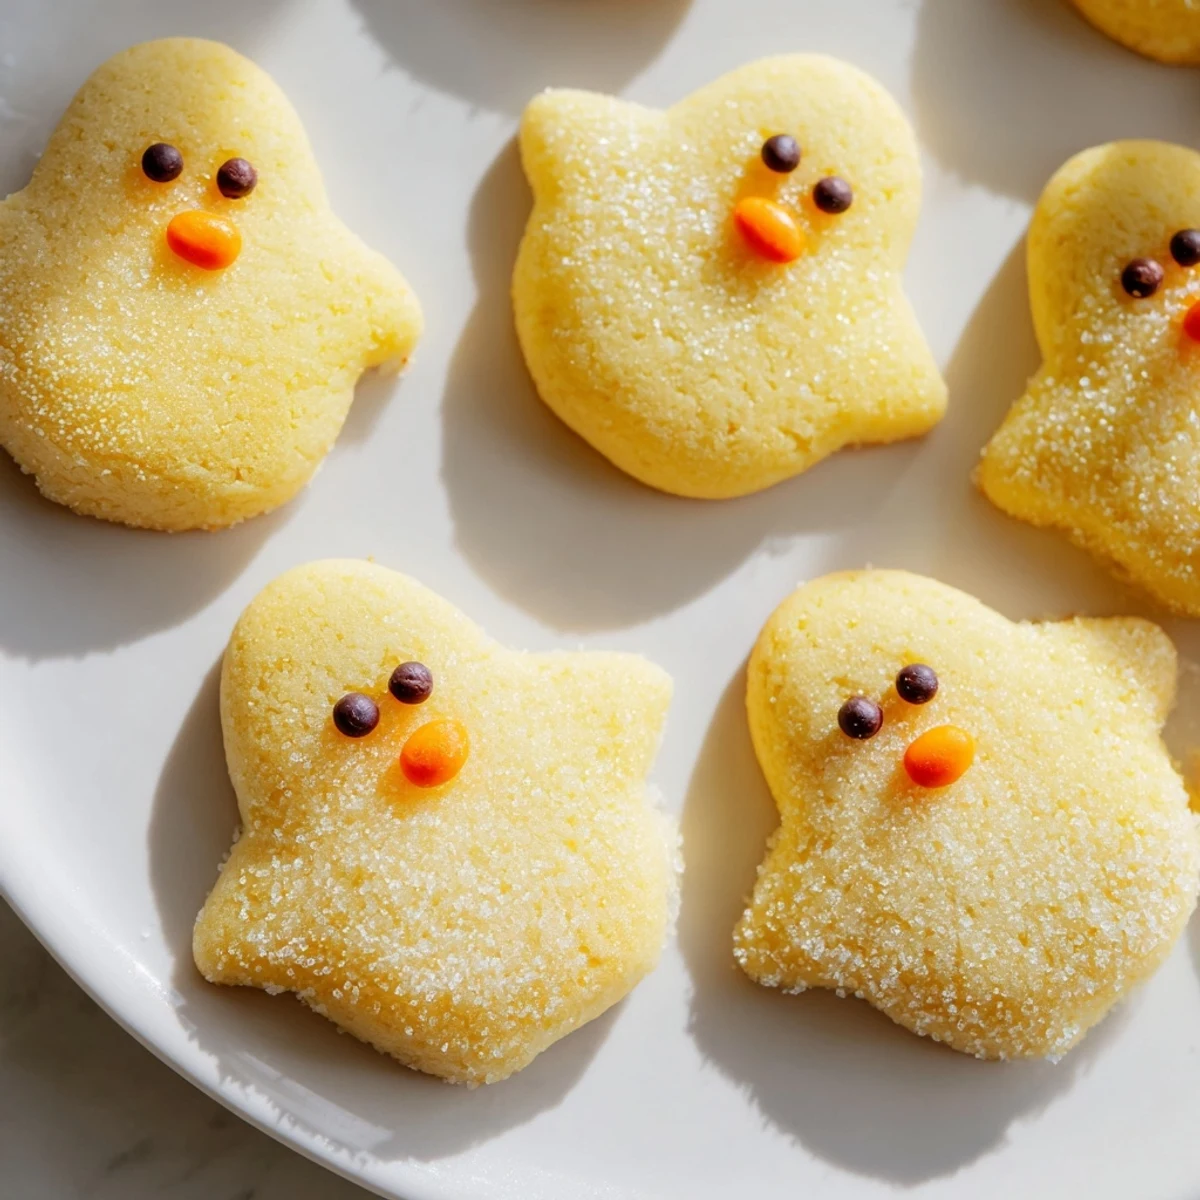
Save These charming chick-shaped butter cookies bring spring cheer to any celebration. The soft sugar dough bakes into tender treats with just-golden edges, while vibrant yellow coloring makes them instantly recognizable. Each cookie features a round body and smaller head, finished with simple black eyes and orange beaks using decorating gel or candy pieces.
The process is straightforward: cream butter and sugar, add vanilla and egg, then incorporate dry ingredients before kneading in yellow food coloring. Roll the dough into balls, assemble the chick shapes, and bake briefly. Optional glaze adds extra shine, while sprinkles or lemon zest offer customization possibilities.
Kids love helping shape the chicks and add faces, making these perfect for family baking time. The dough can be chilled if too soft, and the recipe yields 24 adorable treats ready for Easter, baby showers, or any spring gathering.
Last Easter, my kitchen counter became a chick assembly line and I honestly didnt want it to end. My niece grabbed a stool and started pressing little ball bodies together, declaring herself head of quality control. We had flour on our noses and yellow food coloring everywhere. Those cookies disappeared faster than we could pipe the beaks on.
I made these for my daughters spring birthday party because she wanted something that felt like sunshine. Her friends stood around the kitchen island, carefully placing chocolate chip eyes and squabbling over whose chick had the cutest beak. The best part was watching them小心翼翼 carry their creations outside like tiny precious treasures.
Ingredients
- All-purpose flour: The structure for these cuties, measure properly by spooning into your cup and leveling off
- Baking powder: Just enough lift to keep them tender without spreading into blobs
- Unsalted butter: Room temperature is non negotiable, it needs to be soft enough to cream but not melting
- Granulated sugar: Creates that crisp edge and chewy center sugar cookie balance we all love
- Yellow food coloring: Gel coloring gives you that vibrant spring yellow without thinning the dough
- Powdered sugar: Whisk it with milk until completely smooth for that professional bakery shine
- Black decorating gel: Trust me and get the gel, chocolate chips can melt during that second bake if you are not careful
Instructions
- Preheat your oven and prep your workspace:
- Line two baking sheets with parchment paper now because once your hands are covered in yellow dough, you will not want to be futzing with paper. Set your oven to 350°F.
- Whisk the dry ingredients together:
- In a medium bowl, combine flour, baking powder, and salt. This simple step prevents overmixing later and keeps your cookies tender.
- Cream the butter and sugar:
- Beat that butter and sugar until it is actually light and fluffy, about 3 full minutes. The air you incorporate now determines the final texture.
- Add the egg and vanilla:
- Crack in your egg and pour in the vanilla, then beat another minute until everything is glossy and combined.
- Combine wet and dry ingredients:
- Slowly mix in your flour mixture on low speed just until a dough forms. Do not overmix or these cute little chicks will be tough instead of tender.
- Color the dough:
- Add yellow food coloring drop by drop, kneading until you reach that perfect spring sunshine shade. Gel coloring works best here so you do not add too much liquid.
- Shape your chicks:
- Roll one inch balls for bodies and slightly smaller balls for heads, gently pressing them together on the baking sheet. Space them about two inches apart to give them room to puff up.
- Bake until barely golden:
- Eight to ten minutes is all you need, pulling them out when the edges are just starting to turn color. They will continue setting on the baking sheet.
- Make the glaze:
- Whisk powdered sugar with milk until you have a smooth, thin icing. Brush it over cooled cookies for that extra shine that makes them look professionally made.
- Add the faces:
- Use black gel for eyes and orange gel for beaks, then let everything set completely before stacking. This is when your chicks really come to life.
 Save
Save My friend Sarah asked me to teach her how to make these after seeing a photo on my phone. We spent a whole Sunday afternoon with yellow stained fingers and flour everywhere, laughing at our lopsided early attempts. Now she makes them every year for her nie Easter basket and sends me photos of her improving chick faces.
Getting the Shape Right
The trick to shaping these without getting frustrated is working with cool dough. I learned the hard way that warm dough sticks to everything and the heads slide off the bodies during baking. Keep a bowl of ice water nearby to dip your hands in if the dough starts getting too warm and sticky.
Making Them Ahead
You can roll and shape these chicks up to two days ahead if you freeze them on the baking sheet first. Once they are frozen solid, transfer them to a bag and bake straight from frozen, adding just one extra minute to the baking time. This has saved me more than once when I am prepping for a party.
Decoration Ideas That Work
Beyond the basic beaks and eyes, consider adding tiny wing details with orange gel or a little orange crown for a rooster variation. I have also seen people use sprinkles for different colored chicks, though the classic yellow never goes out of style for spring celebrations.
- Use a toothpick to perfect the beak shape before the gel sets completely
- Let the glaze dry fully before adding faces or everything will smear together
- Keep some plain cookies undecorated for anyone who prefers the classic sugar cookie taste
 Save
Save These chick cookies have become my go to for spring gatherings because they make everyone smile without requiring professional decorating skills. Even the slightly lopsided ones taste just as delicious and get eaten just as fast.
Recipe FAQs
- → Can I make the chick dough ahead of time?
-
Yes, prepare the dough and refrigerate it for up to 2 days. Let it soften slightly at room temperature before rolling and shaping. You can also freeze the dough balls for up to 3 months—thaw overnight in the refrigerator before baking.
- → What's the best way to get vibrant yellow color?
-
Gel food coloring provides the most intense hue without adding liquid to the dough. Start with 2-3 drops and knead thoroughly, adding more until you reach your desired shade. Liquid coloring works but may slightly affect dough consistency.
- → How do I prevent the chick heads from separating during baking?
-
Gently press the head ball onto the body ball until they adhere well. You can also use a small amount of water or beaten egg as 'glue' between the two pieces before baking. Don't press too hard or the shape will flatten.
- → Can I use natural food coloring alternatives?
-
Turmeric powder adds yellow color subtly, though it will slightly alter the flavor. For a completely natural approach, skip coloring and decorate with yellow sprinkles or sanding sugar after baking. The chick shapes remain recognizable without the colored dough.
- → What other decorations work for chick faces?
-
Beyond decorating gel, try mini chocolate chips, candy eyes, or small dots of piped chocolate for eyes. For beaks, orange sprinkles, candy corn pieces, or shaped fondant all create cute expressions. Let decorated cookies set completely before stacking or storing.
- → Why did my cookies spread too much in the oven?
-
Warm dough causes excessive spreading. Chill the shaped chicks for 15-20 minutes before baking if the dough feels soft. Also ensure your butter wasn't overheated during creaming—room temperature butter should hold a finger indent but not feel greasy.
