
 Save
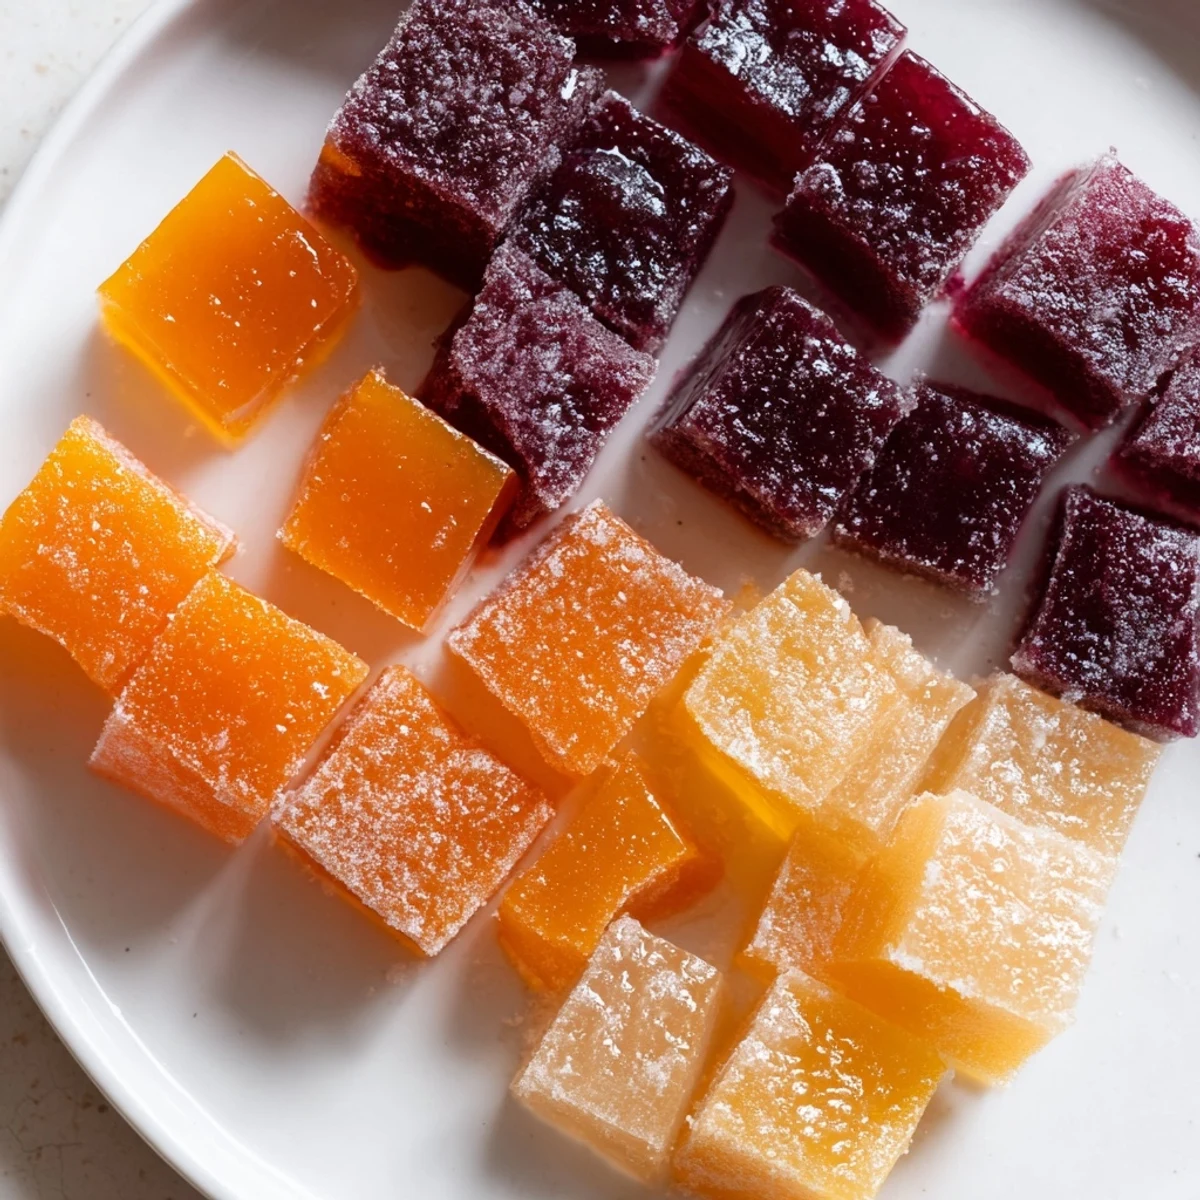
Save These collagen fruit jellies combine 100% fruit juice with grass-fed collagen peptides and gelatin for a nourishing, bite-sized snack. They come together in under 20 minutes on the stovetop, then simply chill until set.
Each piece delivers a boost of collagen to support skin elasticity and joint health, all wrapped in naturally sweet fruit flavor. Customize with your favorite juice blend, adjust sweetness to taste, and store them in the fridge for up to a week.
My fridge had a permanent stash of gummy bears in college, the kind that stuck to your teeth and left you feeling vaguely regretful. Years later, I stumbled onto the idea of making my own fruit jellies at home, and everything changed. These little gems are bouncy, bright, and infused with collagen, so every bite feels like a small act of self care rather than a sugar crash waiting to happen.
I made a batch of these for a road trip with my sister last spring, packing them in a little jar between the sunscreen and the playlist binder. She kept reaching for more, and by hour three she asked if I had secretly bought them from a fancy health food store. That might be my favorite kind of compliment.
Ingredients
- 1 cup 100% fruit juice: Orange, mixed berries, or apple all work beautifully, but read the label and skip anything with added sugar or artificial flavors.
- 2 to 3 tablespoons honey or maple syrup: Entirely optional depending on how sweet your juice is, so taste your juice first and decide.
- 2 tablespoons grass-fed collagen peptides: This dissolves invisibly once the mixture is off the heat, giving each jelly a protein boost without changing the texture.
- 3 tablespoons unflavored gelatin powder: The real magic ingredient here, and the key is letting it bloom in cold juice before you apply any heat.
Instructions
- Bloom the gelatin:
- Pour the fruit juice into a small saucepan and sprinkle the gelatin evenly across the surface, then resist the urge to stir and just let it sit for two to three minutes until it looks wrinkled and absorbed.
- Gently dissolve:
- Set the pan over low heat and stir constantly with a whisk until the gelatin disappears completely into the liquid, making sure it never comes to a boil.
- Add the good stuff:
- Take the pan off the heat and whisk in the collagen peptides and your sweetener if you are using any, stirring until the mixture is perfectly smooth and unified.
- Mold and chill:
- Pour the liquid into silicone molds or a small baking dish lined with parchment paper, then slide it into the refrigerator for at least two hours until firmly set.
- Unmold and enjoy:
- Pop the jellies out of their molds or cut them into bite sized squares with a paring knife, dusting lightly with cornstarch if you want to prevent sticking.
 Save
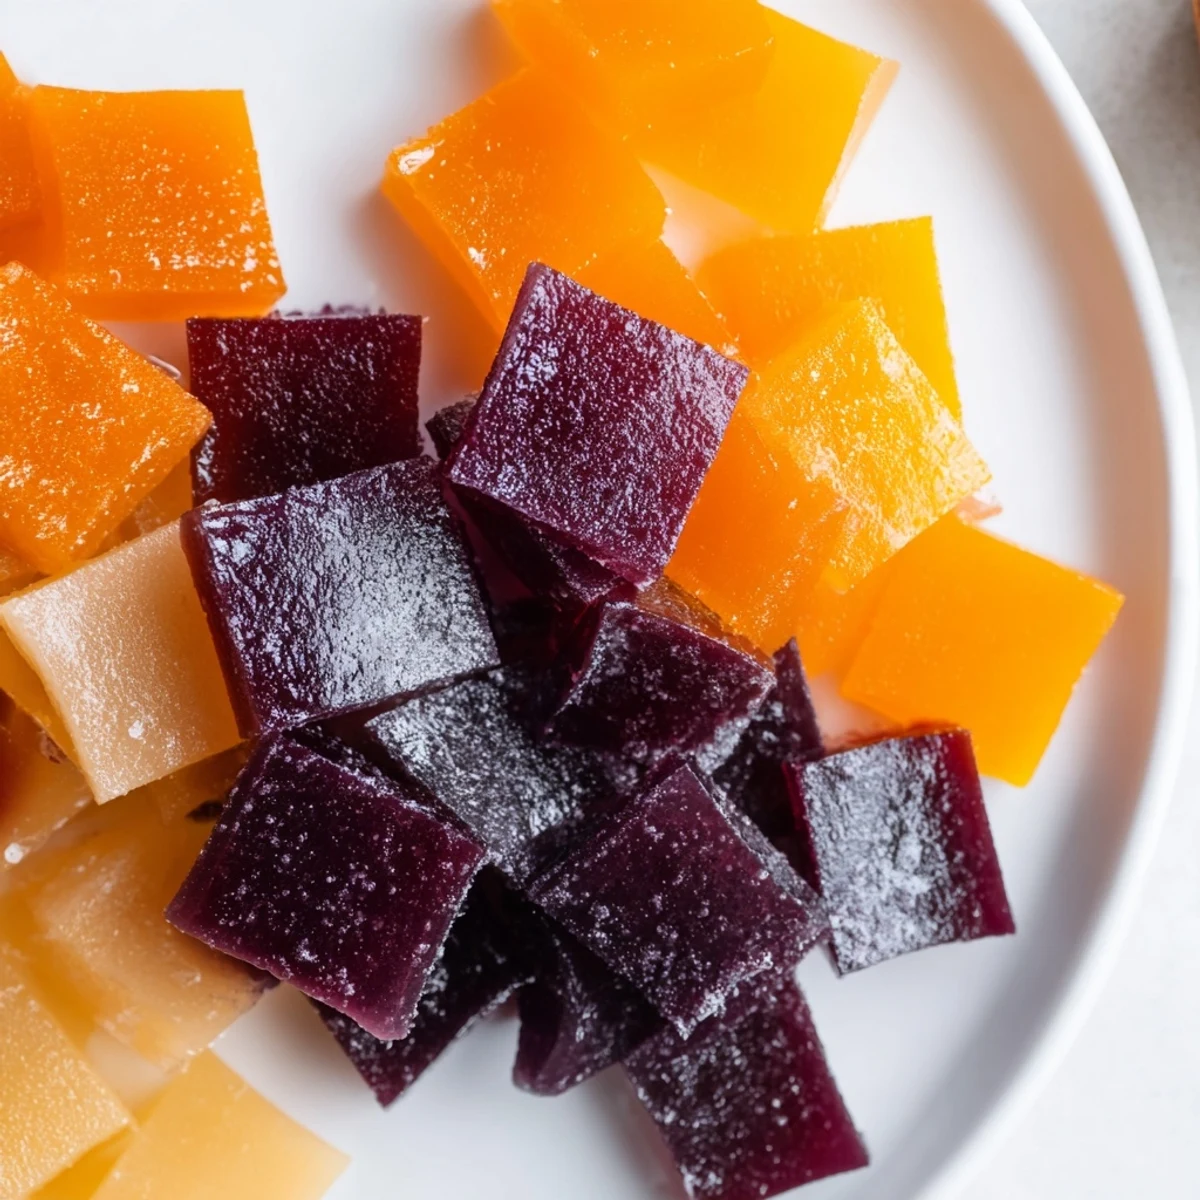
Save There is something quietly satisfying about opening the fridge and seeing a row of jewel toned jellies waiting for you, like a small gift you made for your future self.
Choosing the Right Juice
The juice you pick is the entire personality of this recipe, so choose something you genuinely enjoy drinking on its own. Tart cherry makes a deep, sophisticated jelly that feels almost medicinal in the best way, while a tropical blend turns playful and summery. Avoid pineapple and kiwi juice because their natural enzymes prevent gelatin from setting, a lesson I learned after waiting four hours for a batch that stayed stubbornly liquid.
Storage That Actually Works
These jellies keep beautifully in an airtight container in the refrigerator for up to a week, though in my house they rarely last that long. If you stack them, toss in a light dusting of cornstarch between layers so they do not fuse into one giant jelly blob. Freezing is not recommended because the texture becomes watery and sad upon thawing.
Getting Creative With Flavors
Once you master the basic technique, the variations are endless and honestly a little addictive to experiment with. Add a teaspoon of lemon juice or zest for brightness, swirl in a bit of pureed mango, or try a layer of coconut milk poured on top halfway through chilling for a two toned effect.
- A pinch of sea salt on top before chilling adds a surprising depth that makes people ask what your secret is.
- Herbal teas like hibiscus or chamomile can replace part of the juice for a more complex, grownup flavor profile.
- Always test a single jelly before committing to a full batch with a new flavor combination.
 Save
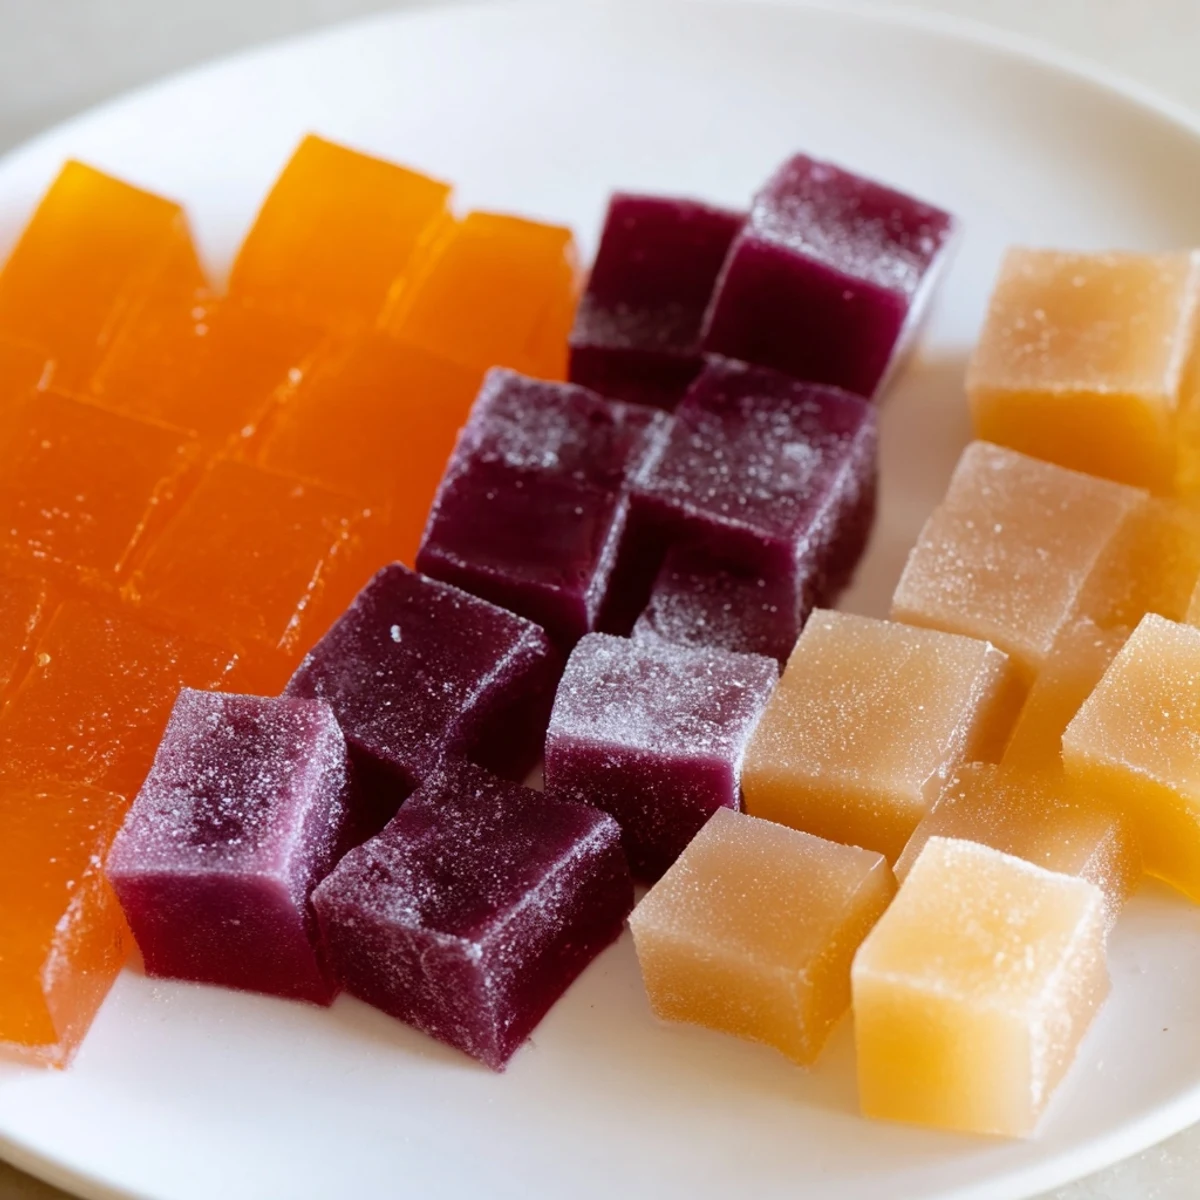
Save Keep a stash of these in your fridge and you will always have something sweet, nourishing, and ready to grab. They are proof that the best treats are the ones you make yourself with ingredients you can actually pronounce.
Recipe FAQs
- → Can I use flavored gelatin instead of unflavored?
-
Unflavored gelatin is recommended so the natural fruit juice flavor shines through. Flavored gelatin mixes contain added sugar and artificial ingredients that may alter the taste and nutritional profile.
- → What type of fruit juice works best?
-
100% fruit juice without added sugars yields the best results. Orange, mixed berry, pomegranate, and apple juice all work beautifully. Avoid juices with artificial flavors or preservatives for a cleaner finish.
- → How long do these jellies stay fresh?
-
Stored in an airtight container in the refrigerator, these jellies will keep for up to one week. Lightly dusting them with cornstarch prevents sticking during storage.
- → Can I make a vegan version?
-
Yes. Replace the gelatin with agar-agar powder following package ratios, and swap honey for maple syrup or agave. Note that collagen peptides are animal-derived, so omit them for a fully vegan version.
- → Why won't my jellies set properly?
-
The most common issue is not allowing the gelatin to bloom fully before heating. Sprinkle it evenly over cold juice and let it rest 2–3 minutes. Also avoid boiling the mixture, as high heat can weaken gelling power.
- → Can I add fresh fruit pieces to the molds?
-
Small pieces of soft fruit like berries or diced mango can be added to the molds before pouring in the liquid. Avoid watery fruits like watermelon, as excess moisture may prevent proper setting.