 Save
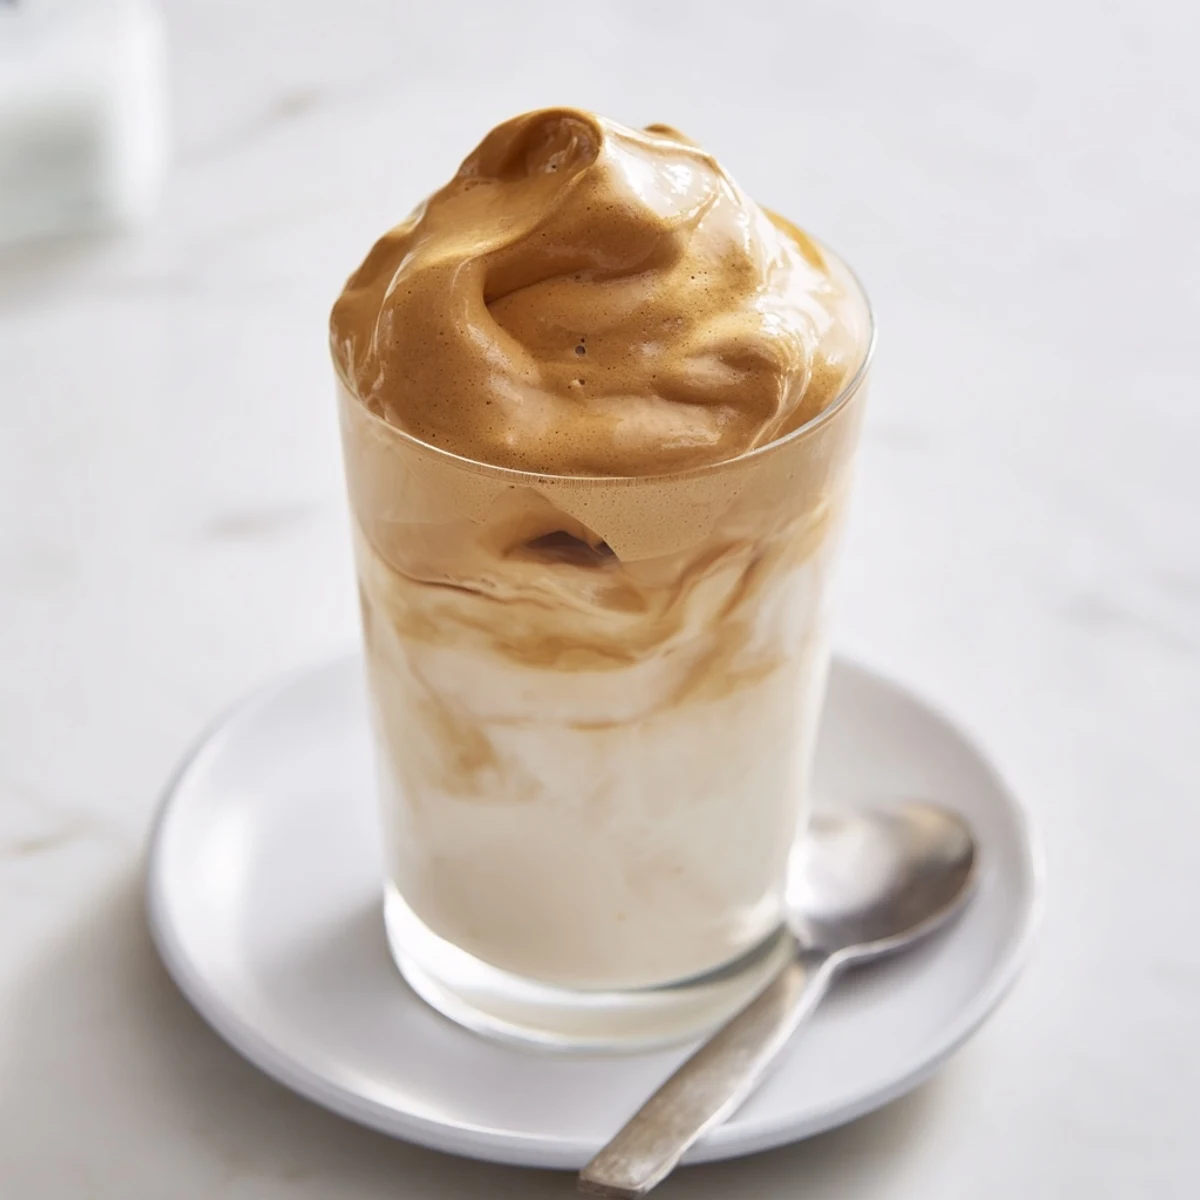
Save Whip equal parts instant coffee, granulated sugar, and hot water vigorously until pale, thick, and holding soft peaks. Spoon the airy foam over cold or warm milk and swirl to marble or stir in for an even cup. Swap in almond, oat, or soy for a dairy-free option, reduce sugar for more bitterness, and finish with cocoa or cinnamon if desired.
My apartment smelled like a cafe in Seoul the morning I discovered dalgona coffee on my phone screen and decided there was no reason to wait. Three ingredients, a fork, and about ninety seconds of aggressive wrist action later, I was staring at a glass of something that looked far too fancy for a Tuesday. The whole thing felt like a magic trick I could actually pull off.
I made this for my sister during a visit, and she stood in the kitchen filming the whipping process on her phone like it was performance art. We ended up sitting on the floor with our glasses, laughing at how something so easy could feel so indulgent.
Ingredients
- Instant coffee granules (2 tablespoons): Use real instant coffee, not espresso powder, because the texture and solubility are what make the foam hold its shape.
- Granulated sugar (2 tablespoons): White sugar dissolves best and helps stabilize the whip, though brown sugar works if you want a deeper molasses note.
- Hot water (2 tablespoons): Just off the boil is ideal, since it needs to dissolve the coffee and sugar quickly to create that emulsion.
- Cold milk (1 cup, 240 ml): Whole milk gives the creamiest result, but oat milk is a fantastic alternative that complements the coffee flavor beautifully.
- Ice cubes (optional): These keep the drink refreshingly cold and prevent the foam from melting into the milk too fast.
Instructions
- Build the base:
- Toss the instant coffee, sugar, and hot water into a medium mixing bowl and stir just until the granules start to dissolve. The mixture will look dark and unimpressive at this stage, which is perfectly normal.
- Whip it into clouds:
- Using a hand whisk, electric mixer, or milk frother, beat the mixture vigorously for two to three minutes until it turns thick, pale caramel, and forms soft peaks that hold their shape when you lift the whisk. Your arm will ache if you are using a fork, but I promise it works.
- Set the stage:
- Fill two glasses with ice cubes if you want a chilled drink, then pour half a cup of cold milk into each glass. Watch how the milk settles around the ice like a quiet little moment before the drama.
- Crown it:
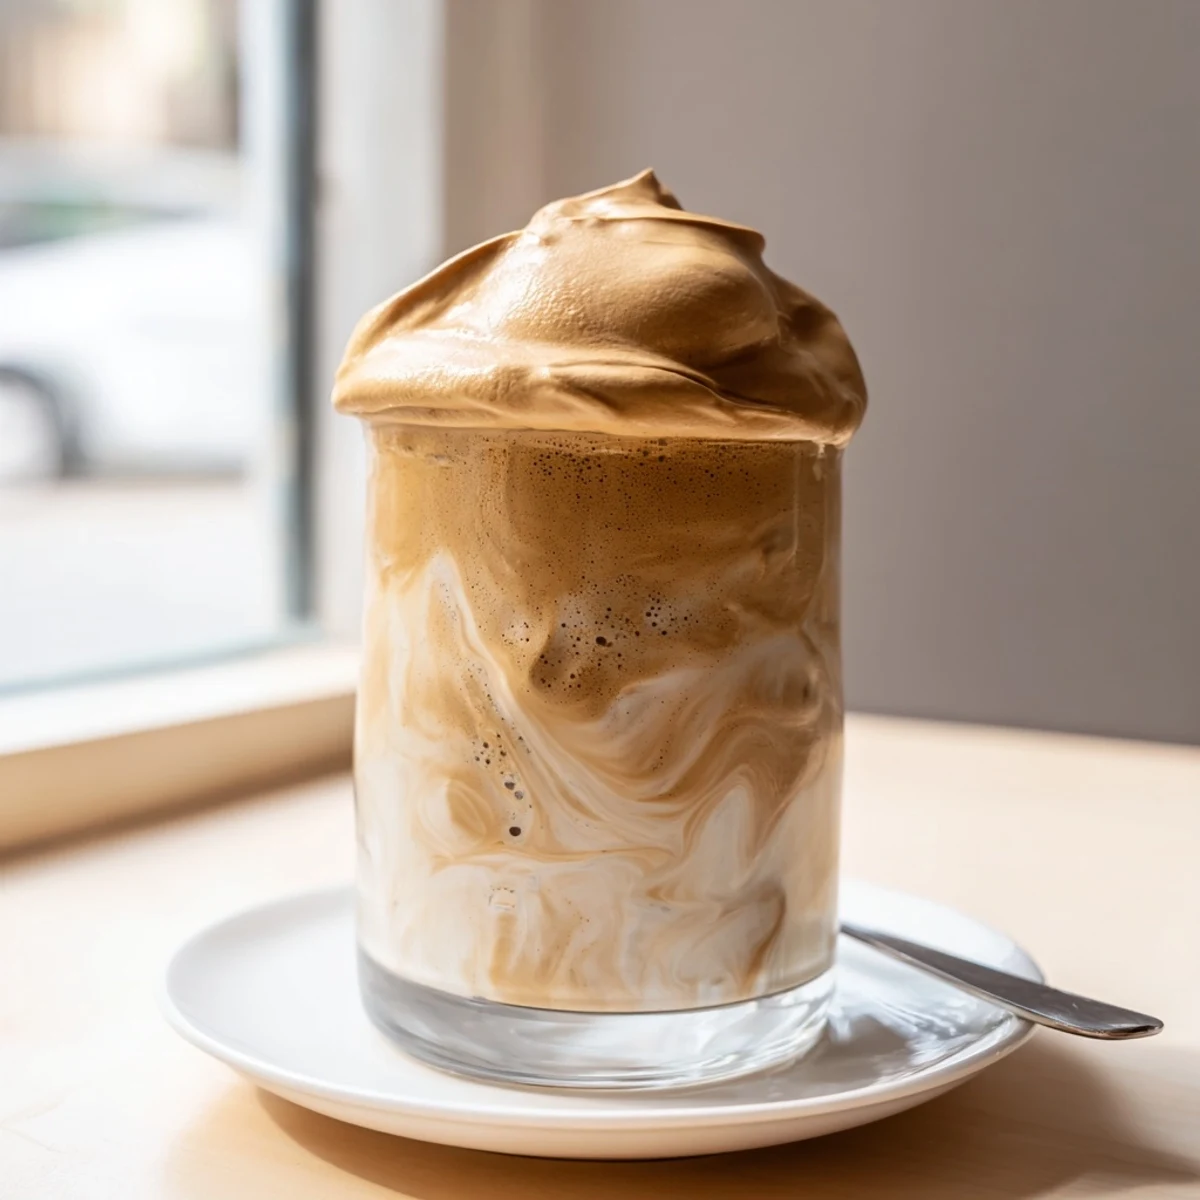
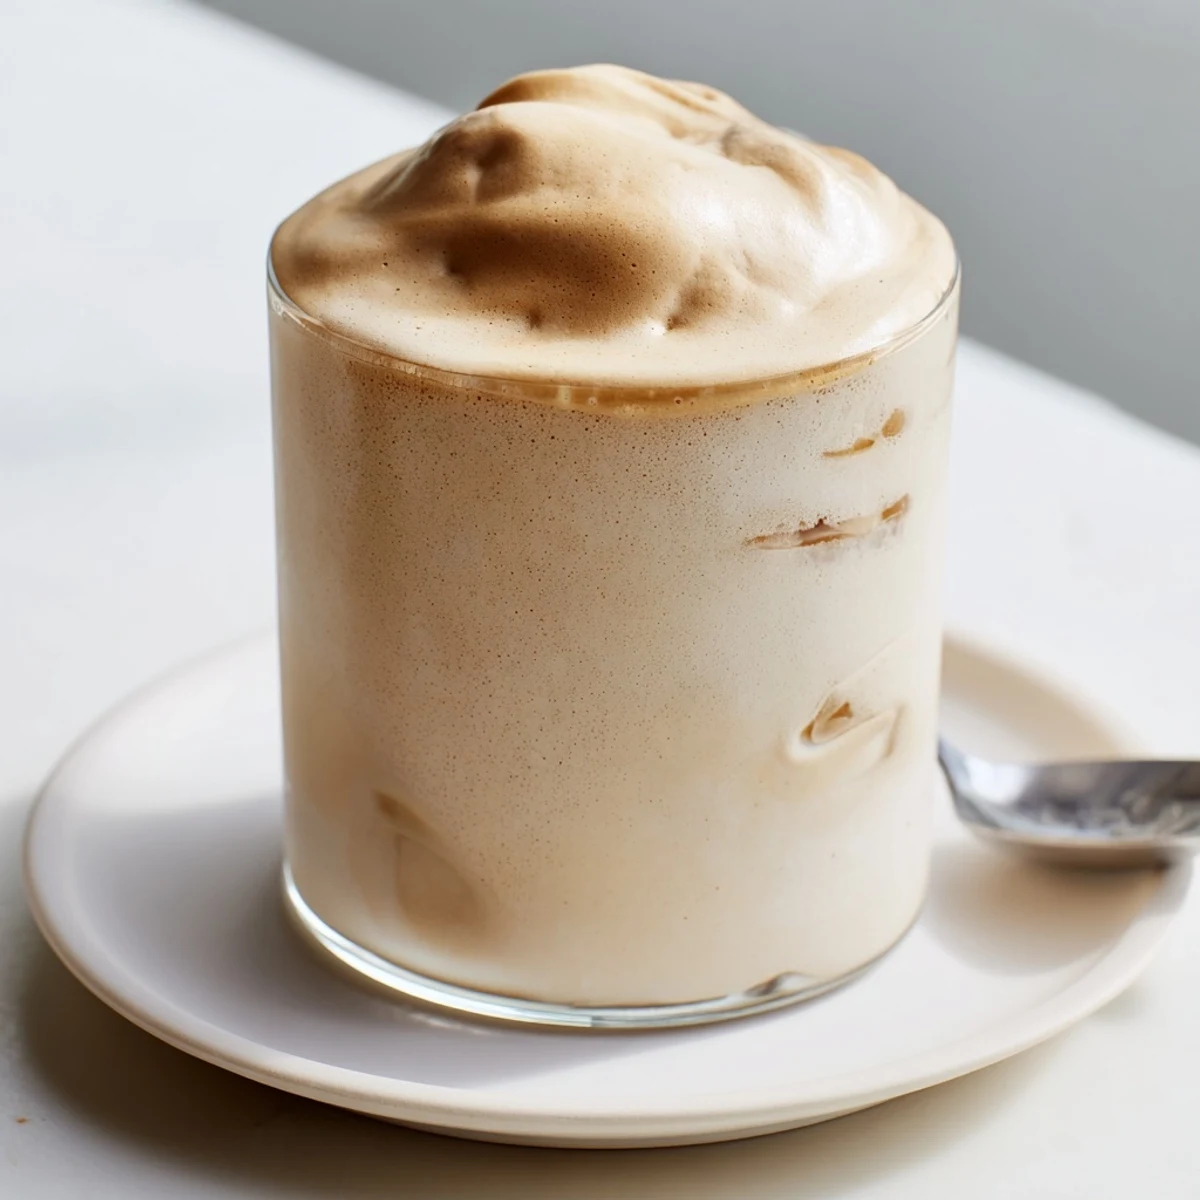
- Spoon the whipped coffee evenly over the milk, letting it sit on top like a fluffy cloud. You can swirl gently for a marbled look or stir it all together before sipping, depending on whether you want a show or a quick caffeine hit.
 Save
Save Somewhere between the first time I made this and the fiftieth, it stopped being a trendy internet drink and became my personal comfort ritual on slow mornings.
Making It Your Own
I have started dusting the top with cocoa powder or a pinch of cinnamon when I want it to feel extra, and once I even added a drop of vanilla extract to the milk. A hot version with steamed milk works beautifully on cold evenings, and it tastes completely different from the iced version in the best way.
Tools That Actually Matter
An electric hand mixer will save your wrist and cut the whipping time in half, but a simple wire whisk does the job if you are willing to put in the effort. A milk frother works in a pinch, though it takes a bit longer and you need a deeper bowl to avoid splattering your counter with coffee foam.
A Few Last Thoughts Before You Whip
The beauty of this recipe is that it works with what you already have, and forgiving enough that small adjustments still yield something wonderful. Keep a few things in mind before you start and you will be golden.
- Taste the foam before serving and add more sugar if you prefer it sweeter.
- Use the coldest milk you have for the best temperature contrast against the foam.
- Drink it fairly quickly, because the foam will eventually settle and blend into the milk on its own.
 Save
Save Every time I make whipped coffee, it reminds me that the best things in the kitchen are often the simplest. Grab a whisk and treat yourself to this little bit of everyday magic.
Recipe FAQs
- → How long should I whip the coffee mixture?
-
Whip vigorously for about 2–3 minutes with a whisk, electric mixer, or frother until the mixture turns pale, thick, and forms soft peaks. Timing varies by tool and speed.
- → Can I use brewed coffee instead of instant?
-
Brewed coffee won’t aerate the same way; instant coffee granules help create the stable foam. For a similar texture, use instant granules as directed.
- → How can I make a vegan version?
-
Use plant-based milk such as oat, almond, or soy for serving; the whipped coffee foam itself is already vegan if no dairy ingredients are added to it.
- → What’s the best way to adjust sweetness or strength?
-
Reduce or increase the sugar in the whipped mixture to taste. For a stronger coffee flavor, use slightly more instant coffee or use less sugar to keep bitterness pronounced.
- → Can this be served hot instead of cold?
-
Yes—pour the whipped foam over warm milk instead of cold for a cozy variation. The foam holds briefly but will soften faster on hot liquid.
- → Which tools work best for whipping?
-
An electric hand mixer or a dedicated milk frother speeds the process and yields more stable peaks; a sturdy hand whisk also works with more effort and time.
