 Save
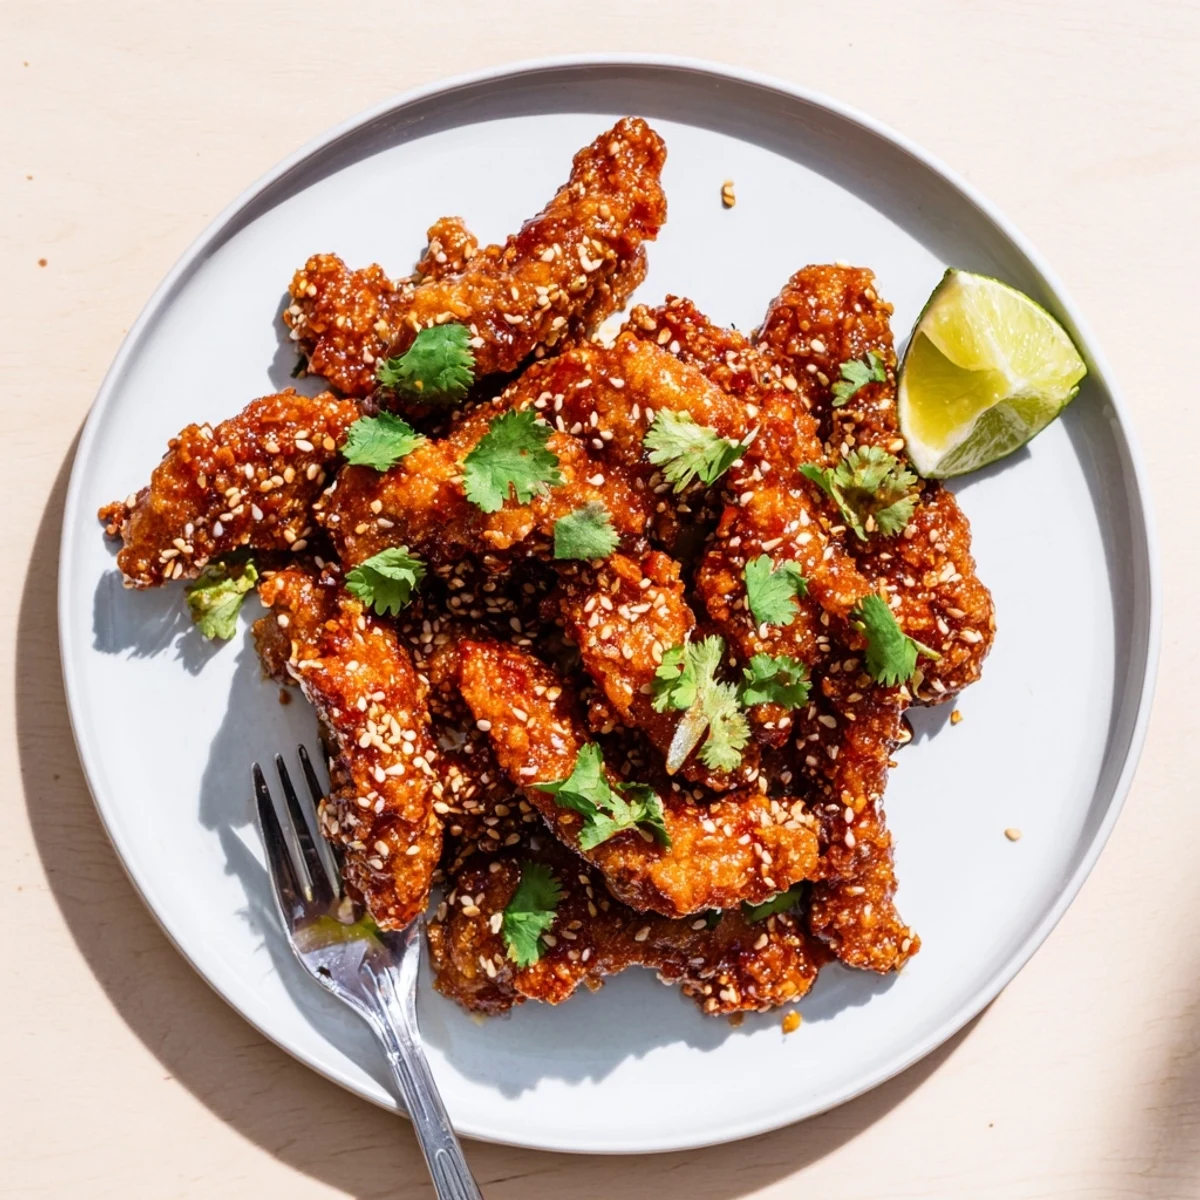
Save These Thai sticky chicken fingers feature tender chicken breast strips coated in a crunchy panko breadcrumb crust, baked to golden perfection in the oven.
The sticky glaze brings together sweet chili sauce, soy sauce, honey, rice vinegar, and a kick of sriracha, creating an irresistible balance of sweet, tangy, and spicy flavors.
Finished with fresh cilantro and toasted sesame seeds, they make an excellent appetizer or main course alongside jasmine rice or a crunchy veggie slaw.
The sizzle of panko crusted chicken hitting a hot baking sheet is one of those sounds that pulls everyone into the kitchen, no invitation needed. I stumbled onto this Thai sticky version during a rainy Tuesday when the fridge held nothing but chicken breasts and a half used bottle of sweet chili sauce. That chaotic evening turned into something unexpectedly wonderful.
My neighbor Dave walked over unannounced the second time I made these, following the smell across the hallway like a cartoon character floating on an aroma cloud. He stood in the kitchen doorway, fork already in hand from some mystery earlier meal, and waited without shame until I finished tossing the last batch in sauce.
Ingredients
- Chicken and coating: 600 g boneless skinless chicken breasts cut into strips, half tsp salt, half tsp black pepper, 1 cup all purpose flour, 2 large eggs beaten with 2 tbsp water, and 2 cups panko breadcrumbs. Cut the strips evenly so they all finish cooking at the same time.
- Sticky sauce: One third cup sweet chili sauce, 2 tbsp soy sauce, 2 tbsp honey, 1 tbsp rice vinegar, 1 tbsp sriracha if you want extra heat, 1 tsp sesame oil, and 1 garlic clove minced. The honey is what gives the sauce its clingy, glossy finish so do not skip it.
- Garnish: 2 tbsp chopped fresh cilantro, 1 tbsp toasted sesame seeds, and lime wedges if you have them.
Instructions
- Preheat and prep:
- Heat your oven to 220 degrees C (425 degrees F). Line a baking sheet with parchment paper and give it a light grease so nothing sticks later.
- Season the chicken:
- Pat the strips dry with paper towels, then sprinkle salt and pepper evenly across all of them. Dry chicken means the coating grabs on better.
- Set up the breading station:
- Line up three shallow bowls: flour in the first, beaten eggs mixed with water in the second, and panko in the third. This assembly line keeps your hands from turning into breaded claws.
- Coat each strip:
- Dredge a strip in flour and shake off the excess, swim it through the egg wash, then press it firmly into the panko until every side is covered. Lay each piece on the baking sheet with a little breathing room between them.
- Bake until golden:
- Slide the tray into the oven for 18 to 20 minutes, flipping the strips once halfway through. You want a deep golden crust and no pink in the center.
- Make the sauce while chicken bakes:
- In a small saucepan over medium heat, whisk together the sweet chili sauce, soy sauce, honey, rice vinegar, sriracha, sesame oil, and minced garlic. Stir until it bubbles and thickens slightly, then pull it off the heat.
- Toss and serve:
- Transfer the baked chicken fingers to a large bowl, pour the warm sauce over the top, and fold gently with a spatula or tongs until every piece is coated. Pile them onto a platter and scatter cilantro and sesame seeds over the top.
 Save
Save There is something quietly magical about watching a plate of saucy chicken fingers disappear at a gathering, no formal plates or seating required, just people standing around eating with their hands and talking over each other.
Serving Ideas That Actually Work
These chicken fingers play well with steamed jasmine rice if you want a sit down dinner, but honestly they shine brightest piled on a cutting board next to a crunchy vegetable slaw. A quick slaw of shredded cabbage, carrot, and a splash of rice vinegar cuts right through the sweetness of the sauce.
Making It Gluten Free
Swap the all purpose flour for a one to one gluten free blend, use gluten free panko, and replace the soy sauce with tamari. The texture changes slightly but the flavor holds up beautifully, and nobody at my table ever noticed the difference until I told them.
Storage and Reheating
Leftovers keep in an airtight container in the fridge for up to three days, though the coating softens overnight as the sauce settles in. Reheat them on a wire rack set over a baking sheet at 190 degrees C for about 8 minutes to bring back some of that crunch.
- Store the sauce separately if you think you will have leftovers, then toss fresh when ready to eat.
- Frozen uncoated chicken strips can be breaded and baked straight from frozen with an extra 5 minutes added.
- Always check the internal temperature reaches 74 degrees C for food safety.
 Save
Save Some recipes earn their place in your rotation through sheer convenience, and this one earns it through the way people grin when they take the first bite. Keep it in your back pocket for the nights when you want dinner to feel a little like a party.
Recipe FAQs
- → Can I make Thai sticky chicken fingers ahead of time?
-
You can bake the panko-crusted chicken strips ahead and store them in the refrigerator for up to 2 days. Reheat in the oven at 190°C (375°F) for about 8-10 minutes to restore crispiness, then toss with the warm sauce just before serving.
- → How do I keep the panko coating crispy after adding sauce?
-
Make sure the chicken is fully baked and golden before saucing. Toss the strips quickly in warm sauce and serve immediately. The panko crust holds up best when the sauce is warm rather than hot, and when served right after coating.
- → What can I substitute for sriracha if I want less heat?
-
Simply omit the sriracha for a milder, family-friendly version. The sweet chili sauce already provides a gentle warmth. You could also add a squeeze of lime juice for brightness without additional spice.
- → Can I air fry these chicken fingers instead of baking?
-
Yes, cook the breaded chicken strips in an air fryer at 200°C (400°F) for 12-14 minutes, flipping halfway through. Check that the internal temperature reaches 74°C (165°F). Then toss with the sauce as directed.
- → How should I store leftover sticky chicken fingers?
-
Store leftovers in an airtight container in the refrigerator for up to 3 days. For best texture, reheat in the oven or air fryer rather than the microwave, which can make the coating soggy.
- → Is there a gluten-free version of this dish?
-
Use gluten-free all-purpose flour, gluten-free panko breadcrumbs, and tamari in place of soy sauce. Double-check that your sweet chili sauce and rice vinegar are also certified gluten-free.
