 Save
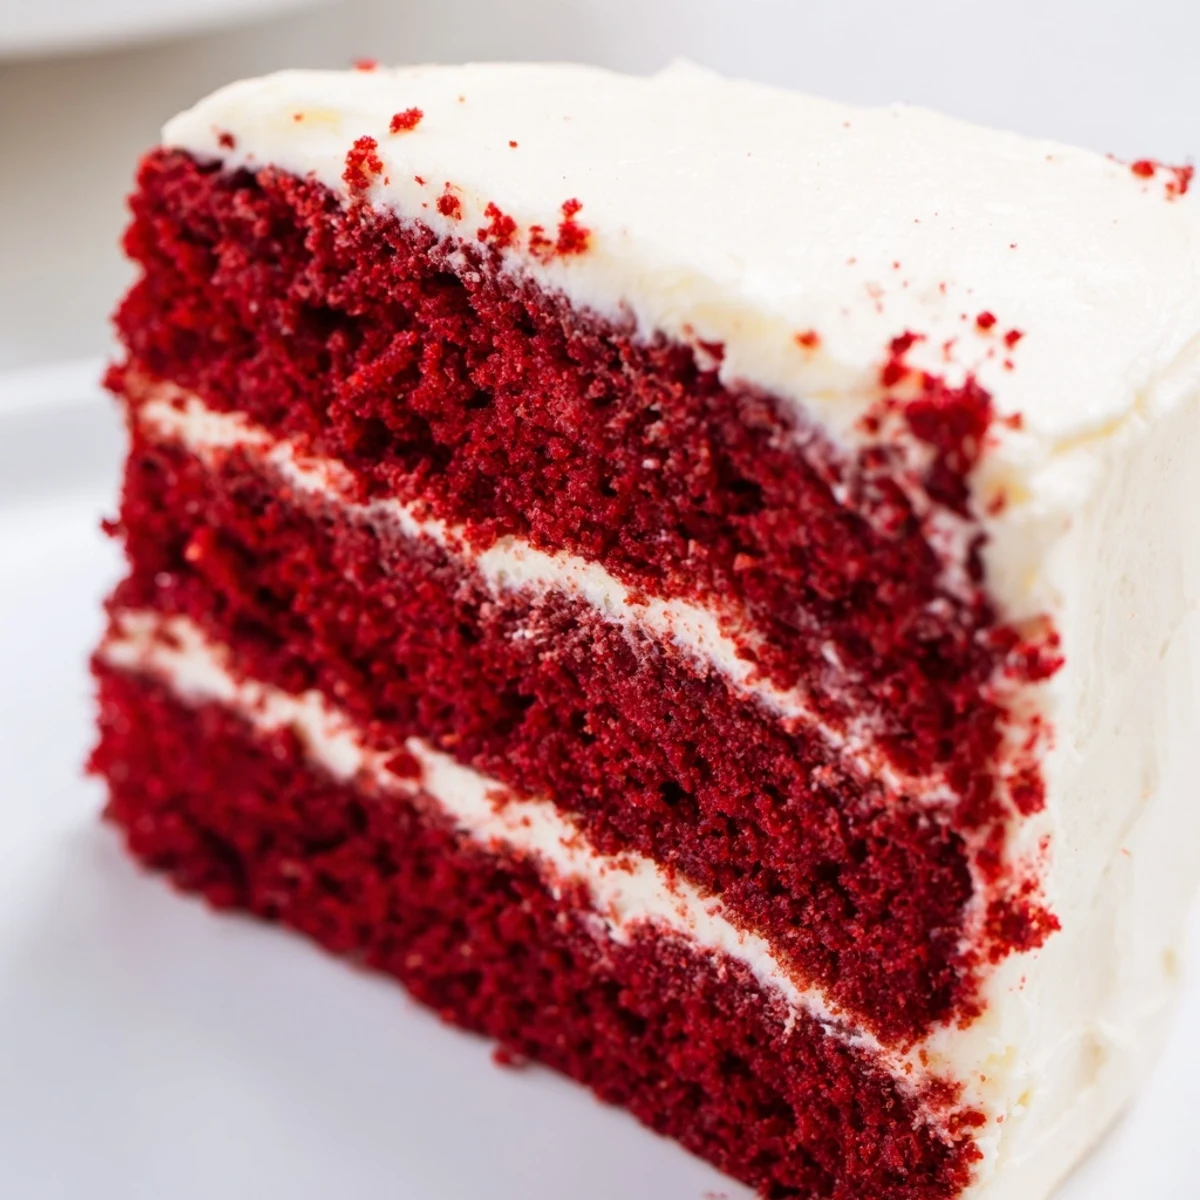
Save Create this classic American dessert featuring tender, cocoa-kissed red layers stacked high. The process involves sifting dry ingredients like flour and cocoa before mixing them with wet elements including buttermilk and oil. Bake until light and fluffy, then top it off with a luscious, tangy cream cheese frosting made by beating together softened cream cheese, butter, and powdered sugar. This rich creation is ideal for celebrations.
The first time I made red velvet cake, I was convinced the food coloring would taste artificial, that the whole thing would feel like I was baking a chemistry experiment rather than actual dessert. But then the layers came out of the oven with that deep crimson hue, and when I cracked one open to cool, the smell hit me—subtle cocoa, buttermilk tang, and something almost floral. My mom walked past the kitchen and stopped, just staring at the cooling racks, and said nothing, which somehow meant everything. That's when I realized red velvet isn't about the color at all; it's about the moment when people realize they're about to eat something that feels special.
I made this cake for my best friend's engagement party one September afternoon, and I remember being nervous about getting three layers even and level. I found myself measuring and remeasuring the batter between pans like I was diffusing a bomb, but once they baked, something clicked—they rose so evenly that I didn't need to trim anything. When I stacked those layers with frosting between them, I got this unexpected rush of confidence, and by the time I finished frosting the whole cake, I wasn't just serving dessert anymore; I was serving proof that I could do something beautiful.
Ingredients
- All-purpose flour (2½ cups): Sifting it with the dry ingredients prevents lumps and gives the cake a fine, tender crumb that feels almost cloud-like.
- Granulated sugar (1½ cups): This sweetness gets balanced by the buttermilk and cocoa, so it doesn't overwhelm.
- Baking soda (1 tsp): The vinegar reacts with this to create lift and a tender texture—don't skip it or use baking powder instead.
- Fine salt (1 tsp): A full teaspoon might seem like a lot, but it deepens the cocoa flavor and keeps the frosting from tasting one-note sweet.
- Unsweetened cocoa powder (1 tbsp): Just enough to give that subtle, almost mysterious warmth without making it a chocolate cake.
- Vegetable oil (1½ cups): Oil keeps the cake incredibly moist for days; butter would make it drier.
- Buttermilk (1 cup): Room temperature is key so it blends smoothly and adds a gentle tang that wakes up your palate.
- Eggs (2 large): Also room temperature—they emulsify better and create a finer texture.
- Red food coloring (2 tbsp): This amount gives you that true red velvet color without needing to bake for extra time.
- Vanilla extract (1 tsp): Adds warmth and complexity to the cake layers.
- White vinegar (1 tsp): Works with the baking soda to create tender crumb and react with the cocoa to enhance the red color.
- Cream cheese (16 oz): Softened to room temperature so it beats into the frosting without lumps.
- Unsalted butter (½ cup): Also softened; this combination with cream cheese is creamy and not overly tangy.
- Powdered sugar (4 cups): Sifted first to prevent lumps in your frosting—trust me on this one.
Instructions
- Prep your pans like you mean it:
- Preheat your oven to 350°F and grease those three 8-inch round pans generously, then dust them with flour so the cake doesn't stick. I learned this the hard way—don't just grease them, really coat them, and make sure to tap out any excess flour.
- Sift and combine dry ingredients:
- In a large bowl, sift together the flour, sugar, baking soda, salt, and cocoa powder. This step isn't just for looks; sifting aerates the flour and distributes the leavening evenly so every bite is consistent.
- Whisk the wet mixture until it's glossy:
- In another bowl, whisk together the oil, buttermilk, eggs, red food coloring, vanilla, and vinegar until it's smooth and the color is uniform. You'll see the mixture get glossy and slightly thicker—that's the emulsification happening.
- Fold wet into dry gently:
- Add the wet ingredients to the dry in one slow pour, stirring just until smooth. Overmixing develops gluten and makes the cake tough, so stop as soon as you don't see any dry streaks.
- Divide batter evenly:
- Split the batter among your three pans as evenly as you can—I use a kitchen scale or just eyeball it and go back to even it out if needed. Even layers bake evenly and stack beautifully.
- Bake until a toothpick comes clean:
- Slide them into the oven for 25 to 30 minutes, depending on your oven's personality. Start checking at 25 minutes by poking the center with a toothpick; if it comes out with just a few moist crumbs, you're done.
- Cool with patience:
- Let the cakes sit in their pans for exactly 10 minutes, then flip them out onto wire racks to cool completely. This 10-minute window lets them set enough to not fall apart but not so long that they're stuck permanently.
- Make frosting while cakes cool:
- Beat the softened cream cheese and butter together for a full minute until it's creamy and smooth, then add the sifted powdered sugar gradually while beating. This prevents lumps and creates a frosting that's fluffy and spreadable.
- Mix in vanilla and salt:
- Once your frosting looks fluffy and light, fold in the vanilla and a pinch of salt. The salt is subtle but crucial—it keeps the frosting from tasting cloyingly sweet.
- Stack and frost like you're building something precious:
- Place the first layer on a serving plate, spread a generous layer of frosting on top, then repeat with the second layer. Frost the sides and top, then chill the whole cake for 30 minutes so it's easier to slice cleanly.
 Save
Save I'll never forget the moment my nephew took his first bite of a slice I'd made for his birthday. He was maybe four, and he just went quiet, which with a four-year-old usually means something's wrong, but then he looked up and said, 'This is fancy.' That word stuck with me—fancy—because this cake carries something that feels more intentional than everyday baking, yet it's never complicated or fussy.
The Story Behind Red Velvet
Red velvet isn't really a chocolate cake, even though cocoa shows up in the recipe—it's more of a gentle nod to chocolate, like a rumor rather than a fact. The real magic is in the combination of buttermilk and vinegar creating this almost subtle tang that plays against the sweetness, and the food coloring gives it that unforgettable jewel-toned appearance that makes people pause. When it landed in American kitchens decades ago, it became shorthand for 'special occasion,' and honestly, it still feels that way every time I make it, even when it's just a Tuesday and I'm baking it for no reason other than wanting the house to feel a little bit more like celebration.
Getting Your Layers Perfect
The first time I made this cake, I was anxious about whether my three layers would bake evenly, so I invested in an oven thermometer and a cake leveler, but really, the key is just dividing the batter as evenly as you can and trusting your oven. If one layer does end up taller than the others, you can trim it with a serrated knife or just use extra frosting to even things out—nobody will judge you for that. I've learned that the most 'professional' looking cakes sometimes just need a tiny bit of problem-solving and a generous hand with the frosting.
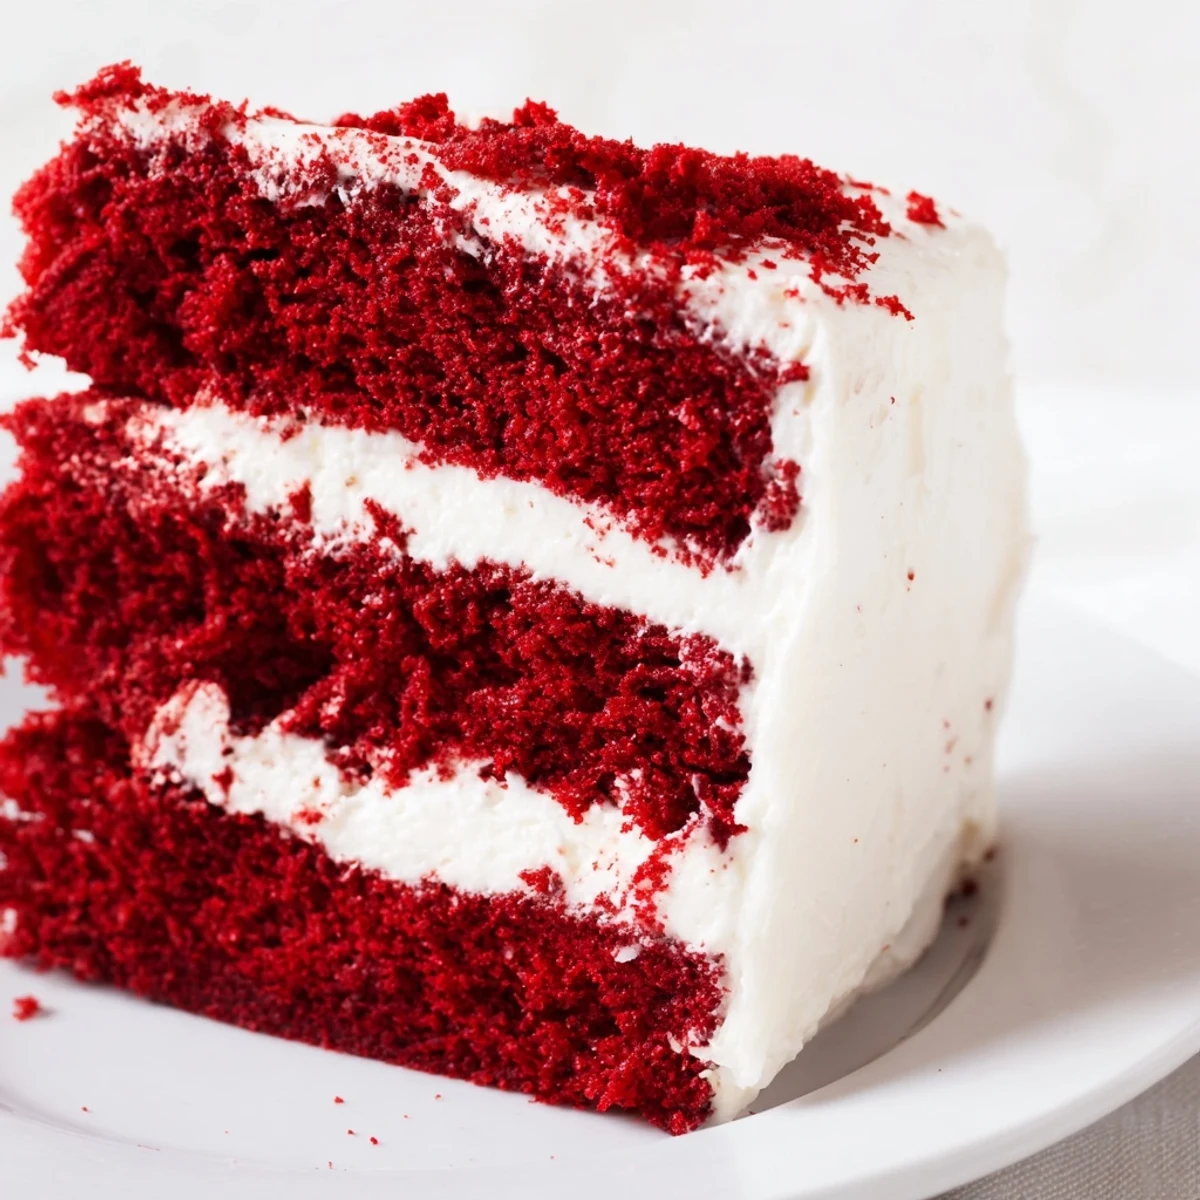
Why Cream Cheese Frosting Changes Everything
Cream cheese frosting with butter is one of those combinations that feels simple until you taste how the tang cuts through richness in a way that regular frosting never could. The butter keeps it smooth and spreadable, while the cream cheese adds personality and a slight pucker that makes you want another bite. I've tried making this cake with other frostings out of curiosity, and they're fine, but they're not it—this pairing is what makes red velvet feel like red velvet.
- Make sure your cream cheese and butter are genuinely softened, not just a little warm, or your frosting will end up grainy.
- If your kitchen is very warm when you're frosting, chill the cake between layers so the frosting doesn't slide around.
- Leftover frosting keeps in the fridge for almost a week and is honestly better on literally anything—cookies, brownies, toast if you're feeling reckless.
 Save
Save This cake has become my answer to 'what should I bake for something that feels important,' whether that's a birthday, an anniversary, or just a moment when you want your kitchen to smell like confidence and butter. It never disappoints, and somehow, it always feels like you put in more effort than you actually did.
Recipe FAQs
- → How should I store leftovers?
-
Keep the cake refrigerated in an airtight container to maintain the freshness of the cream cheese frosting. It will stay moist for up to five days when stored properly.
- → Can I make the layers in advance?
-
Yes, you can bake the layers a day ahead. Wrap the cooled cakes tightly in plastic wrap and store them at room temperature before frosting and serving.
- → Why is buttermilk used?
-
Buttermilk adds acidity which reacts with the baking soda to help the cake rise, while also tenderizing the gluten for a soft crumb and enhancing the cocoa flavor.
- → What frosting pairs best?
-
The traditional choice is a tangy cream cheese frosting, which balances the sweetness of the red velvet layers perfectly with its rich, slightly tart flavor profile.
- → Can I use natural food coloring?
-
Natural options like beet juice powder can be used, though they may produce a more muted brownish-red hue compared to the vibrant color achieved with gel or liquid dyes.
