 Save
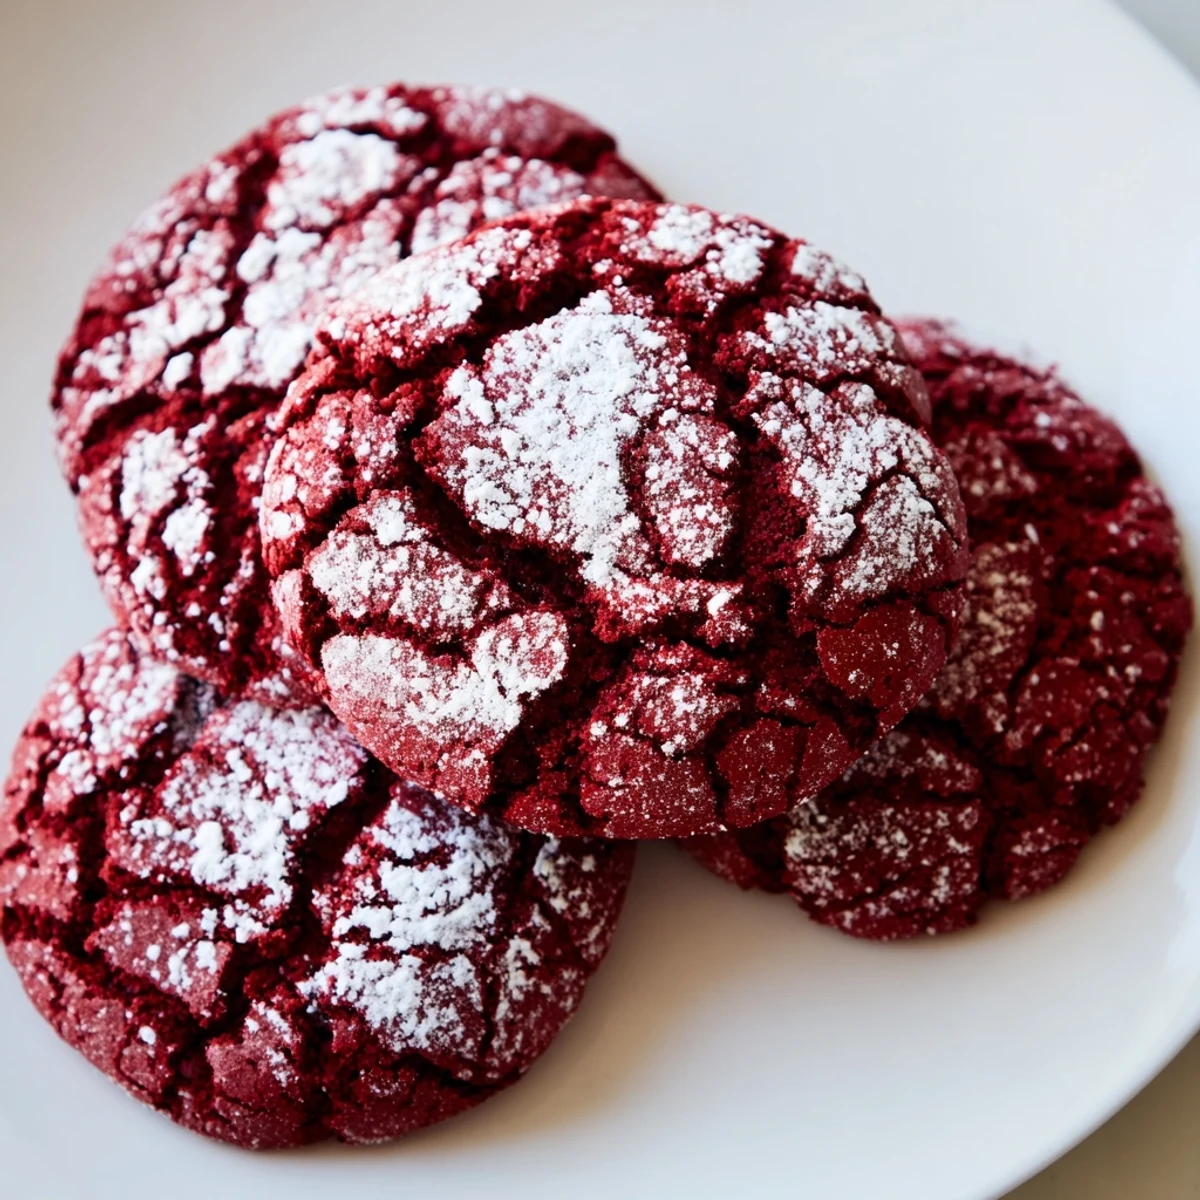
Save These soft, fudgy red velvet crinkle cookies feature a deep cocoa flavor and a vibrant red hue. The dough is chilled before baking, ensuring a tender, slightly gooey center. Rolled in powdered sugar, the cookies develop a beautiful crackled coating during baking. Perfect for holiday gatherings or special occasions, they offer a rich, buttery taste balanced by buttermilk and a hint of vanilla and vinegar to enhance texture and flavor.
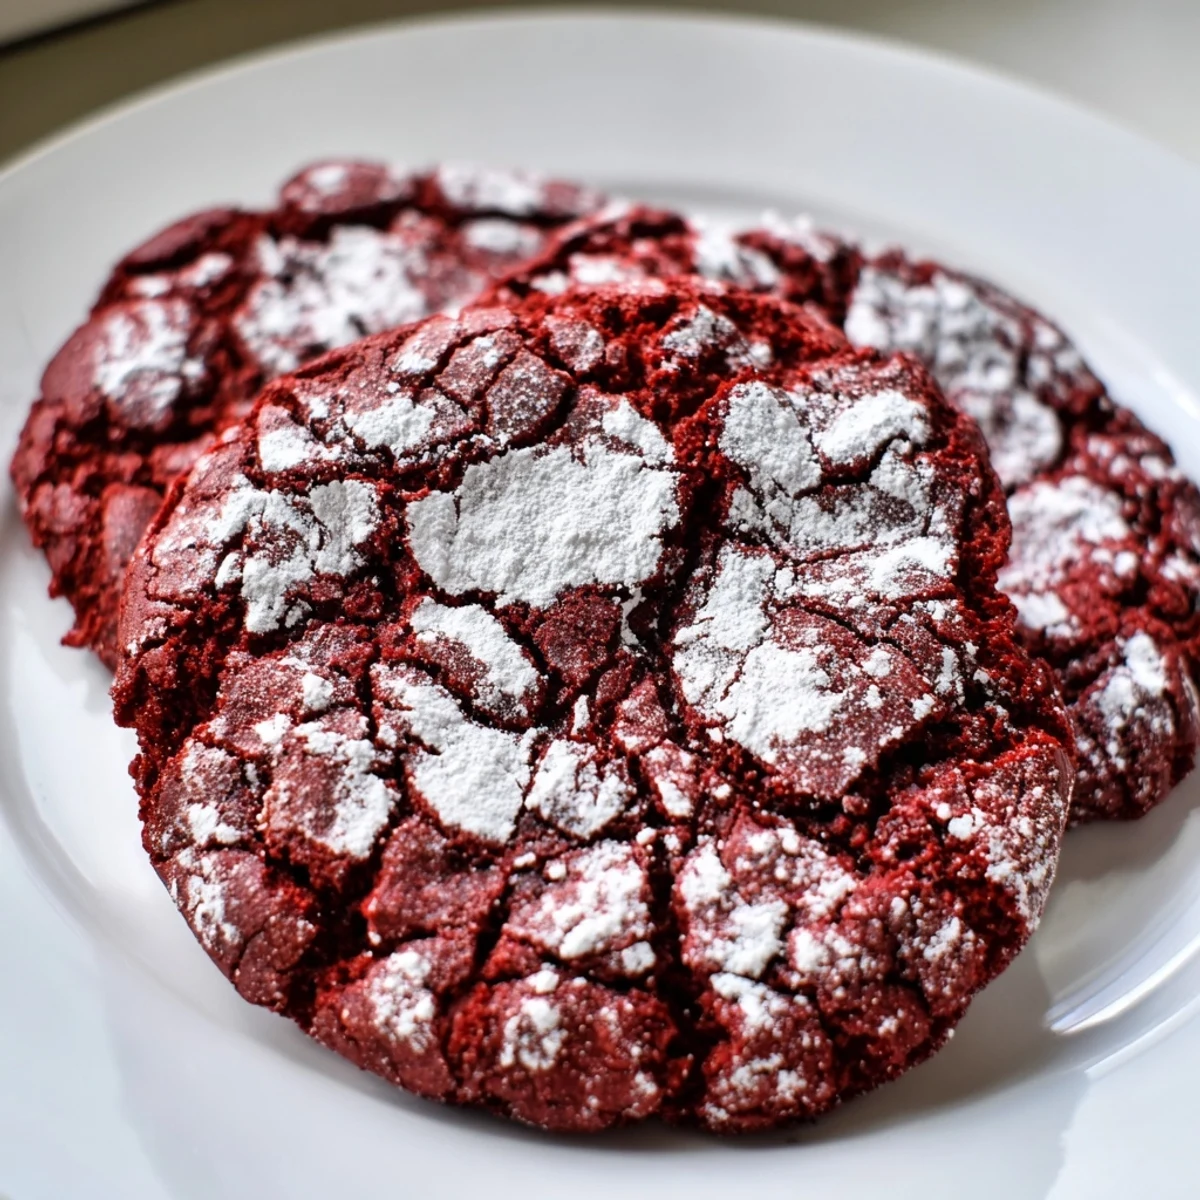
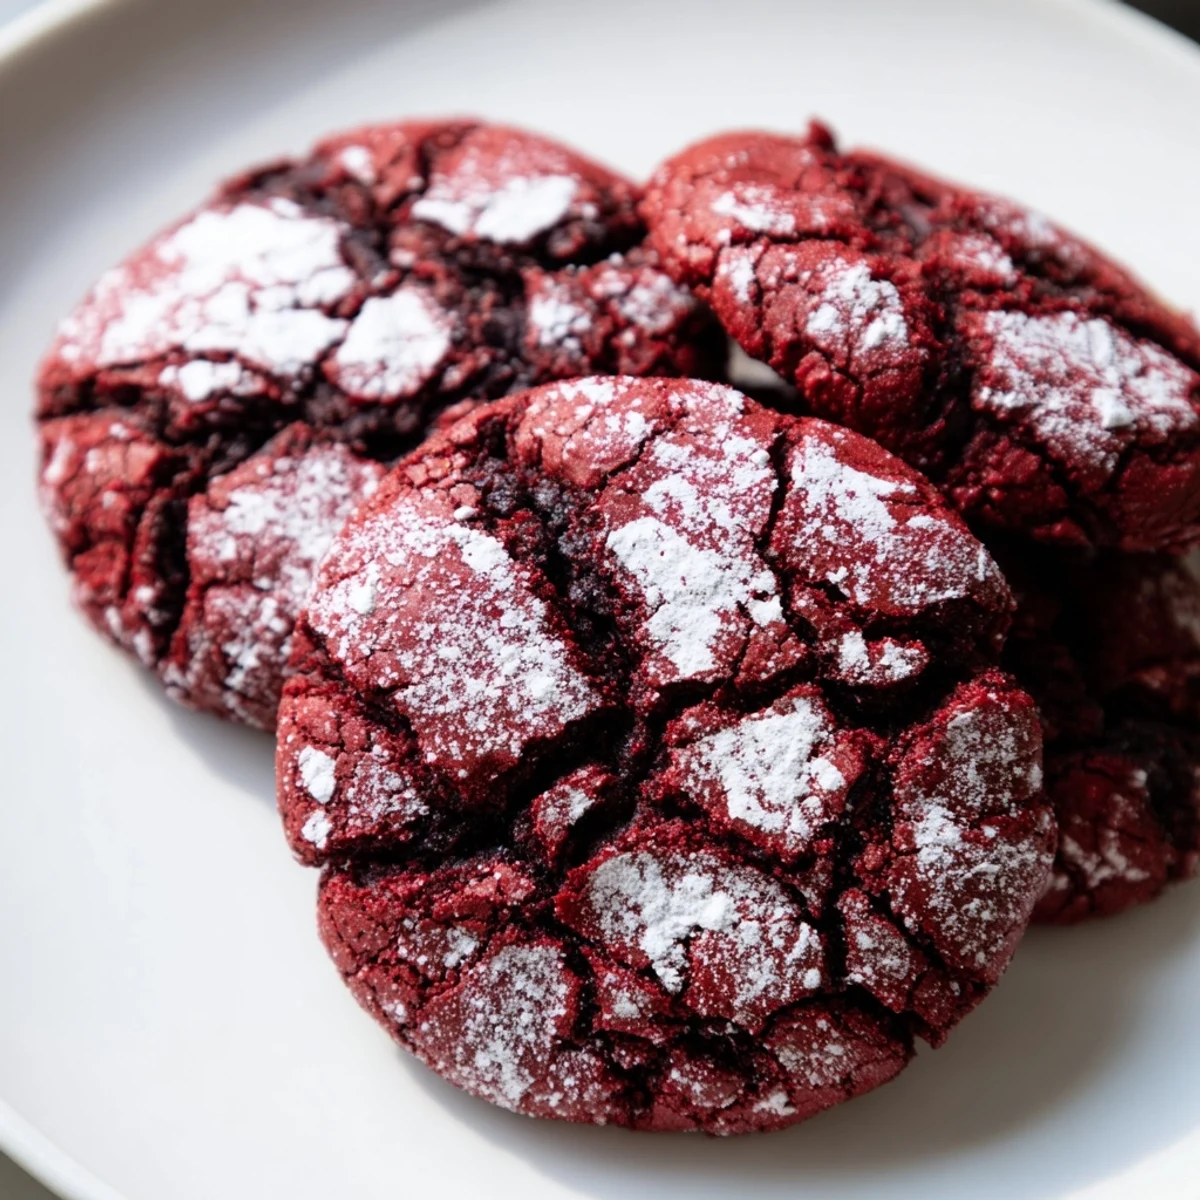
The first time I made these red velvet crinkle cookies, my kitchen looked like a crime scene—red food coloring everywhere, streaks on my apron, even a suspicious smudge on my forehead. But when I pulled that first tray from the oven and saw those dramatic cracks revealing the deepest crimson beneath stark white powdered sugar, I forgot about the mess entirely. Something about that contrast feels almost magical, like the cookies are dressed up for a party without any help from us.
Last December, I brought a batch to my office holiday party, planning to set them on the dessert table and walk away. But my coworker Sarah took one bite, eyes widening, and immediately asked for the recipe. By the end of the night, three different people had texted me for the details, and someone actually followed me to the elevator just to confirm the baking temperature.
Ingredients
- All-purpose flour: The structure builder here—dont pack it down when measuring, or these cookies will turn into little red rocks
- Unsweetened cocoa powder: This needs to be sifted, honestly, otherwise youll find tiny bitter pockets in your finished cookies
- Baking powder: The secret to those gorgeous cracks we all want to see
- Salt: Just enough to make the chocolate flavor sing without tasting salty
- Unsalted butter: Melt it and let it cool completely—hot butter will cook your eggs and ruin everything
- Granulated sugar: Cream this properly with the butter until it looks pale and fluffy, that air is crucial for texture
- Eggs: Room temperature eggs incorporate so much better into the batter
- Vanilla extract: Do not skip this, even though its competing with red food coloring
- White vinegar: This sounds weird but it activates the baking powder and deepens that classic red velvet tang
- Red food coloring: Gel coloring gives you that intense red without adding too much liquid
- Buttermilk: If you only have regular milk, add a teaspoon of vinegar and let it sit for five minutes
- Powdered sugar: Youll need more than you think for coating—keep extra nearby
Instructions
- Whisk the dry team together:
- In a medium bowl, combine flour, cocoa powder, baking powder, and salt until everything looks uniformly brown and dusty
- Build the wet foundation:
- Whisk melted butter and sugar in a large bowl until the mixture turns pale and slightly fluffy, then beat in eggs one at a time
- Add the personality:
- Stir in vanilla, vinegar, and red food coloring until the batter looks like something that should not be eaten in polite company
- Bring it all together:
- Add dry ingredients and buttermilk in alternating batches, starting and ending with the dry mixture, and stop as soon as you see the last streak of flour disappear
- Practice patience:
- Cover the bowl and refrigerate for at least two hours—I know this is the hardest part, but warm dough will spread into flat red puddles
- Get ready to bake:
- Preheat your oven to 350°F and line two baking sheets with parchment paper
- Create the coating station:
- Pour powdered sugar into a shallow bowl—you want enough to roll the dough balls around freely
- Shape and sugar:
- Scoop chilled dough by tablespoonfuls, roll them into balls, then coat them generously until no red shows through
- Give them space:
- Arrange the sugared balls two inches apart on your prepared sheets
- Watch the magic happen:
- Bake for 11 to 13 minutes until the cookies are puffed and dramatically cracked but still soft when you press the center
- The final wait:
- Let them cool on the baking sheet for five minutes before moving them to a wire rack
 Save
Save My daughter helped me make a batch last weekend and insisted on wearing red pajamas to match the dough. She was so proud of her crinkly creations that she carried one around in a napkin for hours, showing it to anyone who would look, until it finally crumbled in her hand. She just looked at me with red stained fingers and said, worth it.
Getting That Perfect Crackle
The key to those beautiful cracks is actually the temperature difference between the chilled dough and the hot oven. As the outside sets quickly from the powdered sugar, the inside continues to expand and push through, creating those gorgeous fissures we all love.
Making Them Ahead
The dough actually improves after a night in the refrigerator—the flavors develop and the texture becomes even more fudgy. You can scoop and freeze the balls uncoated for up to a month, then roll them in sugar and bake straight from frozen, just add a minute or two to the baking time.
Serving And Storing
These cookies are best enjoyed the first day but honestly, they are still spectacular three days later if stored properly. The powdered sugar will start to absorb into the cookie surface, creating this incredibly tender slightly crusty exterior that I might love even more than day one.
- Store in an airtight container with a piece of bread to keep them soft
- These freeze beautifully after baking—just wrap individually in plastic wrap
- Serve slightly warm if possible, the chocolate flavor is more pronounced
 Save
Save Theres something joyful about serving cookies that look like they are dressed for celebration. Every time I make these, someone comments on how beautiful they are, and that visual delight makes the first bite even sweeter.
Recipe FAQs
- → What gives these cookies their vibrant red color?
-
The bright red hue comes from the added red food coloring, which can be liquid or gel form for a deeper shade.
- → Why is vinegar used in the batter?
-
Vinegar reacts with baking powder to help create a tender texture and enhance the rise of the cookies.
- → How does chilling the dough affect the final texture?
-
Refrigerating the dough firms it up, preventing spreading and resulting in soft, thick cookies with a fudgy center.
- → Can I add mix-ins to these cookies?
-
Yes, adding white chocolate chips or nuts can provide a delightful twist without altering the core texture dramatically.
- → How should the cookies be stored to maintain freshness?
-
Store them in an airtight container at room temperature to keep them soft for up to one week.
