 Save
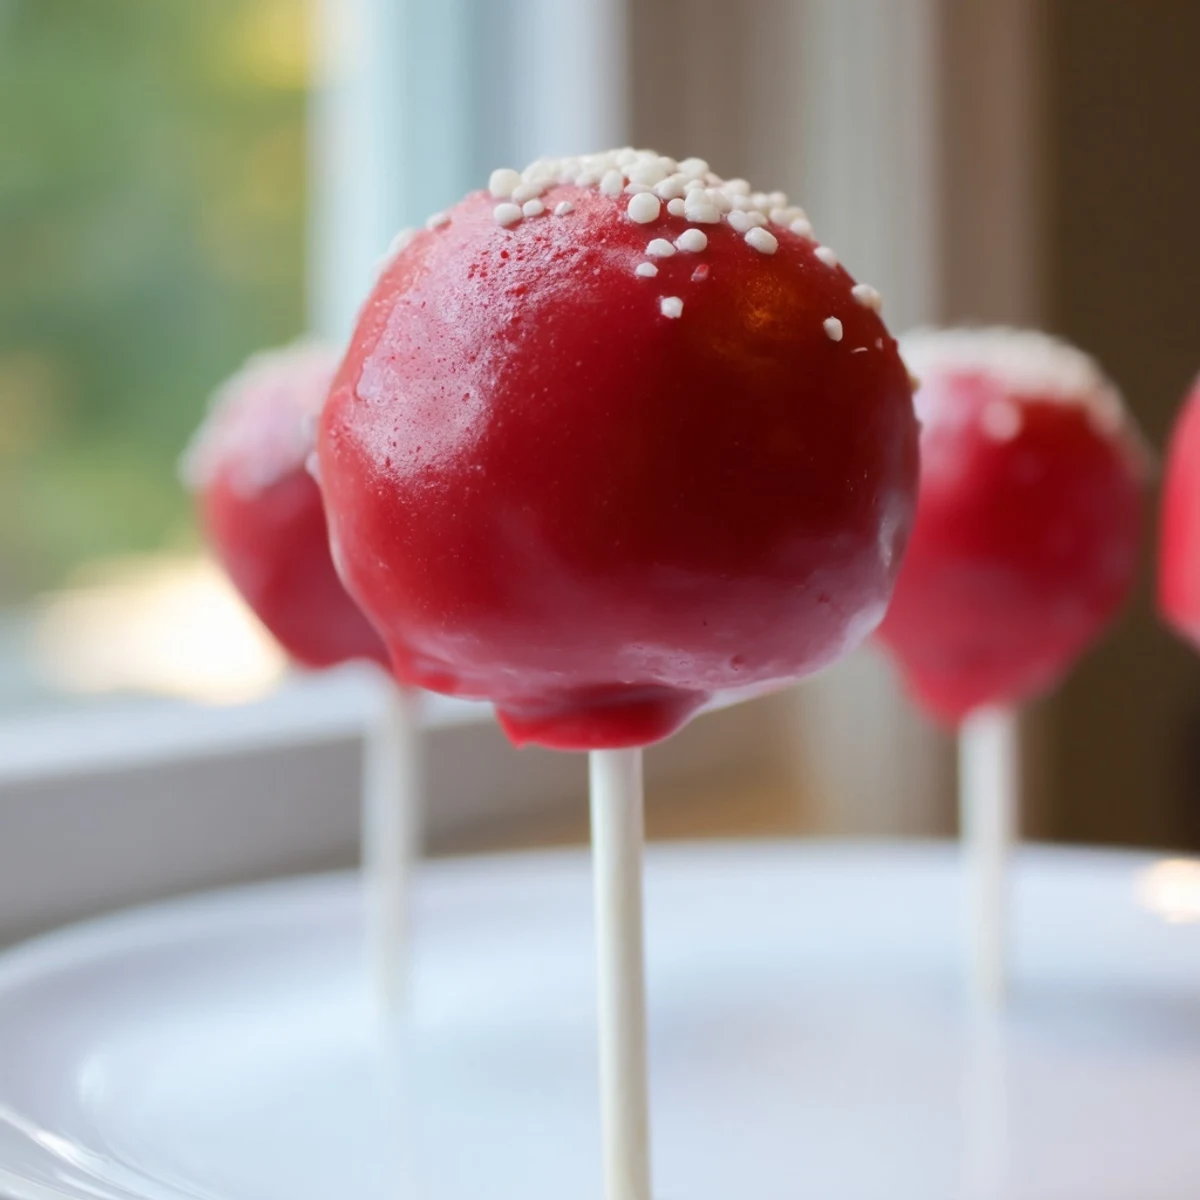
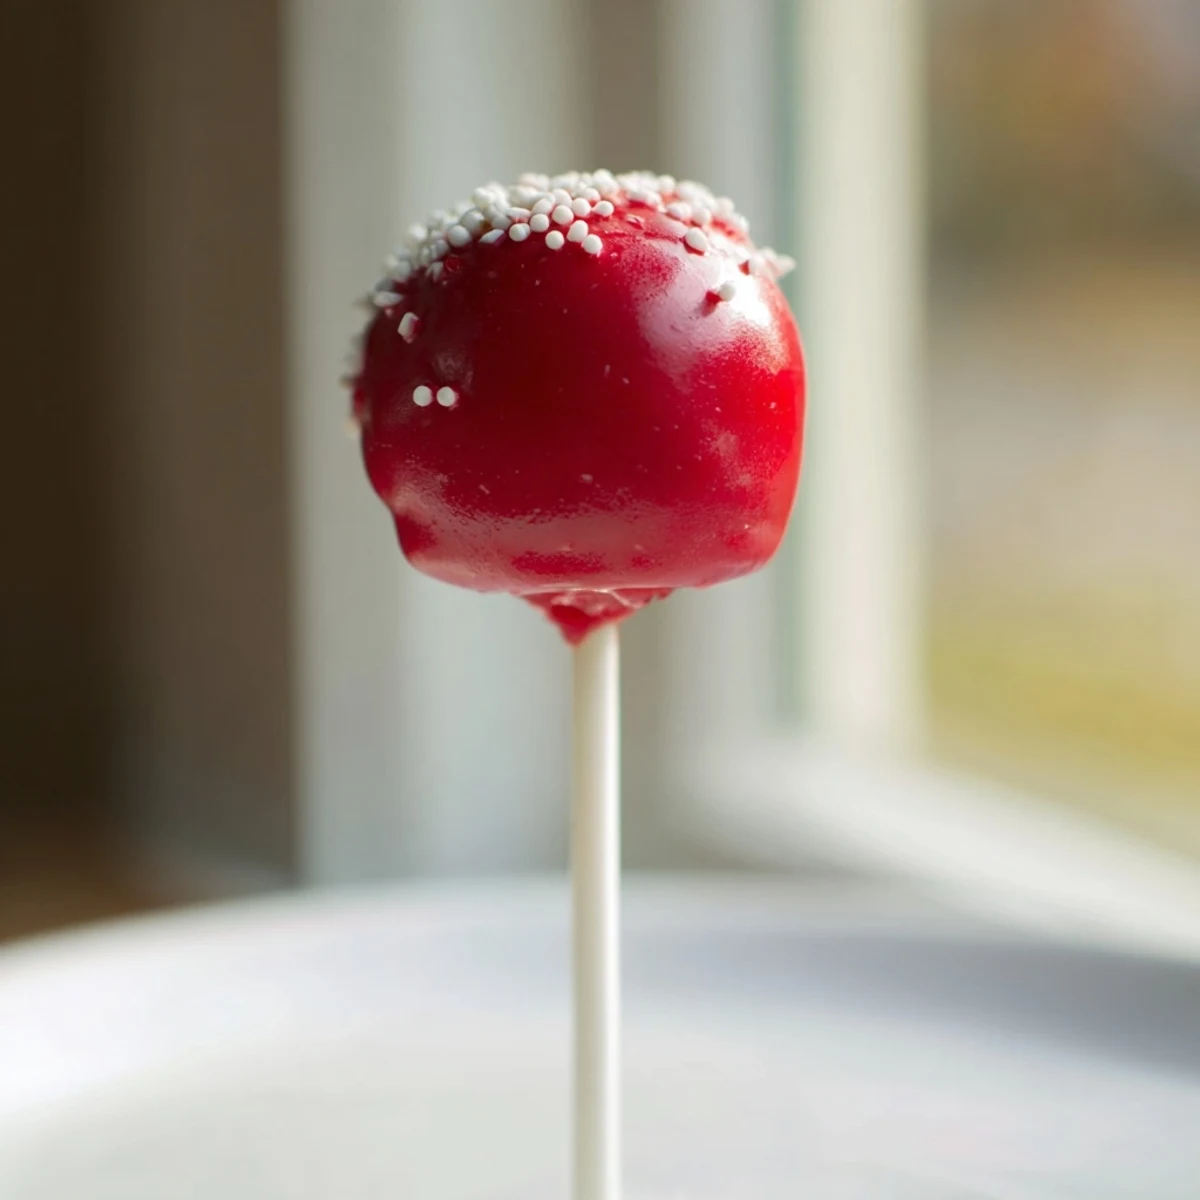
Save Enjoy moist red velvet cake blended with tangy cream cheese frosting, shaped into small bite-sized balls and coated in silky white chocolate. These vibrant treats offer a balance of rich cocoa and creamy sweetness, ideal for party snacks or heartfelt gifts. Simple preparation and chilling create the perfect texture and ease of coating, making these delightful bites a visual and flavorful highlight.
The first time I attempted red velvet cake pops, I accidentally used too much food coloring and ended up with bright pink fingertips for three days. My roommate thought I'd taken up watercolor painting as a hobby, but really, I was just obsessed with getting that perfect ruby red shade. Since then, I've learned that a little goes a long way, and these bite-sized treats have become my go-to for bringing something genuinely joyful to gatherings.
I made six dozen of these for my sister's baby shower when we found out she was having a girl. The look on her face when she saw the tower of red and white cake pops was absolutely priceless—she cried, which is saying something since she's not usually the emotional type. Now they're requested for every family celebration, birthday, and Tuesday that needs brightening up.
Ingredients
- 1 1/4 cups all-purpose flour: The foundation that gives these pops structure without becoming dense or dry
- 1/4 cup unsweetened cocoa powder: Provides that subtle chocolate undertone that makes red velvet distinctive
- 1/2 tsp baking soda: Helps the cake rise properly for that light, tender crumb we're after
- 1/4 tsp salt: Balances sweetness and enhances all the other flavors
- 1/2 cup unsalted butter, softened: Room temperature butter incorporates better for a smoother batter
- 1 cup granulated sugar: Sweetens the cake while helping create that velvety texture
- 2 large eggs: Bind everything together and add richness
- 1/2 cup buttermilk: The secret ingredient that makes red velvet so tender and moist
- 1 tsp vanilla extract: Pure vanilla extract makes a noticeable difference in the final flavor
- 1 tsp white vinegar: Reacts with baking soda for extra tenderness
- 1 tbsp red food coloring: Gel coloring works best for vibrant color without thinning the batter
- 4 oz cream cheese, softened: Make sure it's truly room temperature to avoid lumps in your frosting
- 2 tbsp unsalted butter, softened: Adds structure to the cream cheese frosting
- 1 1/2 cups powdered sugar: Sweetens the frosting to the perfect level
- 1/2 tsp vanilla extract: A second splash because you can never have too much vanilla
- 16 oz white chocolate or candy melts: Candy melts are easier to work with but white chocolate tastes better
- 1 tbsp vegetable oil: Optional, but makes the coating smoother and easier to dip
- Sprinkles or edible decorations: Add them immediately after dipping before the chocolate sets
- 24 cake pop sticks: Lollipop sticks work perfectly and are sturdy enough to hold the weight
Instructions
- Bake the Foundation:
- Preheat your oven to 350°F and prepare an 8-inch round cake pan with grease and flour. Whisk together the flour, cocoa powder, baking soda, and salt in a medium bowl.
- Cream Butter and Sugar:
- Beat the softened butter and granulated sugar in a large bowl until the mixture turns pale and fluffy, about 3 minutes. Add eggs one at a time, beating well after each addition.
- Add Wet Ingredients:
- Mix in the buttermilk, vanilla, vinegar, and red food coloring until everything is beautifully combined.
- Combine and Bake:
- Gradually fold the dry ingredients into the wet mixture, mixing just until you no longer see streaks of flour. Pour the batter into your prepared pan and bake for 25 to 30 minutes until a toothpick comes out clean.
- Cool Completely:
- Let the cake rest in the pan for 10 minutes before transferring it to a wire rack. It must be completely cool before proceeding, or your frosting will melt.
- Make Cream Cheese Frosting:
- Beat the softened cream cheese and butter until smooth and creamy. Add the powdered sugar and vanilla, mixing until no lumps remain.
- Create Cake Pop Dough:
- Crumble the cooled cake into a large bowl using your hands or a fork. Add the frosting and mix until you have a dough-like consistency that holds together when squeezed.
- Roll and Chill:
- Form the mixture into 1-inch balls and place them on a parchment-lined tray. Freeze for 30 minutes until firm—they're much easier to dip when cold.
- Melt White Chocolate:
- Melt the white chocolate with vegetable oil if using in 30-second intervals in the microwave, stirring between each heating. The mixture should be smooth and fluid.
- Prepare the Sticks:
- Dip about 1/2 inch of each cake pop stick into melted chocolate, then insert it halfway into each chilled cake ball. This acts as glue to secure the stick.
- Dip and Coat:
- Holding the stick, dip each cake pop into the melted chocolate and gently turn to coat completely. Tap the stick against the bowl edge to remove excess chocolate.
- Decorate and Set:
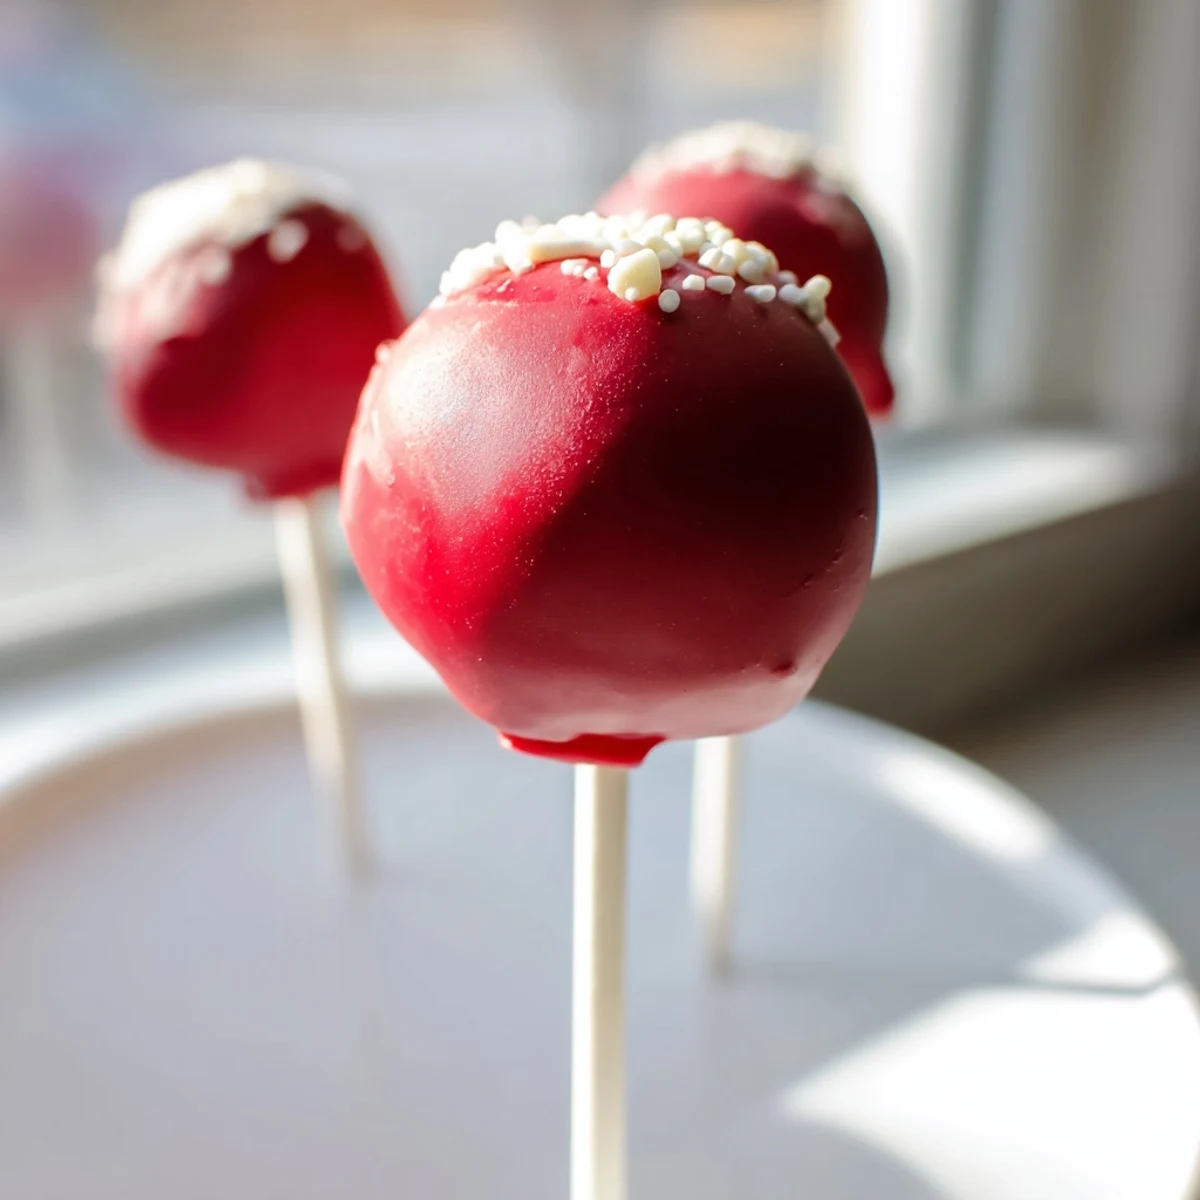
- Add sprinkles immediately while the chocolate is still wet. Stand the cake pops upright in a styrofoam block or dedicated stand until completely firm.
 Save
Save My niece helped me decorate a batch last Christmas, and she insisted on making every single cake pop different with various sprinkle combinations. The resulting mosaic looked like a confetti explosion, but honestly, it was the most beautiful batch I've ever made. Sometimes the imperfect moments create the sweetest memories.
Mastering the Chocolate Coating
The temperature of your white chocolate makes all the difference between a smooth, professional finish and a frustrating, clumpy mess. If the chocolate is too cool, it will seize up and coat unevenly. Too hot, and it slides right off your cake pops, leaving bare patches. I've found that 90°F to 92°F is the sweet spot where the chocolate is fluid enough to coat smoothly but thick enough to adhere properly.
Troubleshooting Common Problems
When cake balls crack after dipping, it usually means they were too cold and expanded as they warmed up, causing the chocolate coating to split. Let them sit at room temperature for 5 minutes after chilling but before dipping. If your coating is too thick, add vegetable oil one teaspoon at a time until it reaches the consistency of heavy cream.
Storage and Serving Tips
Cake pops stay fresh in an airtight container in the refrigerator for up to 5 days, though they rarely last that long in my house. For longer storage, wrap them individually in plastic wrap and freeze for up to a month. Serve them at room temperature for the best texture and flavor experience.
- Place cake pops in small clear bags tied with ribbon for instant party favors
- Set up a decorating station at parties so guests can customize their own pops
- Use a floral foam block wrapped in coordinating paper as an elegant display stand
 Save
Save There's something magical about these little red velvet spheres on sticks that makes people smile before they even take a bite. I hope they bring as much joy to your kitchen as they have to mine.
Recipe FAQs
- → What makes red velvet cake vibrant?
-
The distinctive color comes from cocoa powder combined with red food coloring, which enhances the bright red appearance.
- → How is cream cheese frosting incorporated?
-
The cream cheese is whipped with butter and powdered sugar, then mixed into crumbled cake to form a moldable dough.
- → What’s the best way to melt white chocolate?
-
Use a microwave in short bursts or a double boiler to gently melt white chocolate without burning.
- → Can these treats be stored long-term?
-
Store them in an airtight container in the refrigerator for up to five days to maintain freshness.
- → How do I prevent cracking of the coating?
-
Cooling the cake balls before dipping and using a small amount of vegetable oil in the chocolate helps ensure a smooth, even coating.
