 Save
Save Brine boneless chicken breasts in dill pickle juice with a touch of sugar and pepper for at least an hour to infuse tang and tenderize. Butterfly and pound thin, then layer cheese, optional ham and fresh herbs before rolling and securing. Dredge in flour, egg and seasoned panko. Fry briefly for color, then finish in the oven or bake with a drizzle of butter until cooked through. Rest 5 minutes, slice and serve warm with a salad or slaw.
The smell of pickle juice hit me wrong the first time I poured it over chicken, and honestly I almost backed out of the whole idea. My neighbor had sworn by it for years, cornering me at a barbecue to rant about brining until I agreed to try it. That batch turned out so absurdly juicy and tangy that I now keep a jar of pickle juice in the fridge at all times like some kind of fanatic.
I served these at a game night expecting them to disappear quietly as a snack, and instead three friends stood around the kitchen island demanding the recipe before halftime.
Ingredients
- Pickle juice (1 cup): Straight from a jar of dill pickles works perfectly, and the sugar in the brine balances out the sharp acidity.
- Sugar (1 tablespoon): Just enough to mellow the harsh edges of the vinegar without making anything sweet.
- Black peppercorns (1 teaspoon): Whole peppercorns infuse gently during brining instead of overpowering the meat.
- Chicken breasts (4 boneless, skinless): Try to pick ones that are roughly the same size so they cook evenly when rolled.
- Swiss or provolone cheese (4 slices): Provolone melts into a beautiful stretchy layer, while Swiss adds a slightly nutty character.
- Deli ham (4 slices, optional): This adds a salty, savory layer that turns the roll into something almost like a mini chicken cordon bleu.
- Fresh dill or parsley (2 tablespoons, chopped): Fresh herbs brighten up the filling and complement the pickle tang beautifully.
- Salt and black pepper: Go easy on the salt since the brine and ham already bring plenty of sodium to the party.
- All-purpose flour (1 cup): The first coat in your breading station creates the dry surface that everything else clings to.
- Large eggs (2, beaten): The glue that binds the flour to the breadcrumbs, so make sure every bit of surface gets coated.
- Panko breadcrumbs (1 1/2 cups): Panko creates that shatteringly crisp crust that regular breadcrumbs can never quite match.
- Garlic powder (1 teaspoon): It distributes evenly across the coating and browns better than raw garlic would.
- Smoked paprika (1/2 teaspoon): A tiny amount adds warmth and a subtle smokiness that makes the coating taste richer than it is.
- Vegetable oil or melted butter (1/4 cup): Either works for frying or drizzling, though butter gives the baked version a deeper golden color.
Instructions
- Brine the chicken:
- Combine the pickle juice, sugar, and peppercorns in a large bowl or resealable bag, then submerge the chicken breasts and tuck them into the fridge for at least one hour or up to four if you have the time.
- Preheat and prep:
- Set your oven to 400 degrees Fahrenheit if baking, and line a baking sheet with parchment paper so nothing sticks later.
- Pound the chicken flat:
- Pat the brined chicken dry with paper towels, butterfly each breast by slicing horizontally almost all the way through and opening it like a book, then place each piece between two sheets of plastic wrap and pound gently to a quarter inch thickness.
- Build the rolls:
- Lay a slice of cheese, then ham if you are using it, and scatter fresh herbs over each flattened breast before seasoning lightly with salt and pepper.
- Roll and secure:
- Tuck the sides in and roll each breast up as tightly as you can manage, then pin them shut with toothpicks so nothing escapes during cooking.
- Set up the breading station:
- Arrange three shallow bowls in a row with flour in the first, beaten eggs in the second, and panko mixed with garlic powder and smoked paprika in the third.
- Bread each roll:
- Dredge every chicken roll through flour first, dunk it in egg until completely coated, then roll it in the panko mixture pressing gently so the crumbs adhere everywhere.
- Rest and serve:
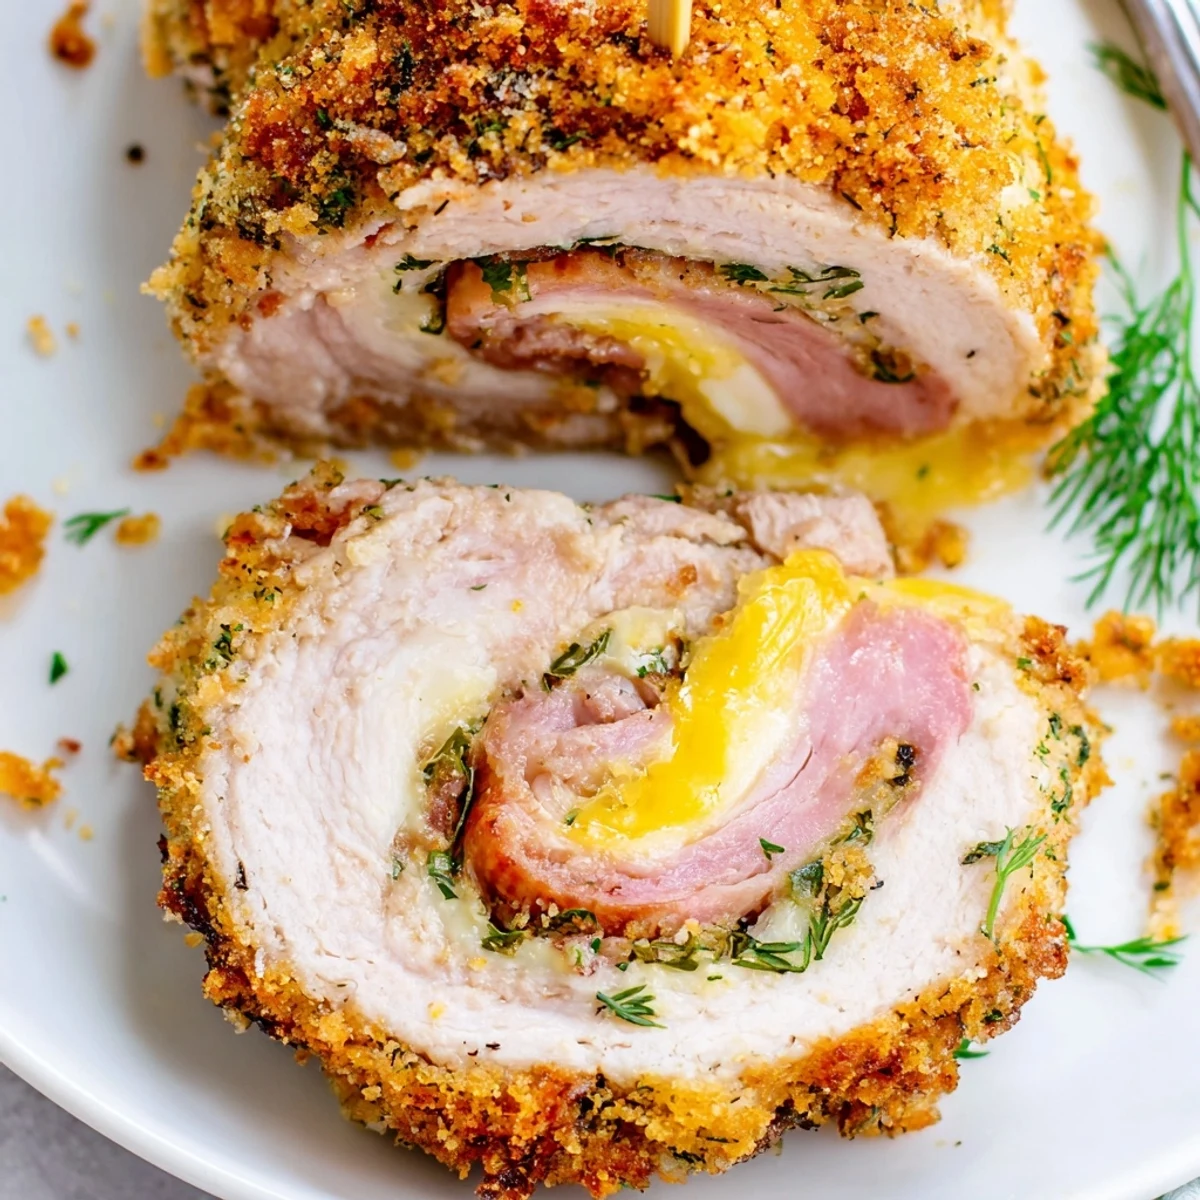
- Let the rolls sit for five minutes before slicing so the melted cheese has a moment to settle, then serve them hot while the crust is still audibly crispy.
 Save
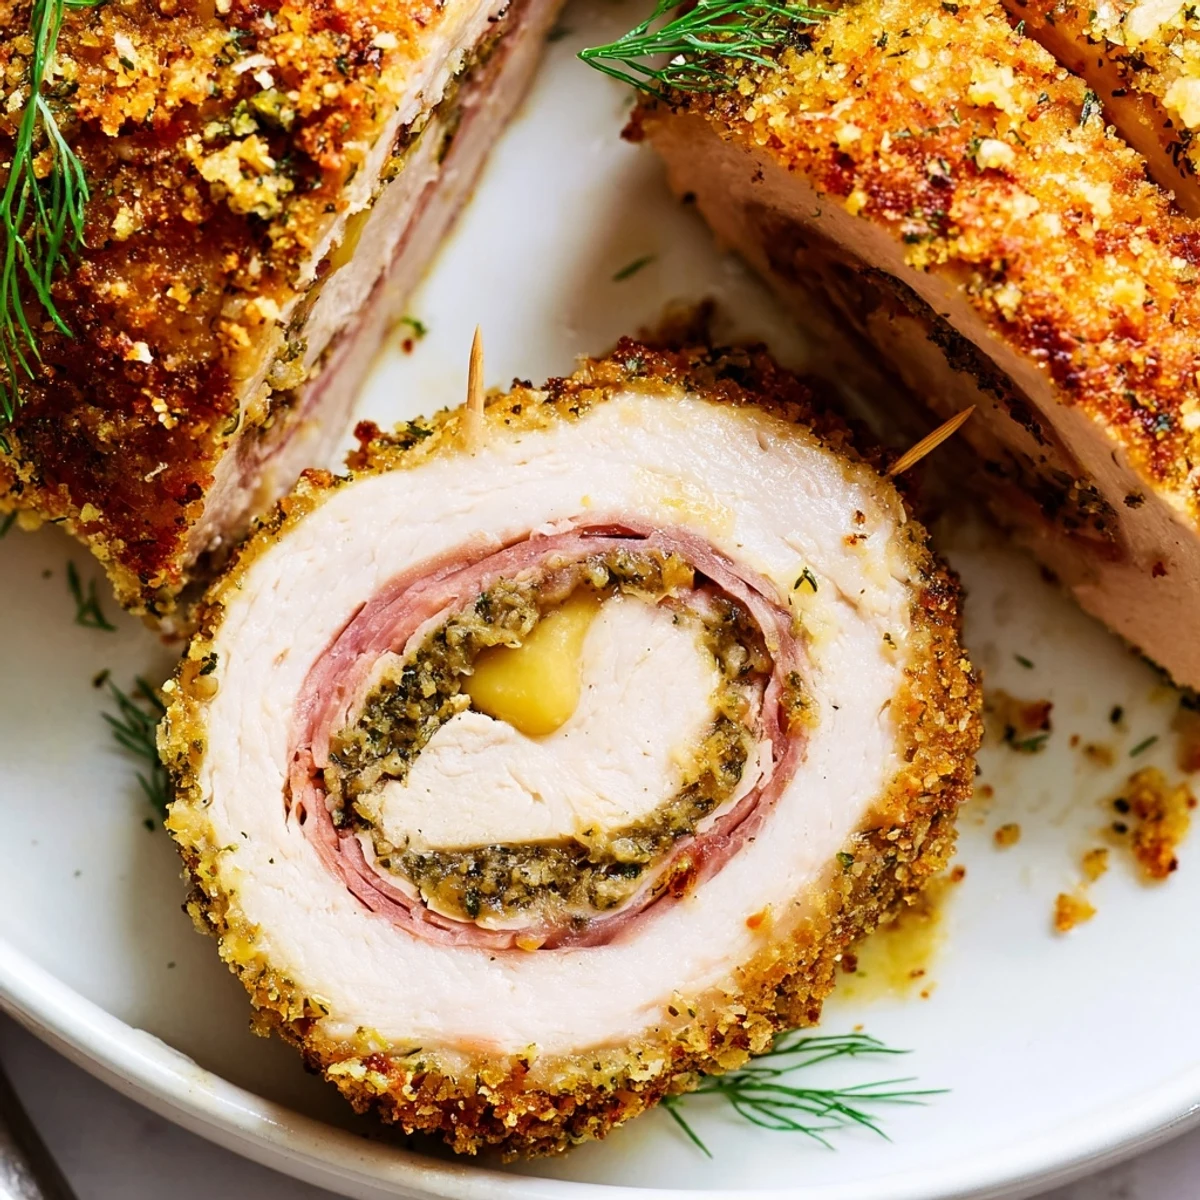
Save The moment I sliced into my first perfectly golden roll and cheese oozed out onto the cutting board, I understood why people get emotional about food.
What to Serve Alongside
A cold scoop of potato salad and a pile of coleslaw turn this into a proper summer meal that barely requires any thought.
Making It Your Own
Spicy pickle juice gives the whole thing a fiery kick that regular dill cannot match, and swapping the ham for prosciutto elevates the dish enough to serve at a nicer gathering.
Storing and Reheating
Leftover rolls keep well in the fridge for up to three days and reheat beautifully in an air fryer or oven to restore the crunch that the microwave will absolutely destroy.
- Freeze unbaked rolls on a sheet pan first, then transfer to a bag for up to two months.
- Bake from frozen at 375 degrees Fahrenheit for about thirty five to forty minutes.
- Always check that the internal temperature reaches 165 degrees Fahrenheit before serving.
 Save
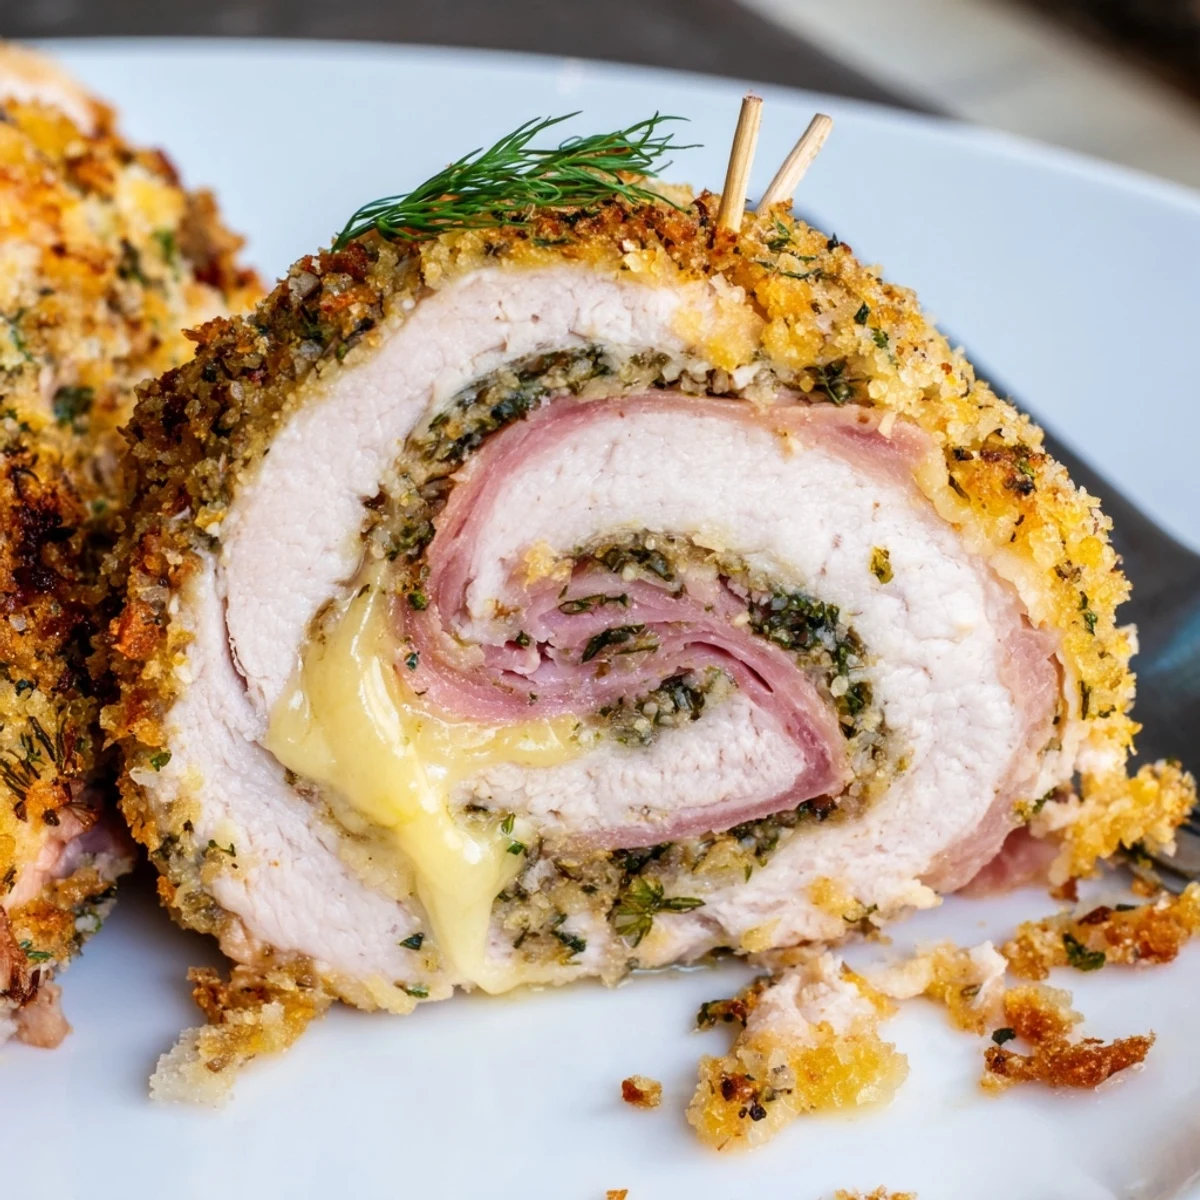
Save Once you experience the combination of tangy brined chicken, melted cheese, and that crackling crust, this recipe has a way of showing up on your weekly meal plan uninvited in the best possible way.
Recipe FAQs
- → How long should I brine the chicken?
-
Brine for a minimum of 1 hour and up to 4 hours. Short brines add gentle flavor and moisture; extended brines can over-salt and change the meat's texture.
- → Can I make these without frying?
-
Yes. Bake rolls on a parchment-lined sheet, drizzle with melted butter or oil, and roast at 400°F (200°C) for about 25–30 minutes until golden and cooked through.
- → What cheeses work best for stuffing?
-
Swiss, provolone, or mild cheddar melt well and pair nicely with dill. Avoid very soft cheeses that may leak during cooking unless wrapped well.
- → How do I prevent the rolls from unrolling while cooking?
-
Secure tightly with toothpicks, tucking the ends in. Chill briefly after rolling to firm up the shape, then bread so the coating adheres and supports the roll.
- → Can I make this gluten-free?
-
Yes. Substitute gluten-free flour and panko or crushed gluten-free crackers for the breadcrumbs. Ensure any deli ham or added ingredients are labeled gluten-free.
- → Any tips for extra crispiness?
-
Use panko for the coating, pat the rolls dry before breading, and either shallow-fry to develop color before baking or brush generously with melted butter for the oven method.
