 Save
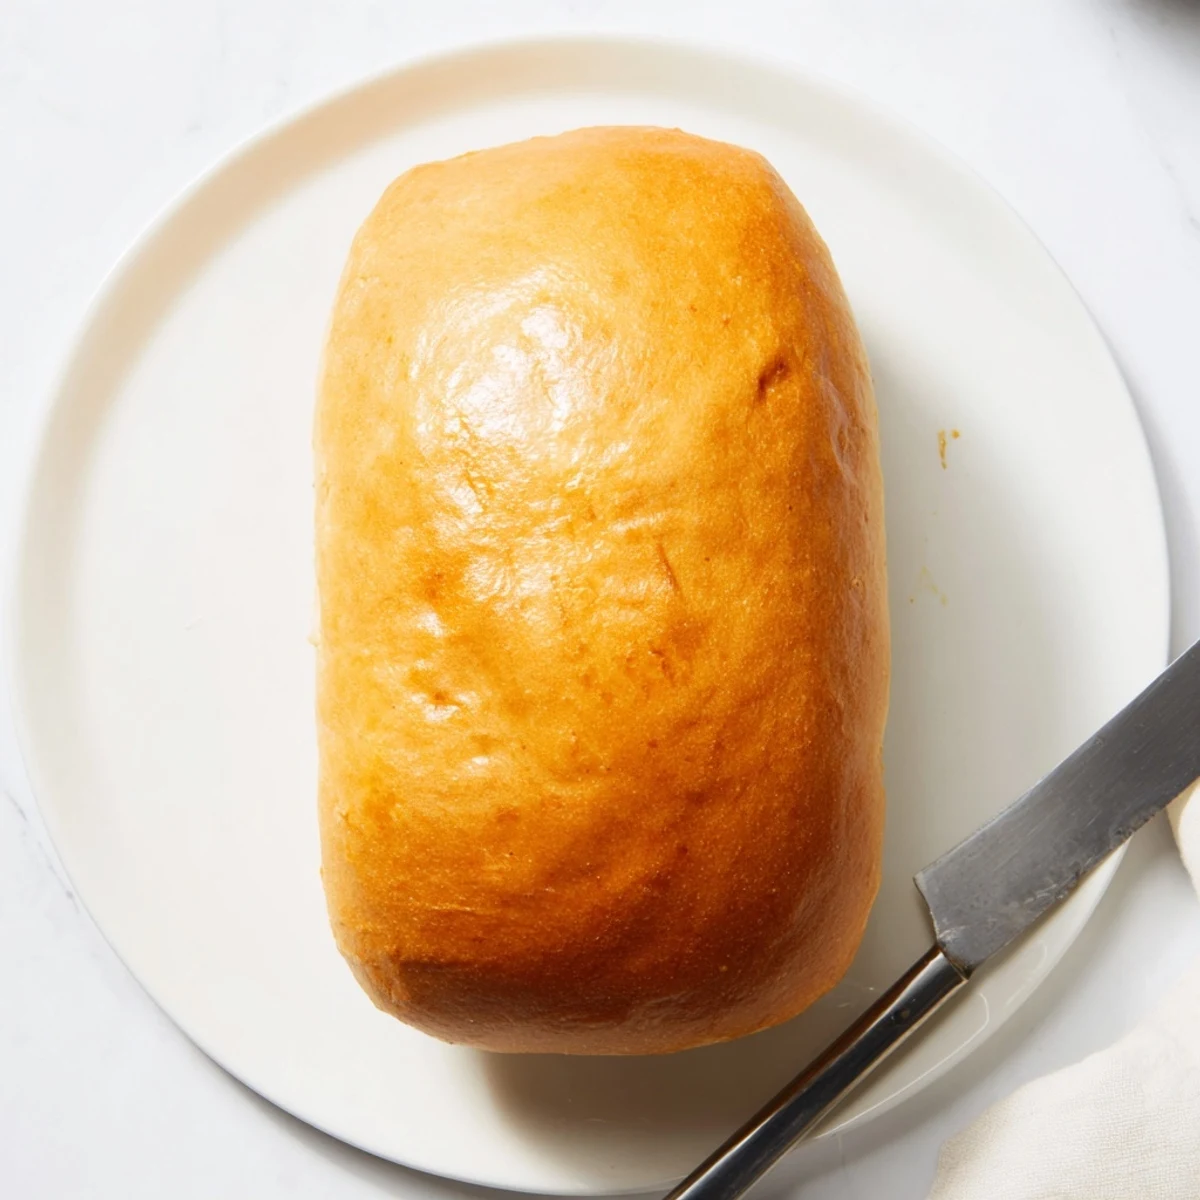
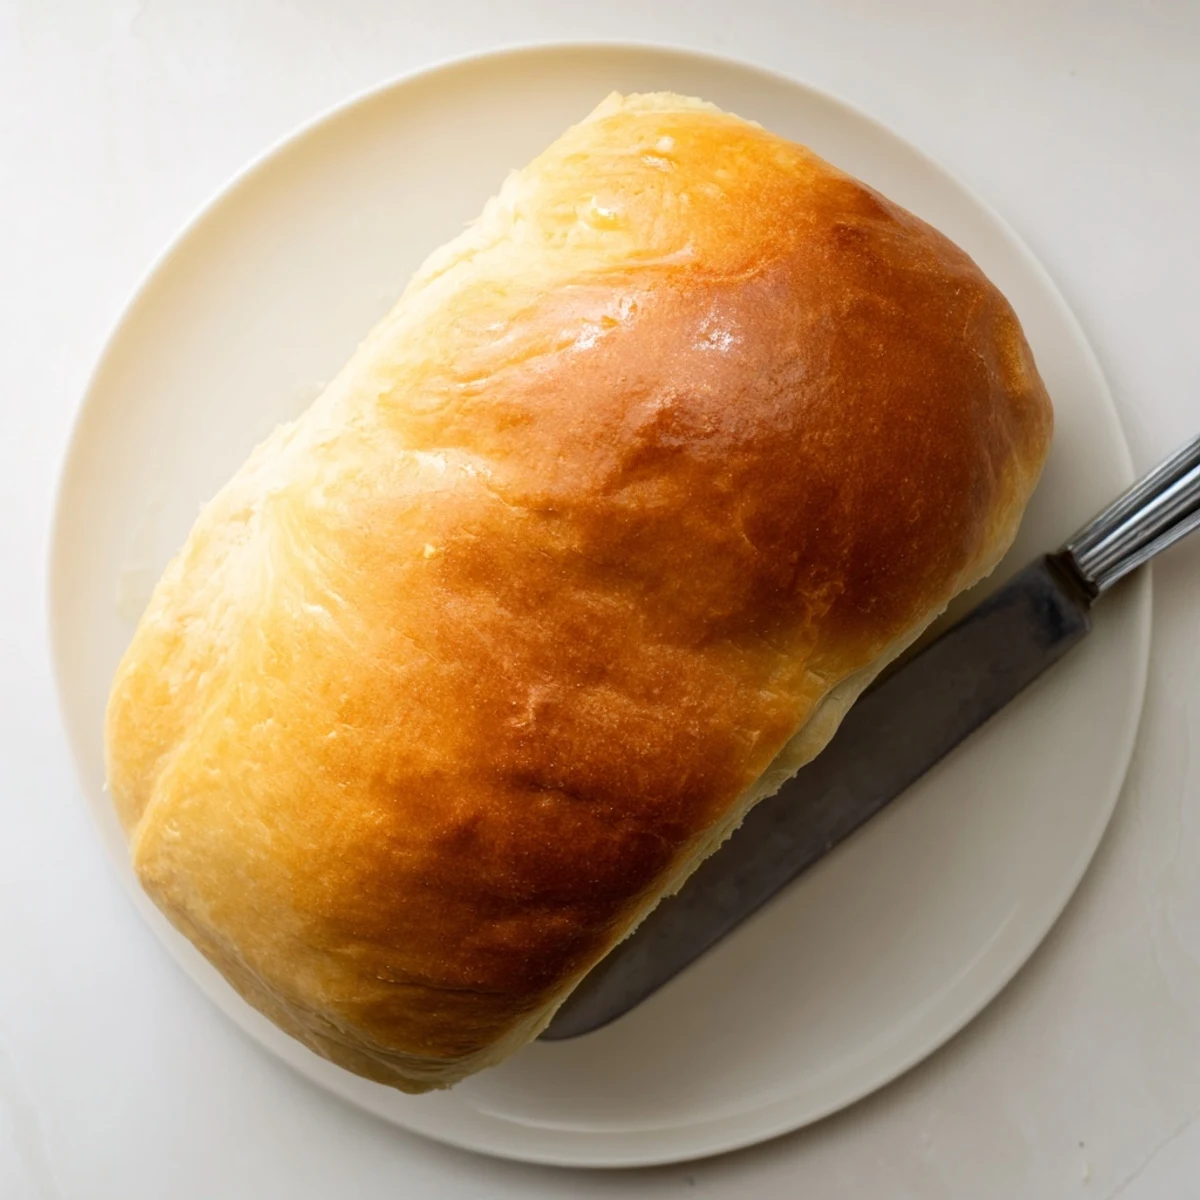
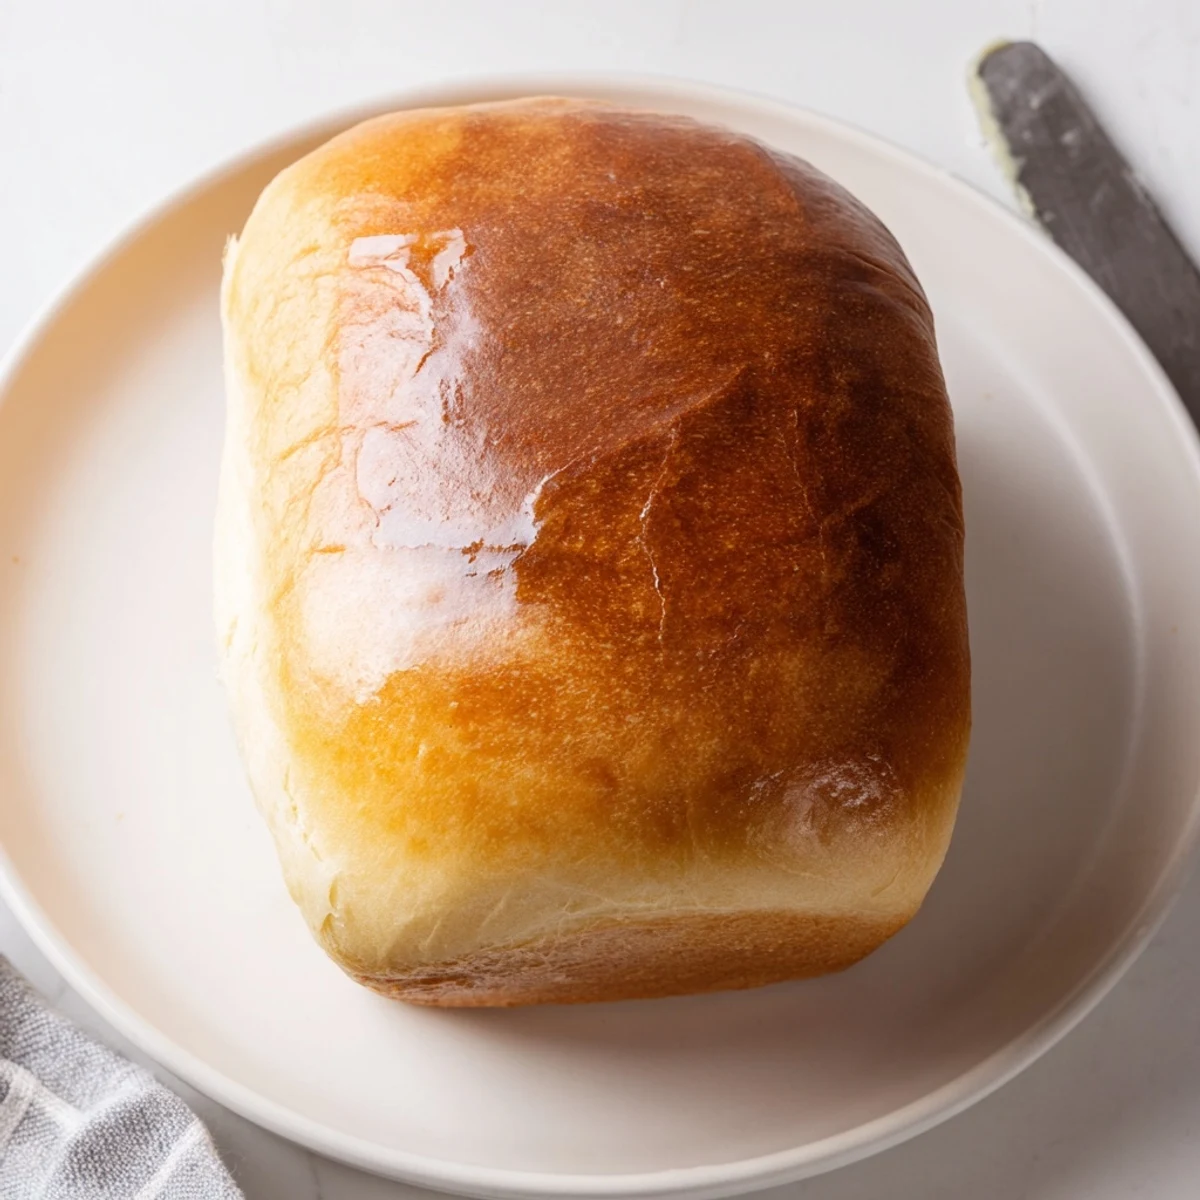
Save Create bakery-style white bread with this traditional Amish method. The dough combines warm water, sugar, yeast, salt, and oil to produce two beautifully risen loaves with a tender crumb and golden crust. After mixing and kneading, let the dough rise until doubled, then shape into loaf pans for a second rise before baking to perfection.
Brush the finished loaves with melted butter for an irresistibly soft crust. This versatile bread slices beautifully for sandwiches, transforms leftover slices into exceptional French toast, and keeps fresh for days when stored properly.
The smell of this bread baking still takes me back to my grandmother's kitchen on Sunday mornings. I can practically feel the warmth of her old oven and hear the quiet satisfaction in her voice when she'd tap the loaf to check if it was done. She never measured anything exactly, yet somehow every single loaf came out perfect.
My first attempt at making this bread alone ended in disaster because I killed the yeast with water that was way too hot. The second time, I treated that yeast mixture like a fragile experiment, checking the temperature with my wrist like a baby bottle. When those bubbles finally appeared, I felt like Id accomplished something huge.
Ingredients
- Warm water: Keep it around body temperature, any hotter and youll kill the yeast before it even gets started
- Granulated sugar: This feeds the yeast and gives the bread its characteristic subtle sweetness
- Active dry yeast: Make sure its fresh and alive by watching for that foamy layer after ten minutes
- Salt: Dont skip this, it balances the sweetness and gives the bread structure
- Vegetable oil: Keeps the bread tender and extends its shelf life significantly
- All purpose flour: Start with 5 and a half cups and add more only if the dough is sticking to everything
- Melted butter for brushing: That final glossy touch makes all the difference for a soft crust
Instructions
- Wake up the yeast:
- Dissolve the sugar in warm water, sprinkle the yeast on top, and walk away for ten minutes. Come back to find a beautiful foamy layer proving your yeast is alive and ready to work.
- Build the dough:
- Stir in the salt and oil, then gradually add flour one cup at a time. Youll know youve added enough when the dough pulls away from the sides of the bowl but still feels slightly tacky to the touch.
- Knead until smooth:
- Turn the dough onto a floured surface and work it with the heel of your hand for about eight minutes. The dough should transform from shaggy and rough to smooth and elastic, bouncing back when you poke it.
- First rise:
- Place the dough in a greased bowl, cover it, and find the warmest spot in your kitchen. Let it double in size, which usually takes about an hour depending on your kitchen temperature.
- Shape the loaves:
- Punch down the dough gently and divide it in half. Shape each piece into a rectangle, roll it tightly, and tuck the ends under before placing in greased loaf pans.
- Second rise:
- Cover the pans and let the dough rise again until it creeps about an inch above the rim. This usually takes 30 to 45 minutes, but trust your eyes more than the clock.
- Bake to golden:
- Bake at 350 degrees for 25 to 30 minutes until the tops are deep golden brown. The loaves should sound hollow when tapped on the bottom, meaning the inside is perfectly cooked.
- Finish with butter:
- Brush the hot loaves with melted butter immediately after removing them from the oven. Let them cool in the pans for ten minutes before turning out onto a wire rack.
 Save
Save This bread became my go-to housewarming gift after a friend mentioned it was the first thing she made after moving into her new apartment. Something about the smell of fresh bread makes any space feel like home.
Making It Your Own
Try replacing some of the water with whole milk for a richer flavor and softer texture. The bread will stay fresh longer and develop a beautiful golden crust that you cant get with water alone.
Timing Your Bakes
Ive found that baking this bread in the morning fills the whole house with that incredible aroma all day long. The yeast seems to work better in a warm kitchen, so sunny weekend mornings are my favorite time to bake.
Storage And Serving Ideas
This bread freezes beautifully, so I always double the recipe and stash a loaf for busy weeks. Theres nothing quite like pulling a homemade loaf from the freezer on a weekday morning.
- Slice before freezing so you can grab just what you need
- Wrap tightly in plastic then foil to prevent freezer burn
- Thaw overnight in the refrigerator for the best texture
 Save
Save Theres something deeply satisfying about pulling a perfect loaf from the oven, knowing you created something nourishing with your own hands. Every slice carries the warmth of whoever made it.
Recipe FAQs
- → What makes Amish white bread different from regular white bread?
-
Amish white bread has a slightly higher sugar content and oil, creating a softer, sweeter crumb that stays fresh longer. The texture is exceptionally tender, making it ideal for toasting and sandwiches.
- → How do I know when the dough has risen enough?
-
The dough is ready when it has doubled in size during the first rise. For the second rise in the pans, look for the dough to crest about 1 inch above the rim of the pan before baking.
- → Can I make this bread without a stand mixer?
-
Absolutely. Simply mix the ingredients in a large bowl with a wooden spoon, then knead by hand on a floured surface for 6-8 minutes until smooth and elastic.
- → Why did my bread turn out dense?
-
Dense bread usually results from not kneading enough, under-proofing (not letting rise long enough), or using water that's too hot which killed the yeast. Ensure water is warm to touch (110°F) and allow full rising time.
- → How should I store this bread to keep it fresh?
-
Once completely cooled, store in an airtight bag at room temperature for up to 4 days. For longer storage, freeze whole loaves or individual slices wrapped tightly in plastic and foil.
