
 Save
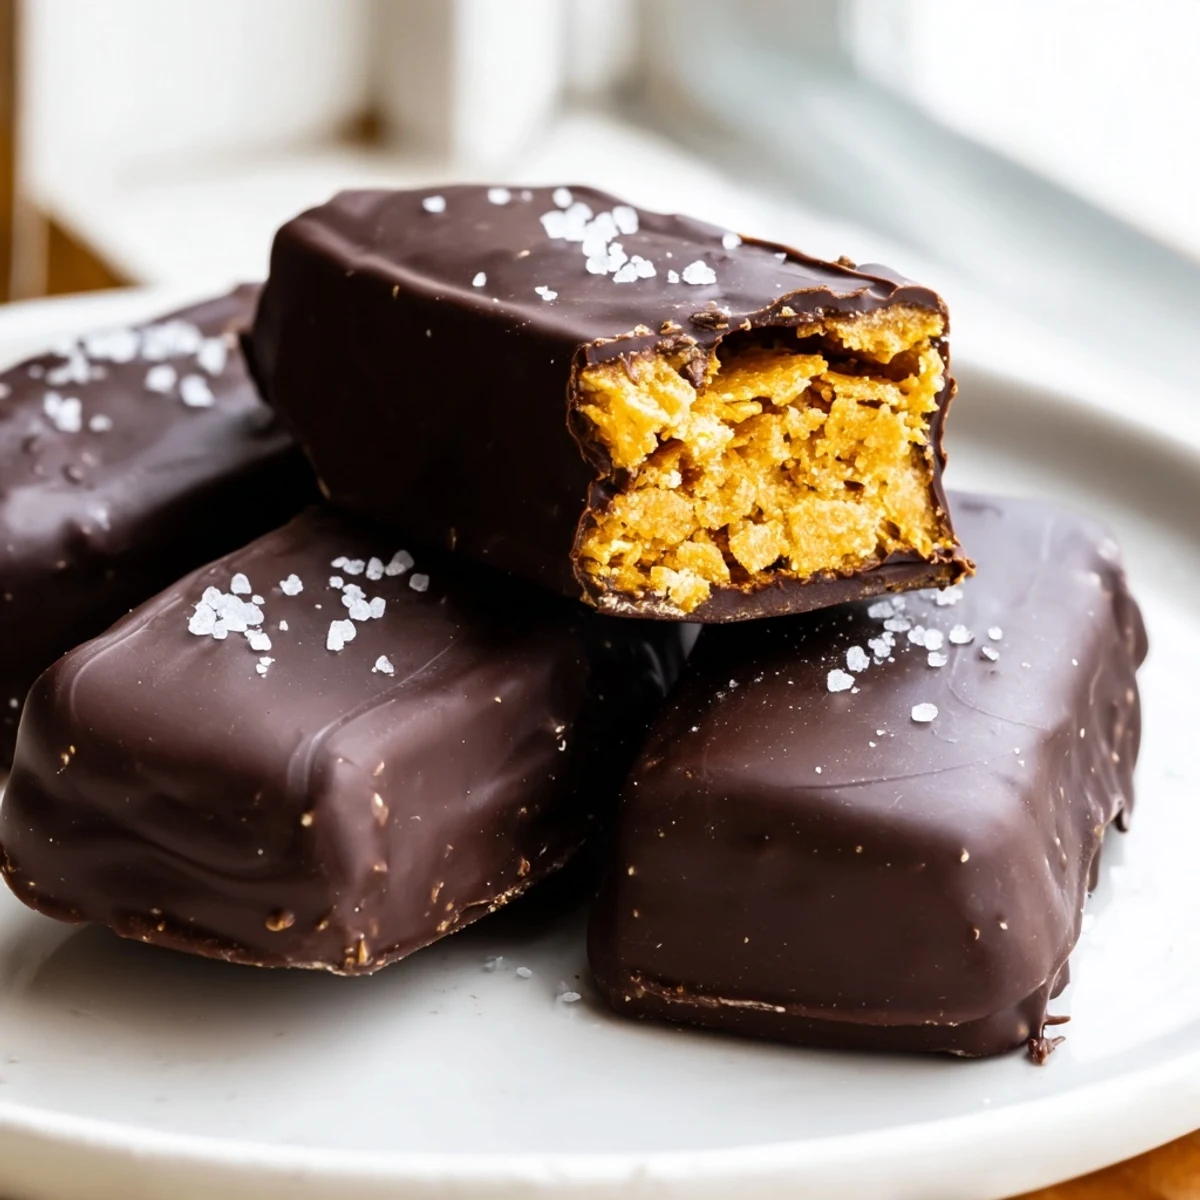
Save These healthy homemade Butterfingers deliver everything you love about the classic candy bar — shattering crunch, salty-sweet peanut butter filling, and a glossy chocolate shell — without the artificial ingredients.
A simple mixture of natural peanut butter, maple syrup, and crushed cornflakes forms the crisp center. After a quick chill, each bar gets dipped in melted dark chocolate and sets in the fridge.
The whole process takes about 30 minutes of hands-on time. They're vegetarian, easily made vegan and gluten-free, and store well in the refrigerator or freezer for months.
The candy aisle at the grocery store always triggers a quiet war in my brain, and Butterfingers are usually the winner. Something about that flaky, peanut butter crunch shattering under a shell of chocolate just does it for me. So when I figured out I could make a version at home with actual ingredients I recognize, it felt like unlocking a cheat code. These bars have that same addictive crunch but without the mystery preservatives.
I brought a batch of these to a friends game night and watched three people freeze mid conversation when they bit into one. Someone actually set down their controller, which if you know gamers is the highest possible praise. They vanished in under twenty minutes and I got a text the next morning asking for the recipe.
Ingredients
- Natural creamy peanut butter: The star of the filling, use a brand with just peanuts and salt for the cleanest flavor and best texture.
- Pure maple syrup or honey: This binds everything together and adds sweetness without needing refined sugar.
- Vanilla extract: Just a teaspoon rounds out the flavors and makes the peanut butter taste richer.
- Cornflakes: Lightly crushed is the trick here, you want small pieces that still hold their crunch, not dust.
- Sea salt: A pinch in the filling balances the sweetness and makes the peanut butter sing.
- Dark chocolate chips: Go for something around 60 to 70 percent cacao for a coating that sets with a nice snap.
- Coconut oil: Mixed into the chocolate it helps thin it out for easier dipping and gives a smoother finish.
Instructions
- Prep your pan:
- Line an 8x8 inch baking dish with parchment paper, leaving some overhang on the sides so you can lift the whole slab out later.
- Melt the base:
- In a saucepan over medium low heat, stir the peanut butter and maple syrup together until completely smooth and warmed through, about two to three minutes. Take it off the heat and stir in the vanilla and a pinch of sea salt.
- Fold in the crunch:
- Gently fold the lightly crushed cornflakes into the warm peanut butter mixture until every flake is coated. Move with confidence here, overmixing will crush the flakes too much.
- Press and freeze:
- Spread the mixture into your prepared pan and press it flat with a spatula, really packing it in firmly. Pop it in the freezer for twenty to thirty minutes until it holds together when you press it.
- Cut into bars:
- Lift the slab out using the parchment overhang and cut it into sixteen bars with a sharp knife. A clean cut matters here so wipe the blade between slices if needed.
- Melt the chocolate:
- Combine the chocolate chips and coconut oil in a microwave safe bowl and heat in thirty second bursts, stirring between each, until completely smooth. Alternatively use a double boiler if you prefer.
- Dip and coat:
- Dip each bar into the melted chocolate, turning it with a fork to cover all sides, then tap off the excess and place on a parchment lined tray. This part is messy and wonderful so embrace it.
- Set and store:
- Refrigerate the coated bars for fifteen to twenty minutes until the chocolate shell is firm. Store them in an airtight container in the fridge and they will stay perfect for about two weeks.
 Save
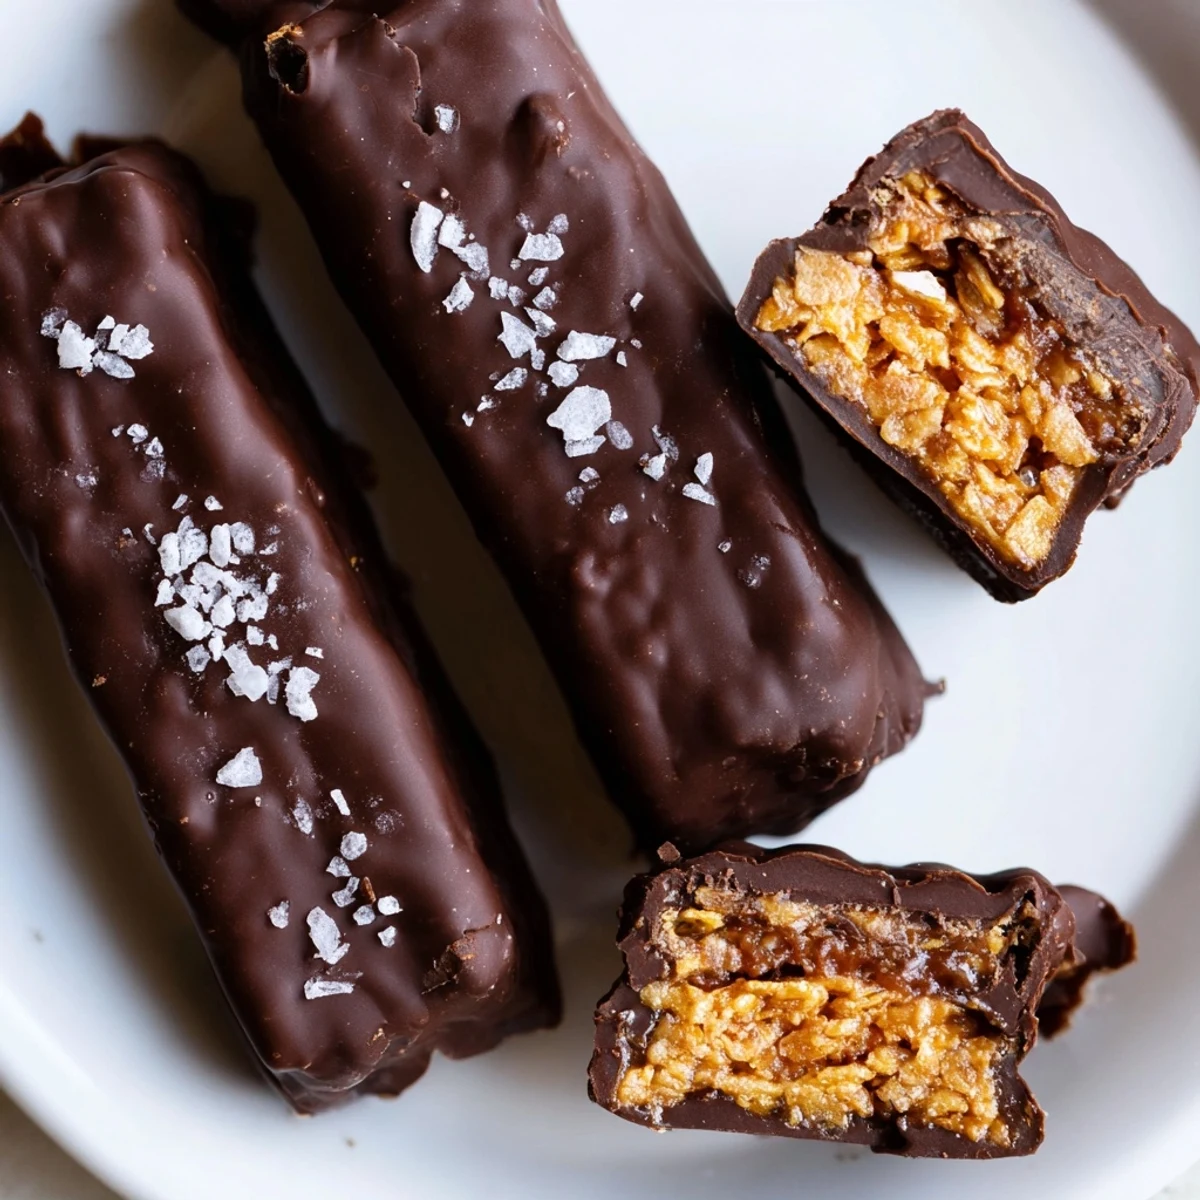
Save Making candy at home always felt intimidating to me until I realized these are essentially just peanut butter squares wearing chocolate jackets. There is no thermometer, no tempering, no praying over a pot of sugar syrup. Just warm, stir, press, dip, and done.
Keeping Them Fresh
These bars live happily in the refrigerator for up to two weeks, though honestly they never last that long in my house. You can also freeze them for up to three months, just layer parchment between the bars so they do not stick together. Let them sit at room temperature for about five minutes before eating so the chocolate softens just slightly.
Making It Your Own
The beauty of a recipe this simple is that it bends easily to what you have on hand. Swap the dark chocolate for milk chocolate if you want something sweeter, or drizzle white chocolate on top for visual flair. A sprinkle of flaky sea salt on the wet chocolate coating adds a sophisticated touch that makes people think you spent way more effort than you did.
What to Watch Out For
A few small things can make or break these bars, and most of them come down to temperature and patience.
- Use natural peanut butter that is well stirred, separated oil will make the filling greasy instead of cohesive.
- Crush the cornflakes by hand in a zip top bag, not in a food processor which turns them to powder instantly.
- Let the chocolate cool slightly after melting so it does not melt the peanut butter layer during dipping.
 Save
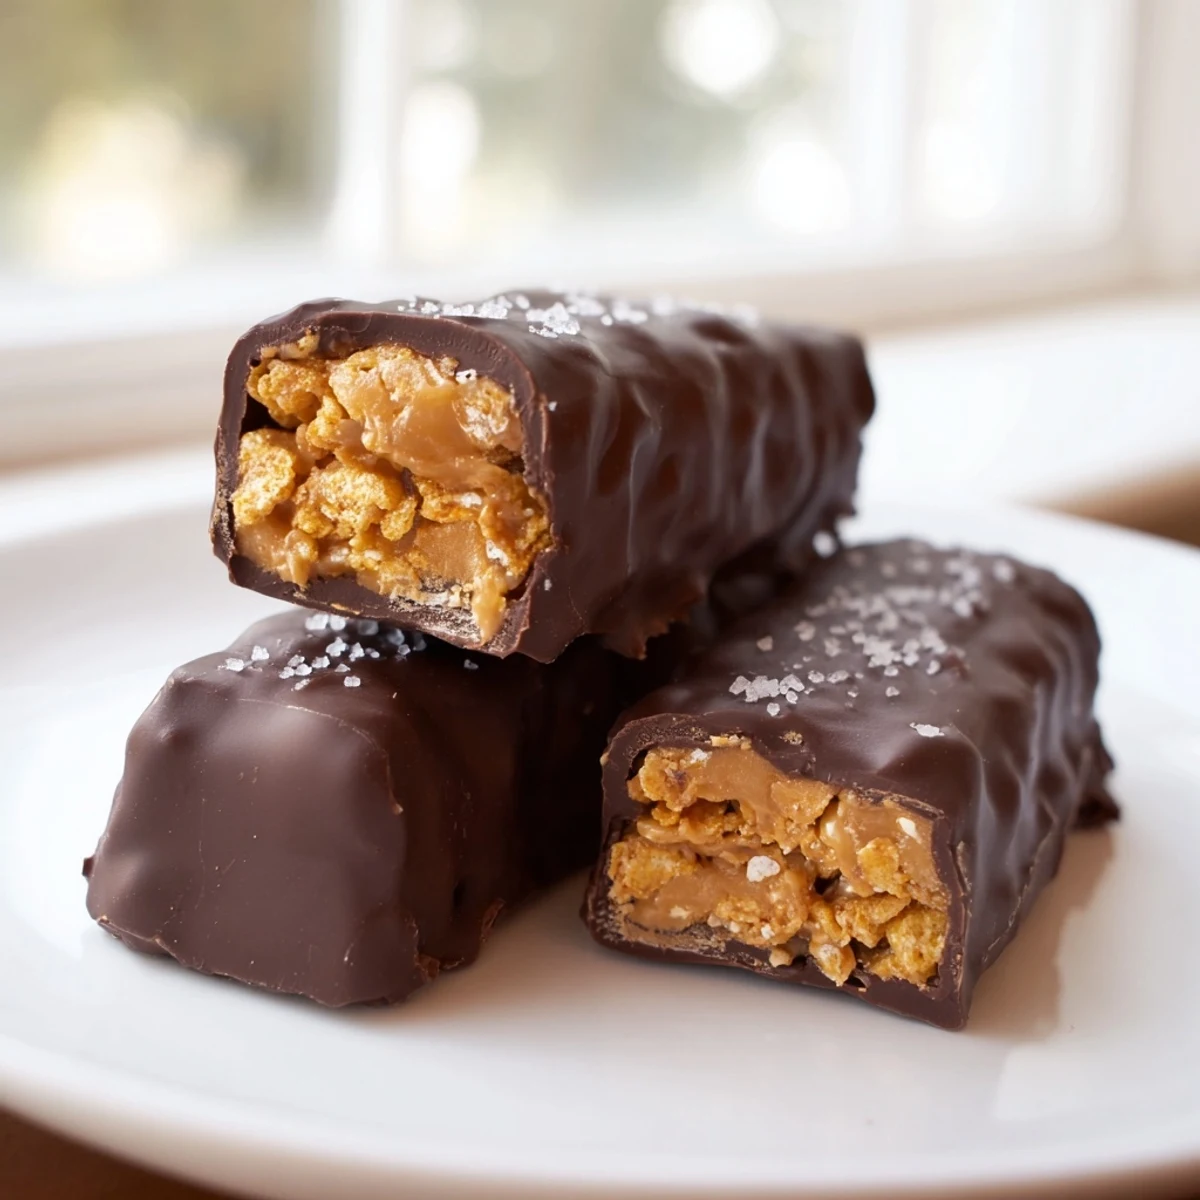
Save These homemade Butterfingers prove that sometimes the simplest recipes create the biggest reactions. Keep a batch in your fridge and you will always be ready when the candy craving hits.
Recipe FAQs
- → Can I make these Butterfingers vegan?
-
Yes. Use maple syrup instead of honey and choose dairy-free dark chocolate chips. Coconut oil remains the same. Always check your cornflake brand to ensure no animal-derived additives.
- → Why are my cornflakes too crushed and the filling dense?
-
Lightly crush the cornflakes by hand or with a gentle press in a zip-top bag. You want small pieces with some structure remaining. Over-crushing eliminates the signature crunch that makes these bars feel like the real thing.
- → How should I store the finished bars?
-
Keep them in an airtight container in the refrigerator for up to 2 weeks. For longer storage, freeze them for up to 3 months. Let frozen bars sit at room temperature for 5–10 minutes before eating.
- → Can I use milk chocolate instead of dark chocolate?
-
Absolutely. Milk chocolate works well if you prefer a sweeter coating. You can also try semi-sweet chips. The coconut oil helps thin any chocolate for easier dipping and a snappier finish.
- → Why did my chocolate coating crack or bloom?
-
Temper the chocolate gently — microwave in 20-second bursts or use a double boiler over barely simmering water. Avoid getting any water in the chocolate. Let the dipped bars set in the fridge, not the freezer, to prevent condensation and blooming.
- → What can I substitute for cornflakes?
-
Rice Krispies work as a gluten-free alternative with a slightly softer crunch. Crushed pretzels add a saltier bite. Avoid quick oats — they won't provide the crispy, shattering texture that defines these bars.