 Save
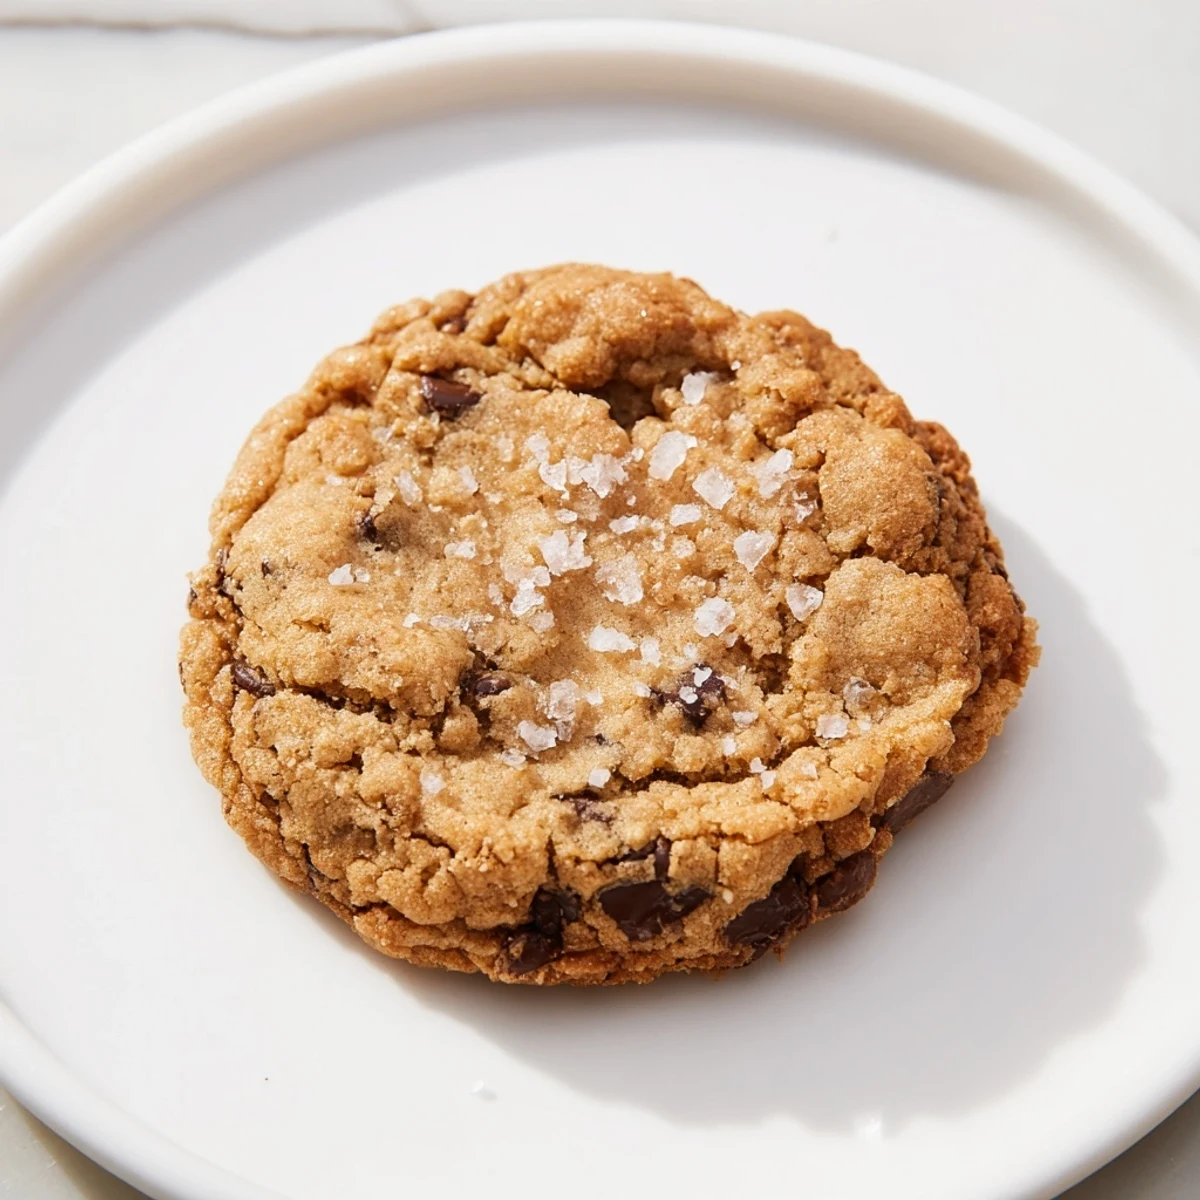
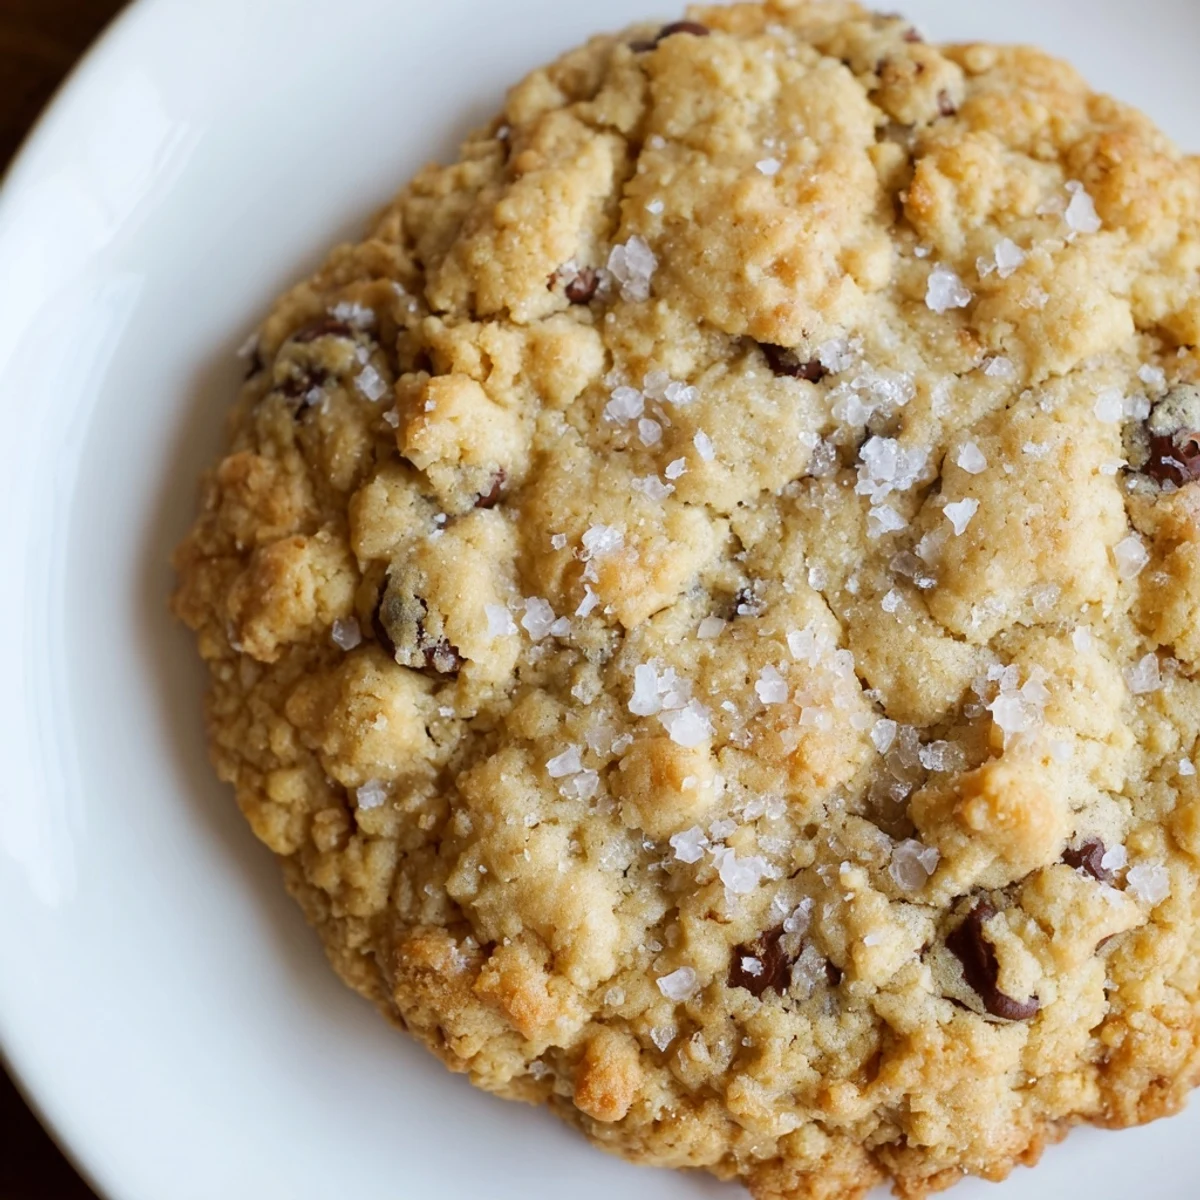
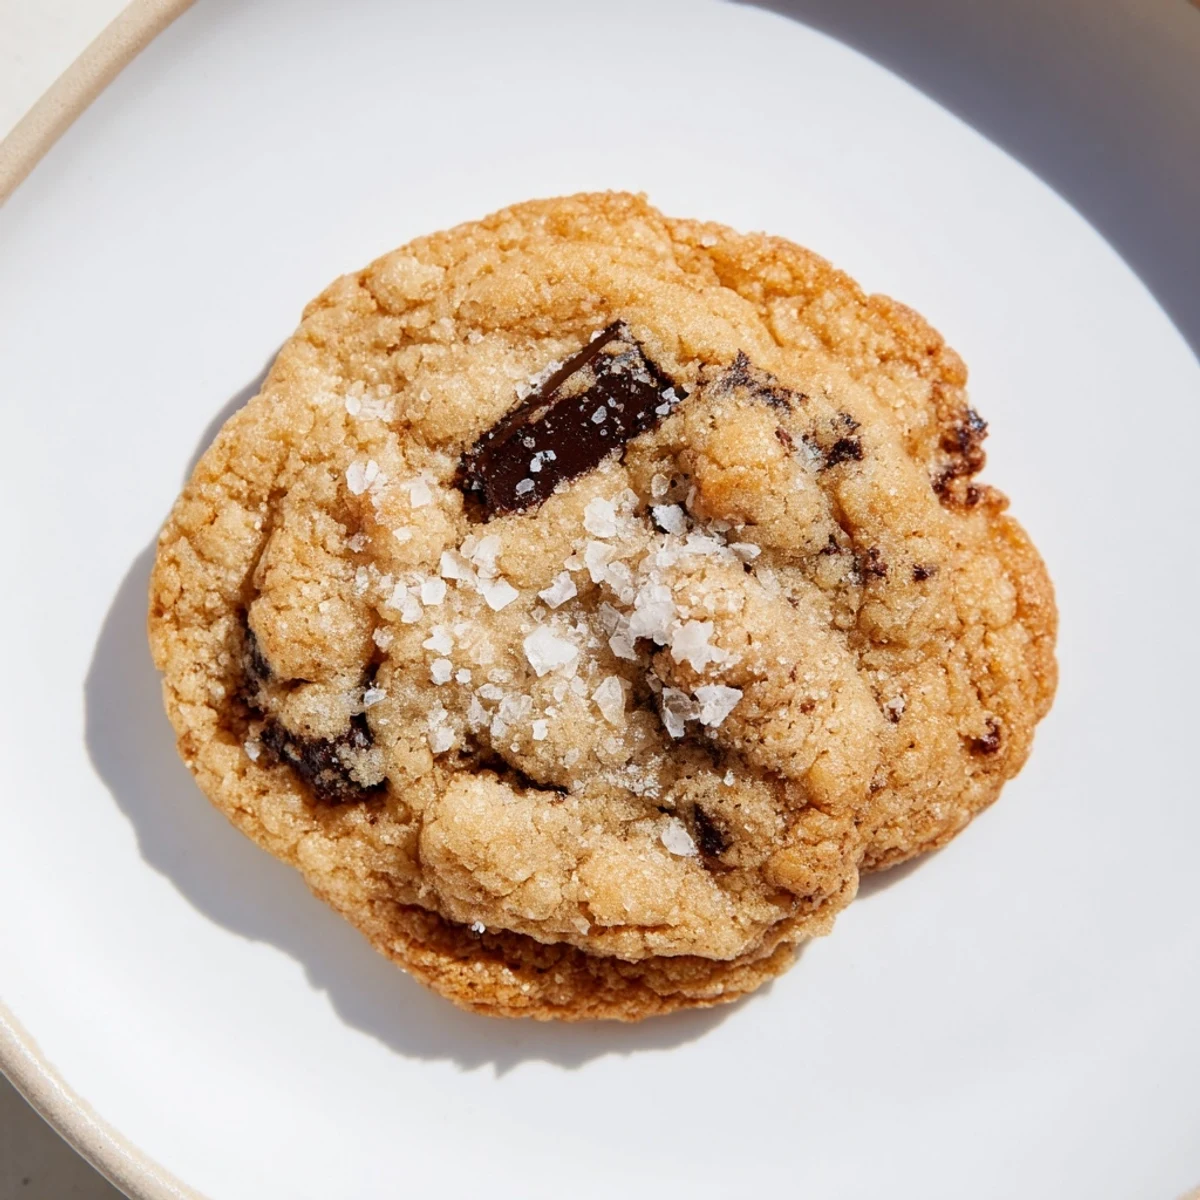
Save These buttery cookies bake up golden-brown with irresistibly crisp edges while maintaining a tender, soft center. The dough blends melted butter, sugars, and vanilla with flour and subtle leavening for a balanced flavor and texture. Optional chocolate chips or nuts add bursts of richness and crunch. Baking at 350°F (175°C) for around 12 minutes achieves the perfect edge-to-center contrast. Ideal for pairing with coffee or tea, they offer a delightful crunch in every bite and are simple to prepare.
There's something almost magical about the moment a sheet of cookies comes out of the oven and the edges are snapping with that golden-brown crispness while the centers still hold that tender, almost underbaked softness. I discovered these by accident one afternoon when I got distracted and left the dough sitting a little longer than planned, then cranked up the oven temperature slightly out of impatience. What emerged was this perfect balance I'd been chasing for years—buttery, crisp edges that shatter when you bite down, with a chewy middle that melts on your tongue.
I brought a batch of these to a neighbor's dinner party last spring, and I watched someone who'd been talking about being on a diet sneak a third cookie when they thought no one was looking. That's when I knew I'd nailed something—not because they were technically perfect, but because they disappeared. My friend texted me the recipe request before I even got home.
Ingredients
- All-purpose flour (1 ½ cups): Measure by spooning flour into your measuring cup and leveling it off rather than scooping directly from the bag, which packs it down and throws off your ratio.
- Baking soda (½ teaspoon): This is your edge-crisper—it promotes browning and helps create that snappy texture, so don't skip it even if you think it's optional.
- Salt (½ teaspoon): A small amount cuts through the sweetness and makes the butter flavor pop, bringing everything into focus.
- Unsalted butter, melted and cooled (½ cup): Melted butter creates a denser, crispier cookie than creamed butter, which is why this method works so well.
- Granulated sugar (1 cup): This is your crispness agent—it helps create those delicate, snappy edges that make the cookie special.
- Light brown sugar, packed (¼ cup): The molasses adds depth and keeps the centers tender, so pack it down when you measure.
- Egg (1 large): This binds everything together and adds richness without making the cookies cake-like.
- Vanilla extract (2 teaspoons): Pure vanilla is worth the extra cost here—imitation versions taste flat in such a simple recipe.
- Chocolate chips or nuts (½ cup), optional: Choose based on your mood—dark chocolate for richness, white chocolate for sweetness, or chopped walnuts for a toasted crunch.
Instructions
- Set your stage:
- Preheat your oven to 350°F and line two baking sheets with parchment paper, which prevents sticking and lets the bottoms cook evenly. Getting this done first means you're never standing around waiting with dough ready to go.
- Combine the dry team:
- In a medium bowl, whisk together flour, baking soda, and salt until they're evenly distributed. This prevents pockets of baking soda that would taste bitter.
- Build the wet base:
- Pour your cooled melted butter into a large bowl with both sugars and whisk until the mixture looks glossy and smooth, about a minute. You'll see the sugars start to dissolve and create this silky texture.
- Add the binders:
- Crack in your egg and add vanilla extract, then whisk until the mixture looks pale and slightly thickened, about another minute. Don't skip this step—it aerates the dough slightly and helps create better texture.
- Marry wet and dry:
- Pour the dry ingredients into the wet bowl and stir gently with a spatula until everything just comes together. Stop as soon as you see no flour streaks—overmixing creates tough cookies, and you want these tender.
- Add your mix-ins:
- If you're using chocolate chips or nuts, fold them in gently with a few final turns of the spatula. They distribute more evenly when you don't overwork the dough.
- Scoop and space:
- Using a cookie scoop or tablespoon, drop heaping portions onto your prepared baking sheets with at least two inches between each one. They spread slightly, so this spacing matters.
- Bake to the sweet spot:
- Bake for 10 to 12 minutes, watching as the edges turn golden brown while the centers still look barely set—almost like they need another minute but don't. This is the magic moment where crispy meets tender.
- Cool with patience:
- Let the cookies sit on the baking sheet for five minutes while they firm up and you catch your breath. Then transfer them to a wire rack to cool completely, which takes about ten minutes.
 Save
Save One winter evening, my roommate came home from a terrible day at work and found a warm batch of these on the counter. She ate two silently, then smiled for the first time all day. That's when I realized these aren't just cookies—they're this small, edible apology or celebration or moment of kindness that people remember.
Customizing Your Cookies
The beauty of this recipe is how easily it adapts to what you have or what you're craving. I've made them with dark chocolate and sea salt for richness, chopped pecans and brown butter for nuttiness, and white chocolate with dried cranberries for tartness. The base ratio stays the same, but the feeling changes completely depending on what you fold in at the end. Experiment fearlessly—this dough is forgiving enough to handle your experiments.
The Science of Crispy Edges
The reason these cookies have such a satisfying crunch comes down to a few intentional choices. Using melted butter instead of creamed butter, a higher proportion of granulated sugar, and that touch of baking soda all work together to spread the dough thin at the edges while keeping the centers thick and tender. The parchment paper lets air circulate underneath, which crisps the bottoms without burning them. It's not magic—it's just understanding what each ingredient does and letting them do their job.
Storage and Serving
These cookies keep for four days in an airtight container at room temperature, though honestly they rarely last that long. On day one and two they're at their absolute best—the contrast between crispy and tender is clearest. After that they soften slightly as they age, which some people prefer, so store them with intention based on how you want them to taste.
- Pair them with cold milk or hot coffee for the ultimate flavor experience.
- If they've softened and you miss the crispness, a quick thirty-second toast in a 300°F oven brings back the snap.
- Store them separately from softer cookies so they don't absorb moisture and lose their crunch.
 Save
Save These cookies are a reminder that sometimes the most satisfying foods come from simple recipes made with attention to detail and genuine care. Make them when you need a small moment of joy or when someone else needs it too.
Recipe FAQs
- → What makes the edges crispy while the center stays tender?
-
The balance of butter content and baking time allows the edges to brown and crisp, while the center remains soft due to slightly less exposure to direct heat.
- → Can I substitute chocolate chips with other add-ins?
-
Yes, white chocolate, dried fruits, or chopped nuts can be used to add different flavors and textures.
- → How can I prevent the cookies from spreading too much during baking?
-
Chilling the dough before baking or slightly flattening each dough mound helps control spreading and ensures crisper edges.
- → Is it important to use melted butter cooled to room temperature?
-
Melted butter that's cooled prevents cooking the egg during mixing and helps achieve a smooth, glossy dough that bakes evenly.
- → What are ideal tools for preparing these cookies?
-
Mixing bowls, a whisk, parchment-lined baking sheets, and a cookie scoop or tablespoon for portioning ensure consistent results.
