 Save
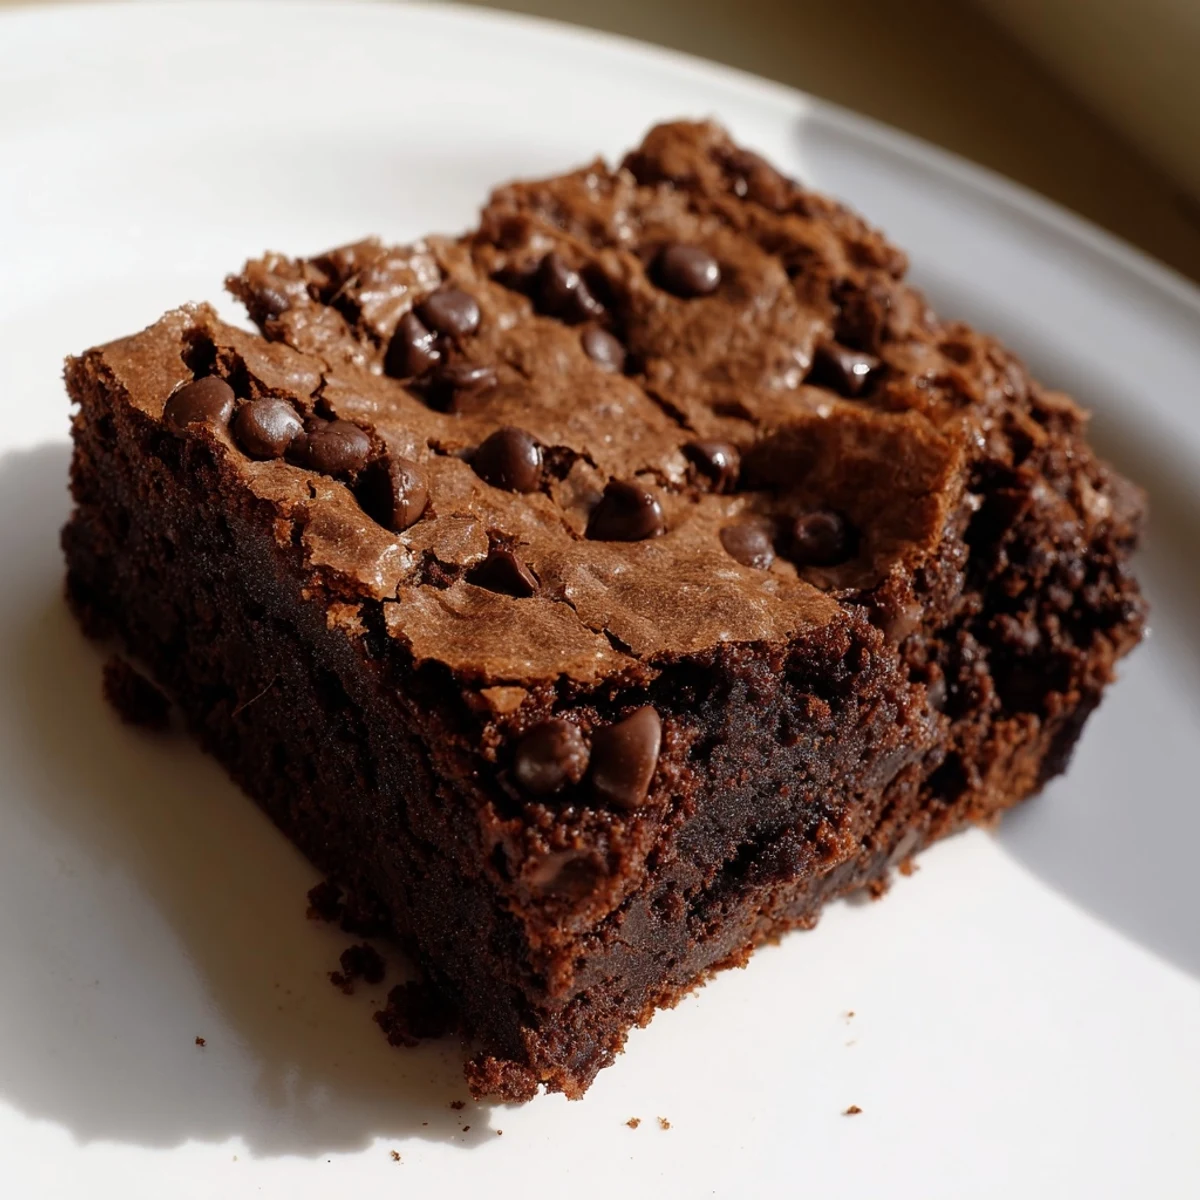
Save This chocolate brownie showcases a pleasing contrast between crispy edges and a moist, fudgy center. Made with melted butter, cocoa powder, and chocolate chips, the batter is carefully folded to maintain a tender yet textured result. Baking in a metal pan at 350°F develops those signature crisp borders while preserving a dense, chocolatey inside. Ideal for serving warm or at room temperature, these brownies satisfy cravings for both richness and crunch.
There's something almost magical about pulling a pan of brownies from the oven and catching that first whiff of melted chocolate mixed with caramelized sugar. I stumbled onto the crispy-edge technique completely by accident one Saturday afternoon when I got distracted and left my batter sitting in the pan a few minutes too long before baking. The edges had already started to set slightly, and when they came out, I realized I'd discovered something better than the fudgy-all-the-way brownies I'd been making for years. Now I chase that golden, crackly border every single time.
I'll never forget bringing these to a potluck where someone had made a fancy layered dessert with complicated plating. My humble brownies, still warm and tucked into a simple container, disappeared first. A friend grabbed three pieces and asked for the recipe, then admitted she'd been avoiding brownies for years because store-bought ones tasted waxy to her. That's when I realized these aren't just brownies—they're proof that simple done right beats complicated every time.
Ingredients
- All-purpose flour (1 cup): The structure of the brownie, and measuring by weight makes a real difference—scooping straight from the bag compacts it and can throw off your ratio.
- Unsweetened cocoa powder (1/2 cup): This is your chocolate foundation, so don't grab the sweetened kind by mistake; it changes everything.
- Baking powder (1/2 teaspoon): Just a whisper to help the brownies rise slightly and set those edges faster.
- Salt (1/2 teaspoon): Non-negotiable—it amplifies the chocolate flavor and keeps things from tasting flat.
- Unsalted butter, melted (1 cup): Melted butter means you can whisk it directly into sugar and eggs without creaming, saving time and creating a denser, richer crumb.
- Granulated and brown sugar (1 1/2 cups plus 1/2 cup): The mix of both gives you moisture and depth; brown sugar in particular keeps the center tender.
- Eggs at room temperature (3 large): Cold eggs don't blend smoothly into the batter, so pull them out of the fridge while you preheat.
- Vanilla extract (2 teaspoons): A secret weapon that rounds out the chocolate and makes it taste richer than it actually is.
- Semisweet chocolate chips (1 cup): Extra chocolate pockets throughout, plus a handful reserved for the top because brownie batter with naked surface area feels unfinished.
Instructions
- Set the stage:
- Preheat your oven to 350°F and line your metal pan with parchment, leaving enough overhang on two sides to lift the whole thing out later. This one small step saves you from hacking brownies out of the pan with a spatula and losing half of them to the corners.
- Mix the dry team:
- Whisk flour, cocoa powder, baking powder, and salt in a bowl until no streaks of cocoa powder remain. This disperses the leavening evenly so you get consistent rise across the whole pan.
- Build the wet base:
- In a large bowl, whisk your melted butter with both sugars until the mixture looks shiny and slightly thick, about one minute. Then add eggs one at a time, whisking well after each so the batter stays emulsified and creamy instead of breaking into greasy pools.
- Marry wet and dry:
- Pour the dry mixture into the wet and fold gently with a spatula—the moment you don't see flour streaks anymore, stop. Overmixing develops gluten, which tightens the crumb and makes brownies cakey instead of fudgy.
- Add the chocolate treasure:
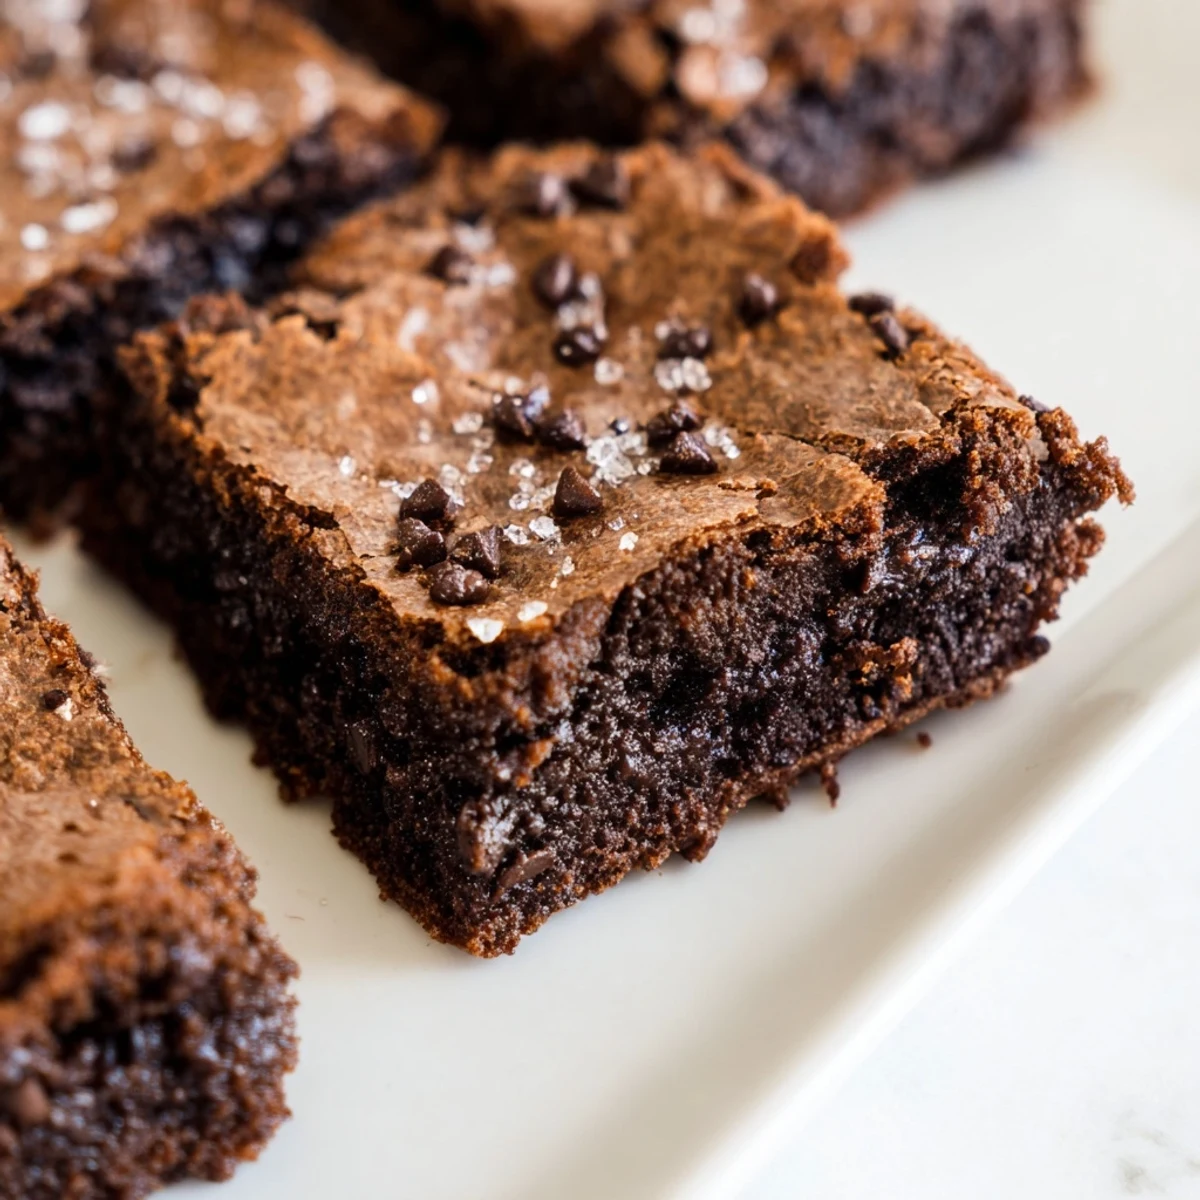
- Fold in most of the chocolate chips, saving a small handful. Sprinkle the reserved chips over the batter surface after you pour it into the pan so they stay visible and catch the heat.
- Bake with intention:
- Pour the batter evenly into your prepared pan and bake for 28–32 minutes. The edges should look visibly golden and crisp, and a toothpick poked near the edge should come out clean—the center will still look slightly underbaked, but it'll set as it cools.
- Cool with patience:
- Let the brownies cool completely in the pan on a wire rack before lifting them out. Cutting into warm brownies makes them fall apart; cooled ones slice clean with sharp edges.
 Save
Save One winter morning, my mom texted me a photo of these brownies she'd made for a book club, saying my coworkers were asking her how she got the edges so perfect. She'd never been much of a baker, but something about the clarity of the recipe and the reliability of the technique gave her confidence. We stood in her kitchen a few weeks later while she made them again, and watching her pull that pan out of the oven with genuine pride—that's when I realized recipes are also about passing down small moments of joy.
Why Metal Pans Matter More Than You Think
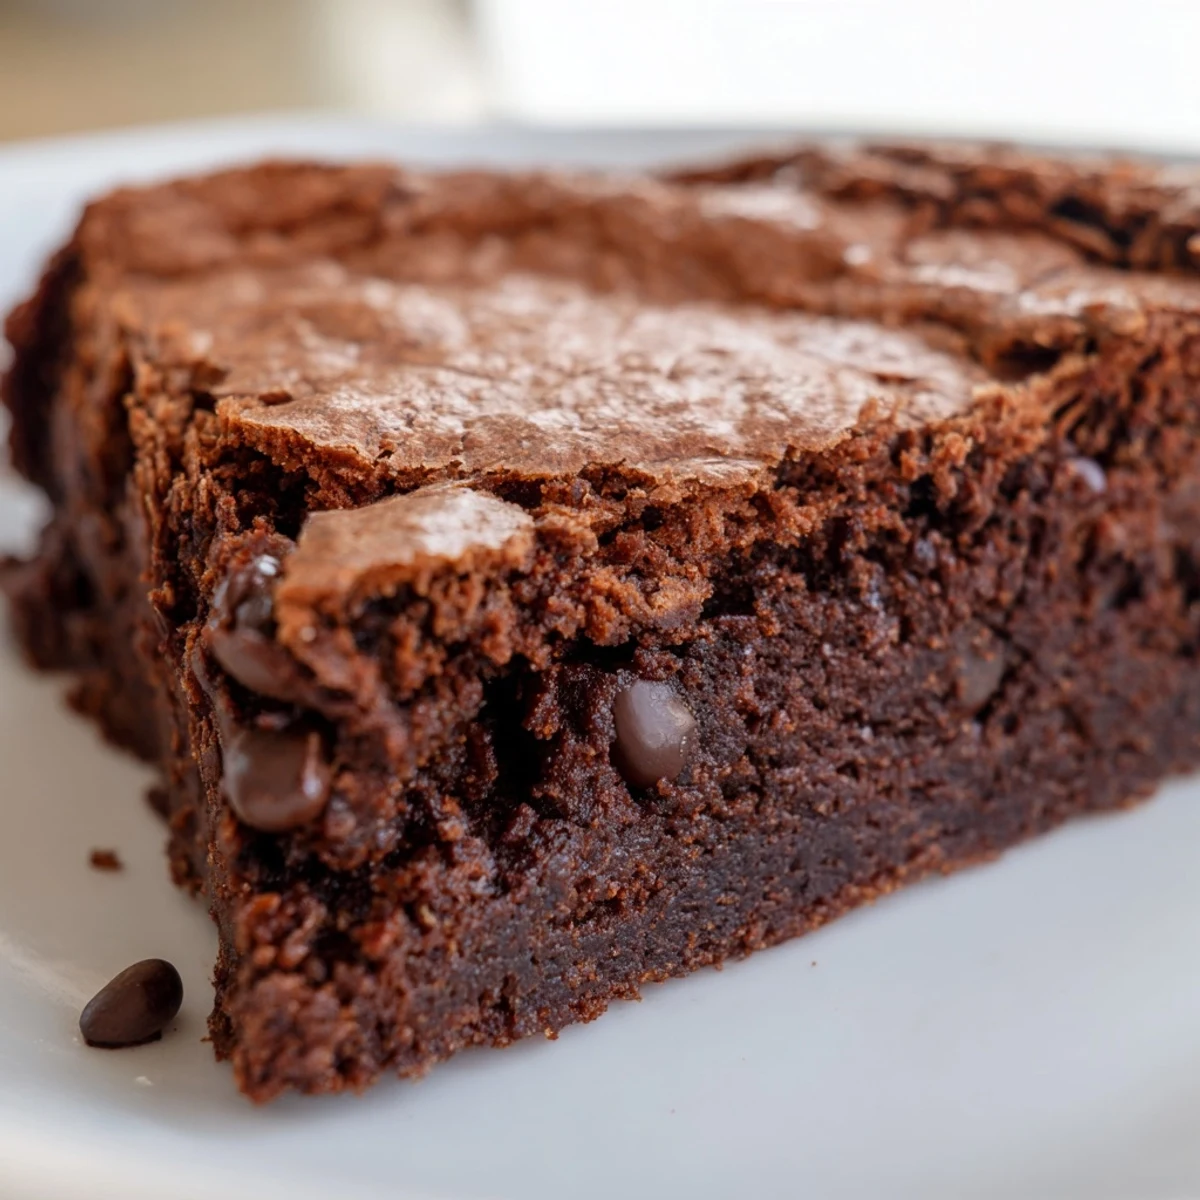
Glass and ceramic pans might look prettier, but they heat unevenly and cool slowly, which is the enemy of crispy edges. Metal pans, especially the ones made from aluminum, conduct heat efficiently and allow the edges to brown faster than the center bakes. The difference sounds subtle until you bite into a brownie and hear that satisfying crackle—then it becomes obvious.
The Art of Not Overbaking
The biggest mistake is confusing underbaked with uncooked. When the toothpick comes out clean from the edge but the center still jiggles slightly, that's exactly right. The residual heat in the pan will continue cooking the brownies for a few minutes after you remove them from the oven, transforming that jiggly middle into a fudgy dream. Patience here is the real secret.
Customization Without Losing the Magic
These brownies are decadent on their own, but if you want to play around, the foundation is sturdy enough to handle it. A handful of chopped walnuts or pecans adds textural contrast, or you can swirl in a spoonful of peanut butter before baking for an unexpected richness. Just remember that every addition shifts the bake time slightly, so watch your edges carefully.
- If you add nuts, toast them lightly first so their flavors are more pronounced.
- Peanut butter swirl works best when you dollop it on the surface and use a knife to drag it through, creating ribbons.
- Always reserve a handful of chocolate chips for the top so the brownies look finished and pull away from the pan edges more easily.
 Save
Save There's something timeless about a brownie that just works—no fuss, no apology, just chocolate in its simplest, most satisfying form. Make these once and they'll become the recipe you reach for whenever you need something honest and delicious.
Recipe FAQs
- → How do I achieve crispy edges on brownies?
-
Using a metal baking pan and baking at the right temperature helps develop crispy edges, while not overbaking preserves a fudgy center.
- → Can I add nuts or other mix-ins?
-
Yes, folding in chopped nuts or swirling peanut butter before baking adds texture and flavor complexity.
- → What type of chocolate is used for best flavor?
-
Semisweet chocolate chips create a balanced chocolate flavor, melting into pockets throughout the brownie.
- → Why is it important not to overmix the batter?
-
Overmixing develops gluten, which can make the brownies tough rather than tender and fudgy.
- → How should these brownies be served?
-
They are delicious warm, cooled to room temperature, or paired with vanilla ice cream for a classic dessert experience.
