 Save
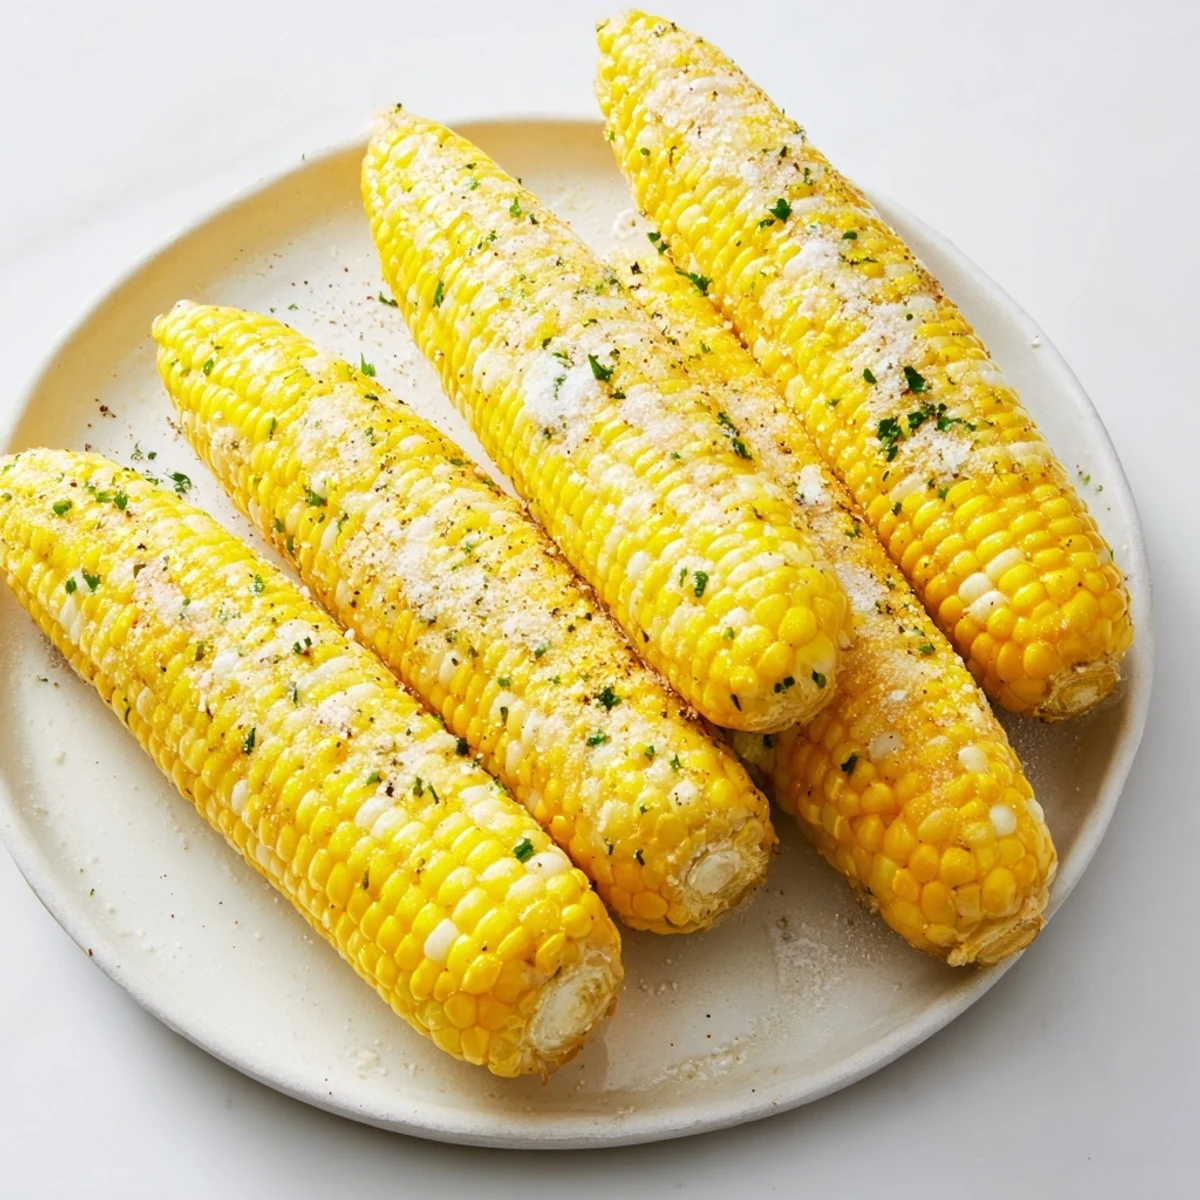
Save This dish highlights fresh corn on the cob cooked until tender by boiling or grilling. Once heated, the corn is generously coated with butter and sprinkled with salt, freshly cracked pepper, and optional herbs like parsley or chives to enhance its natural sweetness. Preparation is quick and simple, making it a classic complement for summer meals. Grilled versions offer a smoky charred flavor, while boiling preserves juiciness. Perfect as a vibrant, easy-to-make side featuring fresh, seasonal produce.
There's something almost ceremonial about summer corn on the cob that I only understood years after leaving home. My mom would never boil it fancy—just a pot of salted water, a timer set to six minutes, and butter melting on a plate nearby. One August afternoon, I tried to impress someone by grilling corn for the first time and nearly charred it black, but that smoky sweetness ended up being better than expected. Now every time I cook corn, I'm chasing that balance between the kitchen memory and the happy accident.
I made this for a Fourth of July picnic where someone brought store-bought corn from a cooler and made this whole thing about how much better it was. I cooked mine the traditional way—boiled, buttered, salt and pepper—and let them sit side by side. People kept coming back to mine, and we never talked about it, but I knew. Cooking corn this way is quiet confidence.
Ingredients
- Fresh corn ears, husked (4 ears): The fresher the better—look for bright silk and kernels that are plump and release a little juice when you press them.
- Unsalted butter (2 tablespoons): Salted butter works, but unsalted gives you full control over seasoning and lets the corn's natural sweetness shine.
- Salt (1 teaspoon): More than you might think is needed; corn is forgiving and actually asks for it.
- Freshly ground black pepper, optional: A whisper of pepper right off the mill adds a quiet sophistication.
- Fresh herbs—parsley, chives, or cilantro, chopped (optional): This is where you make it yours; herbs add color and a flavor surprise that makes people ask what you did differently.
Instructions
- Fill the pot and wait for the boil:
- Get your largest pot filled with enough water to cover the corn by a couple inches, then add a big pinch of salt. Let it come to a rolling boil—you'll know it's ready when the steam gets aggressive and the water is dancing.
- Submerge and cover:
- Drop the husked ears in carefully (they'll splash, so step back), cover with a lid, and set your timer for 5 to 7 minutes. The cover traps heat and cooks the corn more evenly than you'd expect.
- Test and remove:
- Use tongs to fish out one ear and let it cool for just a second, then press a kernel with your nail—it should release juice easily and taste creamy, not starchy. When it's right, lift them all out and let them drain on a plate lined with paper towels.
- Butter while hot:
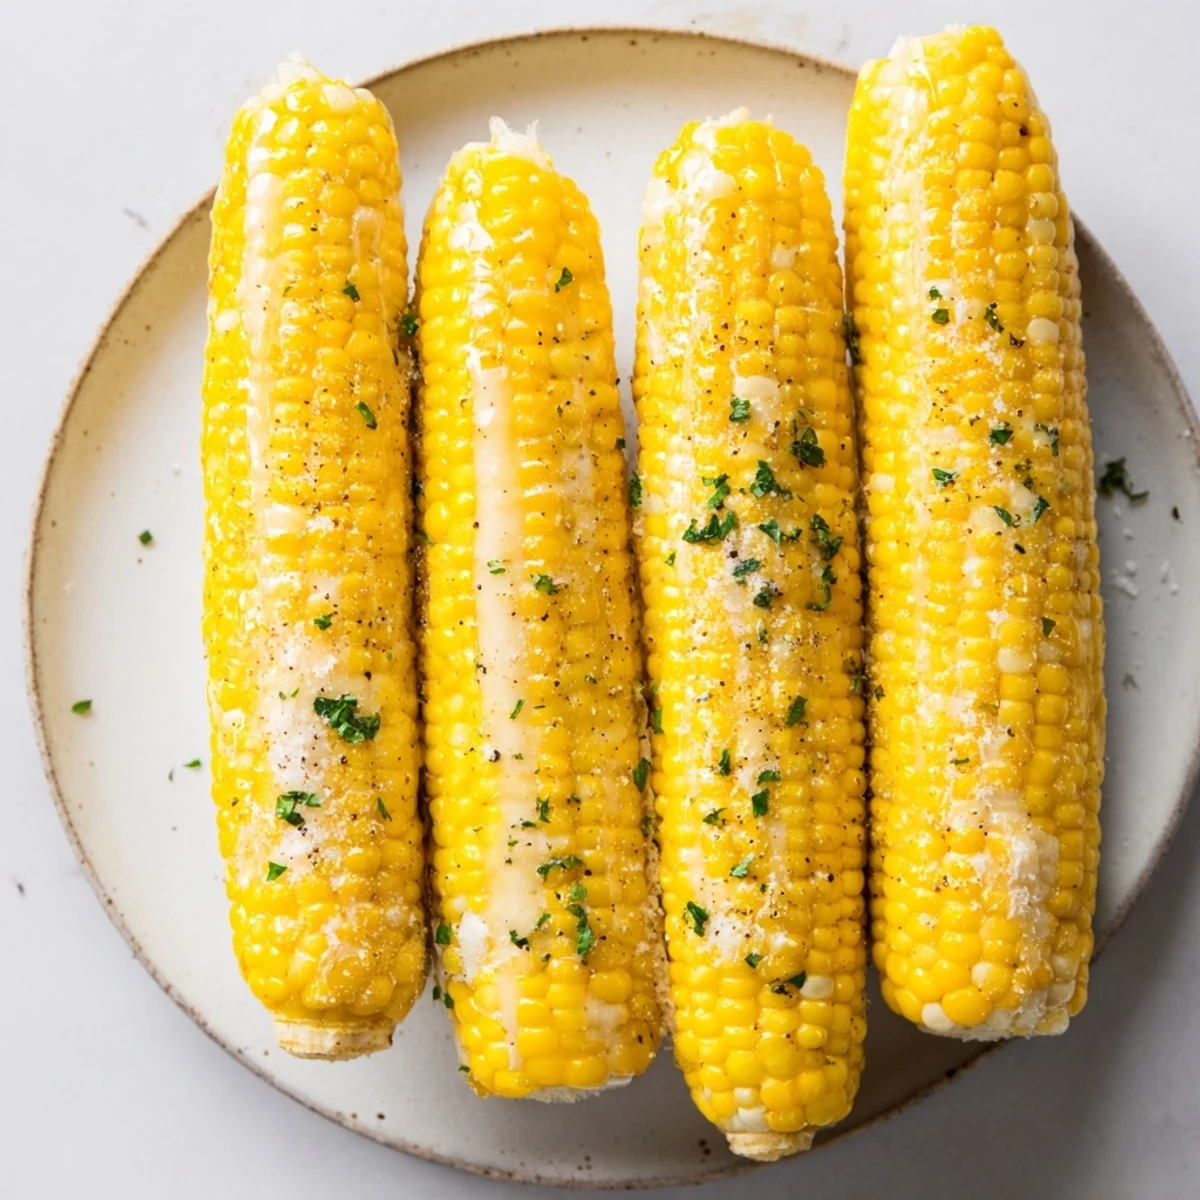
- Spread softened butter generously over each cob while it's still steaming; the heat melts it into every crevice. This is the moment that matters most.
- Season generously:
- Sprinkle salt and pepper across the butter, then scatter your herbs if you're using them. Serve immediately while the butter is still shiny.
 Save
Save The first time someone asked me how I made my corn taste better than theirs, I realized they were still boiling it unsalted and skipping the butter moment. Teaching them to wait and butter it while it's hot, to actually taste the water it cooked in—that's when I understood this wasn't about the recipe. It was about patience and care in a small gesture.
The Grilled Variation
If you have access to a grill, brush the corn lightly with oil and lay it over medium-high heat, turning every couple of minutes to catch charred spots but not burn it completely. The edges will blacken slightly and the sugar in the corn will caramelize—it takes about 8 to 10 minutes total, and you'll smell it before you see it. Grilled corn has a different personality: smokier, slightly drier, but with an almost nutty richness that boiling can't touch.
Flavored Butter Ideas
Once you've mastered plain butter and salt, you can start playing with compound butters that turn this simple side into something people ask you to make again. A squeeze of fresh lime juice mixed with butter and a pinch of chili powder feels like summer and heat at the same time. Garlic that's been minced fine and let sit in softened butter for an hour brings an earthy richness, while fresh cilantro with lime hits completely differently depending on what you're serving the corn alongside.
Choosing and Storing Corn
Fresh corn is a moving target—the sugars start converting to starch the moment it's picked, so cooking it as soon as possible after buying is the real secret that separates restaurant-quality corn from average. If you can't cook it immediately, wrap the ears loosely in a damp paper towel and refrigerate them; they'll hold for a day or two. Frozen corn kernels work fine for other dishes, but for corn on the cob, freshness is non-negotiable.
- Look for corn with husks that are still slightly green and silk that hasn't dried out completely.
- The kernels should feel firm when you gently press them through the husk, not soft or dented.
- If you're at a farmers market, ask the seller when the corn was picked—same-day is the gold standard.
 Save
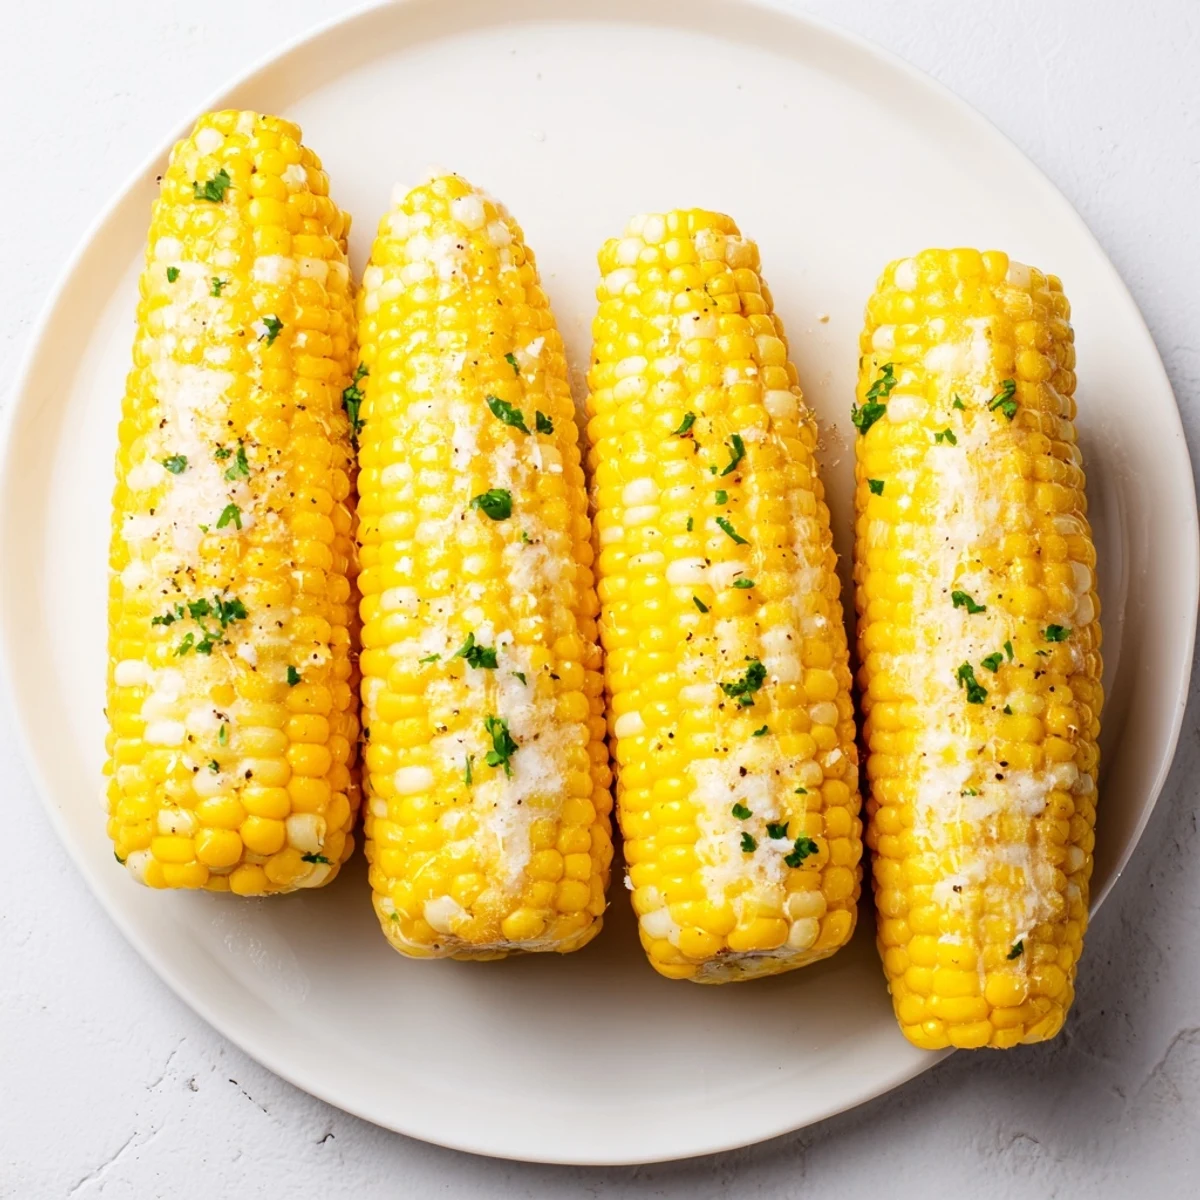
Save Corn on the cob is proof that the simplest food, treated with attention and good ingredients, doesn't need apology or improvement. Serve it warm, eat it with your hands, and let the butter run down your wrists—that's the whole point.
Recipe FAQs
- → How long should I boil corn on the cob?
-
Boil the ears for 5 to 7 minutes until kernels turn tender and bright yellow, ensuring juicy texture.
- → Can I grill the corn instead of boiling it?
-
Yes, brush corn with oil and grill over medium-high heat for 8–10 minutes, turning to achieve charred spots.
- → What toppings complement corn on the cob?
-
Butter, salt, freshly ground pepper, and chopped herbs like parsley, chives, or cilantro add flavor and freshness.
- → Is there a way to make this dish vegan-friendly?
-
Substitute unsalted butter with plant-based spreads to keep it dairy-free and suitable for vegan diets.
- → What tools do I need for preparation?
-
A large pot or grill for cooking, tongs for handling the corn, and a spreading knife for applying toppings.
