 Save
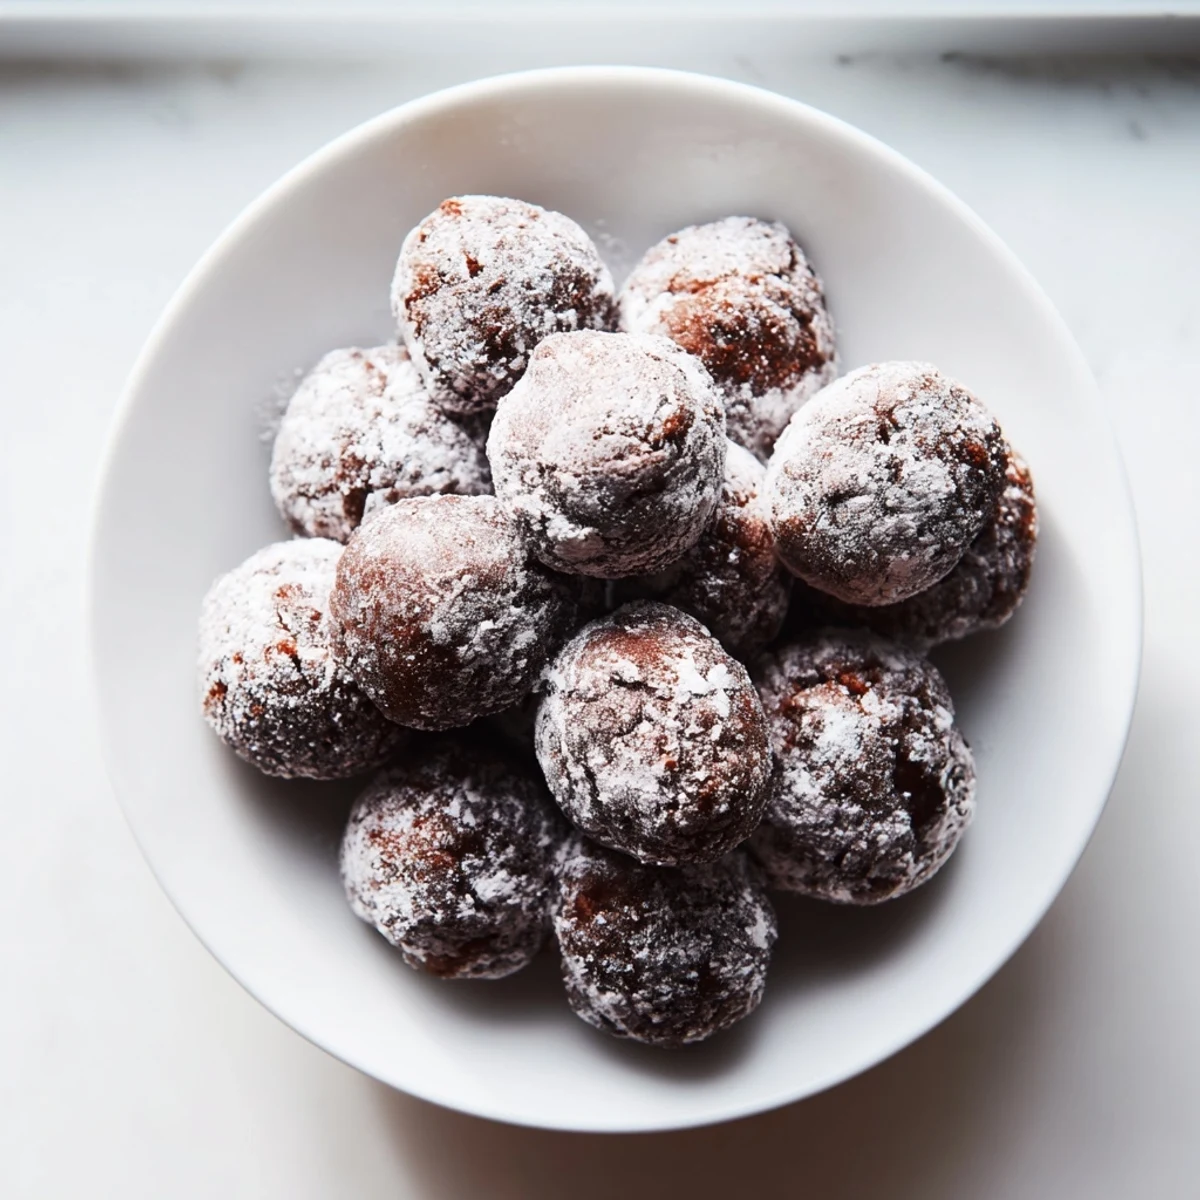
Save These bite-sized chocolatey treats offer a soft texture and rich flavor, perfect for casual snacking or gatherings. Made with cocoa powder, sugar, and vanilla, they are fried to golden perfection and can be coated in powdered sugar or chocolate glaze. Preparation involves mixing wet and dry ingredients separately before combining, then frying small batter balls until puffed and cooked through. Serve fresh for the best experience, and explore flavor twists like cinnamon sugar or espresso addition.
I still remember the first time I bit into a homemade chocolate donut hole, warm from the oil with powdered sugar dusting my fingers. It was at a little neighborhood gathering where my friend Sarah had brought a batch, and everyone gathered around her kitchen counter like we were kids again. That's when I realized these tiny, pillowy chocolate puffs were pure magic—simple to make, impossible to resist, and somehow better than anything from a bakery. Now, whenever I make them, I'm transported back to that moment of joy and that feeling of creating something small but deeply satisfying.
I made these for my daughter's school bake sale last spring, and I've never seen chocolate treats disappear so fast. By the time I turned around, the platter was nearly empty, and a little boy was asking his mom if he could come back for more. Watching people's faces light up when they bit into that warm, chocolatey center made me realize that the best recipes are the ones that bring simple happiness to others.
Ingredients
- All-purpose flour (1 cup): The foundation that gives structure to your donut holes. Don't sift it unless it's been sitting for ages; a gentle spoon and level works just fine.
- Unsweetened cocoa powder (1/4 cup): This is where the chocolate soul lives. Use good quality cocoa if you can—it makes a noticeable difference in depth and richness.
- Granulated sugar (1/2 cup): Sweetness without drama. This amount balances the cocoa without making them cloying.
- Baking powder (1 1/2 tsp): The tiny magic maker that gives you that crucial lift and airy crumb structure.
- Salt (1/4 tsp): A pinch that brings out the chocolate and prevents flatness. Never skip this.
- Whole milk (1/2 cup): Brings richness and tenderness. Whole milk matters here more than you might think.
- Large eggs (2): The binder that holds everything together and adds richness. Room temperature eggs mix more smoothly.
- Unsalted butter, melted (2 tbsp): Use real butter, not oil or margarine. The flavor difference is real and worth it.
- Pure vanilla extract (1 tsp): A flavor booster that rounds out the chocolate beautifully. Don't use imitation.
- Vegetable oil for frying (3 cups): You need neutral oil with a high smoke point. Check the temperature with a thermometer—this step is non-negotiable.
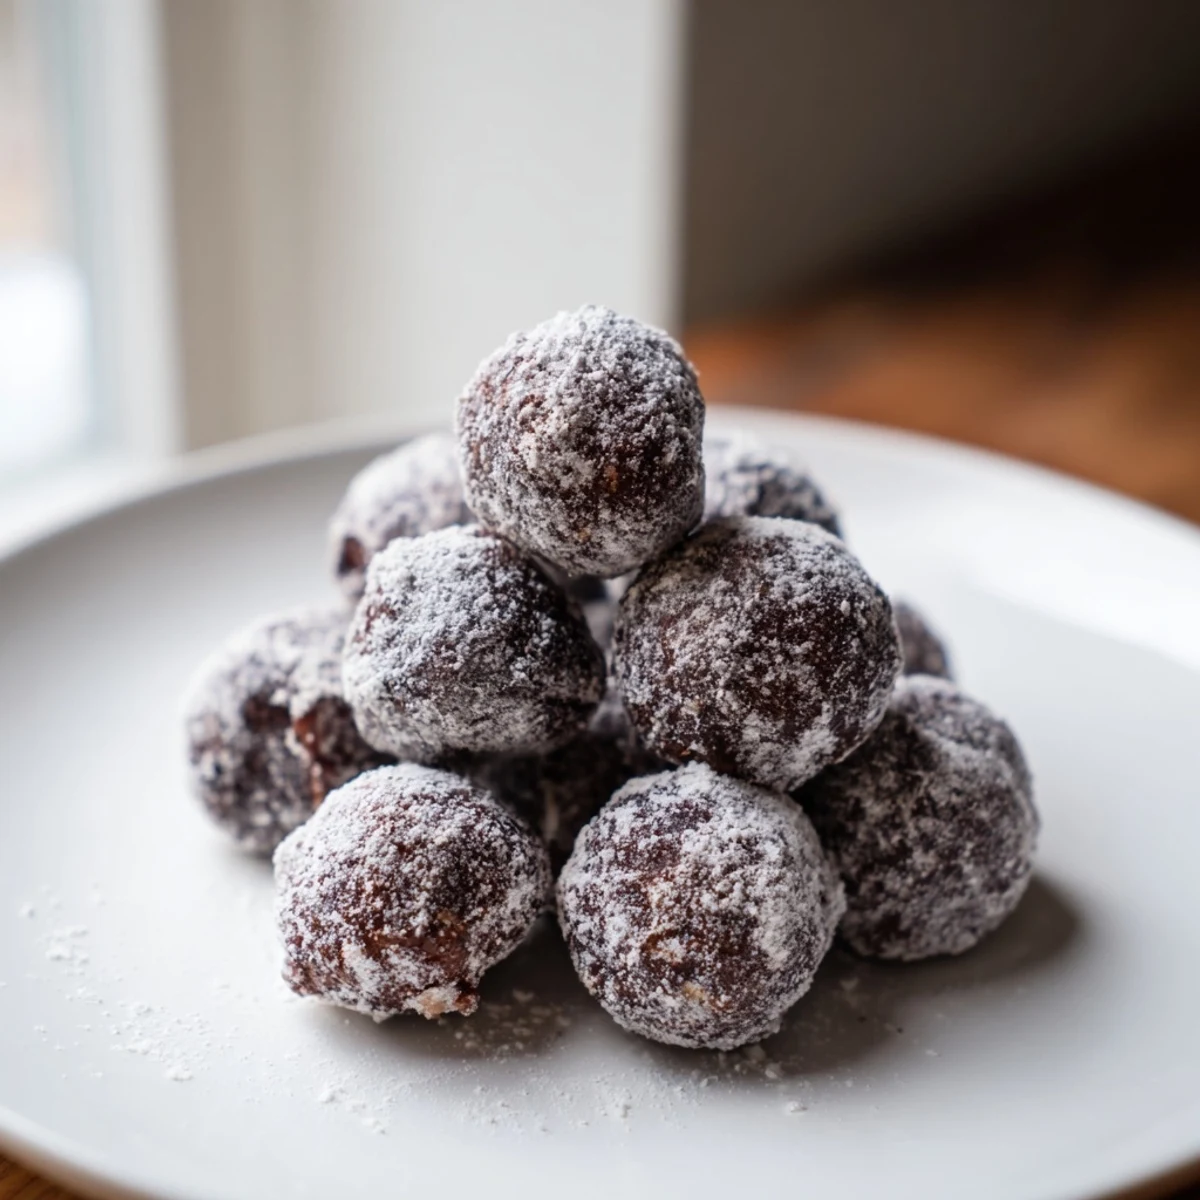
- Powdered sugar or chocolate glaze: For coating while warm. The warmth makes everything stick and melt slightly, creating that irresistible finish.
Instructions
- Bring Your Dry Ingredients Together:
- Grab a large mixing bowl and whisk together the flour, cocoa powder, sugar, baking powder, and salt. Take your time with this step—you're aerating the flour and distributing the leavening evenly. This is where you could add that espresso powder now if you want deeper chocolate notes.
- Combine the Wet Mix:
- In another bowl, whisk the milk, eggs, melted butter, and vanilla until smooth and well combined. This is straightforward, but do make sure there are no egg white streaks lingering.
- Marry Wet and Dry:
- Pour the wet mixture into the dry ingredients and gently fold them together with a spatula. Stop as soon as you don't see dry flour anymore. This is crucial—overmixing develops gluten and makes your donut holes tough instead of tender. A few small lumps are your friends here.
- Get Your Oil Ready:
- Pour your vegetable oil into a deep saucepan or Dutch oven and turn the heat to medium-high. Let it heat to exactly 350°F (175°C). Use a thermometer, not guesswork. If the oil isn't hot enough, your donut holes will be greasy; too hot and they'll be dark outside and raw inside.
- Form and Fry in Batches:
- Using a small cookie scoop or a tablespoon, carefully drop balls of batter into the hot oil. Work in batches so you don't crowd the pan—give each donut hole room to puff up and turn golden. This is the moment where you'll start to smell that irresistible aroma filling your kitchen.
- Turn and Time:
- Let them fry for 2 to 3 minutes, turning them occasionally with a slotted spoon so they cook evenly on all sides. You're looking for a deep golden-brown color and a slight spring when you gently press one.
- Drain and Coat While Warm:
- Use a slotted spoon to fish them out and place them on a paper towel-lined plate to drain. While they're still warm—and this timing is important—roll them in powdered sugar or dip them in chocolate glaze. The warmth helps the coating stick and creates that perfect finish.
- Let Them Set:
- Give them a few minutes to cool slightly before diving in. I know it's hard to wait, but it really does make a difference in the texture.
 Save
Save My neighbor stopped by one afternoon while I was making these, and I insisted she try one straight from the plate. The smile that crossed her face, that little moment of pure contentment—that's why I keep making these. Food has this quiet power to create connection, and chocolate donut holes somehow do it better than most things.
Flavor Variations Worth Trying
Once you master the basic recipe, the fun really begins. I've found that adding 1/2 teaspoon of instant espresso powder to the dry ingredients deepens the chocolate flavor in the most sophisticated way—no one can quite identify it, but everyone says it tastes somehow more chocolatey. For a nostalgic twist, try rolling your warm donut holes in cinnamon sugar instead of powdered sugar; it creates this beautiful spiced-chocolate combination that feels like autumn in your mouth. I've also experimented with adding a splash of almond extract or swapping vanilla for 1/2 teaspoon of peppermint extract, and both created donut holes that felt special and personal.
The Glaze Question
Powdered sugar is classic and forgiving, but I've learned that a proper chocolate glaze elevates everything. Melting 1/2 cup of semi-sweet chocolate with 2 tablespoons of heavy cream creates a glaze that's silky and clings beautifully to warm donut holes. The chocolate sets as it cools, giving you that satisfying snap when you bite through. Some days I mix half chocolate, half powdered sugar—it gives you options and makes the platter look beautiful.
Timing and Storage Wisdom
These are absolutely best on the day you make them while they're still soft and tender. After a day, they start to firm up and lose that irresistible pillowy quality that makes them special. If you do have leftovers—which is rare in my house—store them in an airtight container and refresh them briefly in a low oven. I've also found that if you're making these for a crowd, you can prepare the batter an hour ahead and keep it covered in the fridge; it holds up surprisingly well. Just make sure your oil is still at the right temperature before you start frying.
- These freeze beautifully unfrosted for up to three months, so make a double batch and save some for an easy treat later
- If you're coating with glaze, do it just before serving or the coating gets sticky and messy, not elegant
- Bring frozen donut holes to room temperature before reheating them in a 325°F oven for 5 minutes to restore their texture
 Save
Save There's something deeply satisfying about making chocolate donut holes from scratch. They're simple enough for a casual kitchen moment but impressive enough to share with people you care about. I hope this recipe becomes a favorite in your kitchen too.
Recipe FAQs
- → What ingredients give the chocolate bites their softness?
-
The combination of milk, eggs, and melted butter contributes to their tender, soft texture while cocoa powder provides rich chocolate flavor.
- → How are the chocolate bites cooked to achieve the perfect texture?
-
They are deep-fried in vegetable oil at 350°F (175°C) until puffed and cooked through, creating a crispy exterior with a soft center.
- → Can I add different coatings to the chocolate bites?
-
Yes, options include rolling them in powdered sugar, dipping in a chocolate glaze, or trying cinnamon sugar for a different flavor twist.
- → What tools are needed to make these chocolate bites?
-
Mixing bowls, a whisk, a deep saucepan or Dutch oven for frying, a slotted spoon, paper towels, and a cookie scoop or tablespoon are recommended.
- → How can I enhance the flavor of these chocolate treats?
-
Adding 1/2 teaspoon of instant espresso powder to the dry ingredients enhances the chocolate's depth and richness.
