 Save
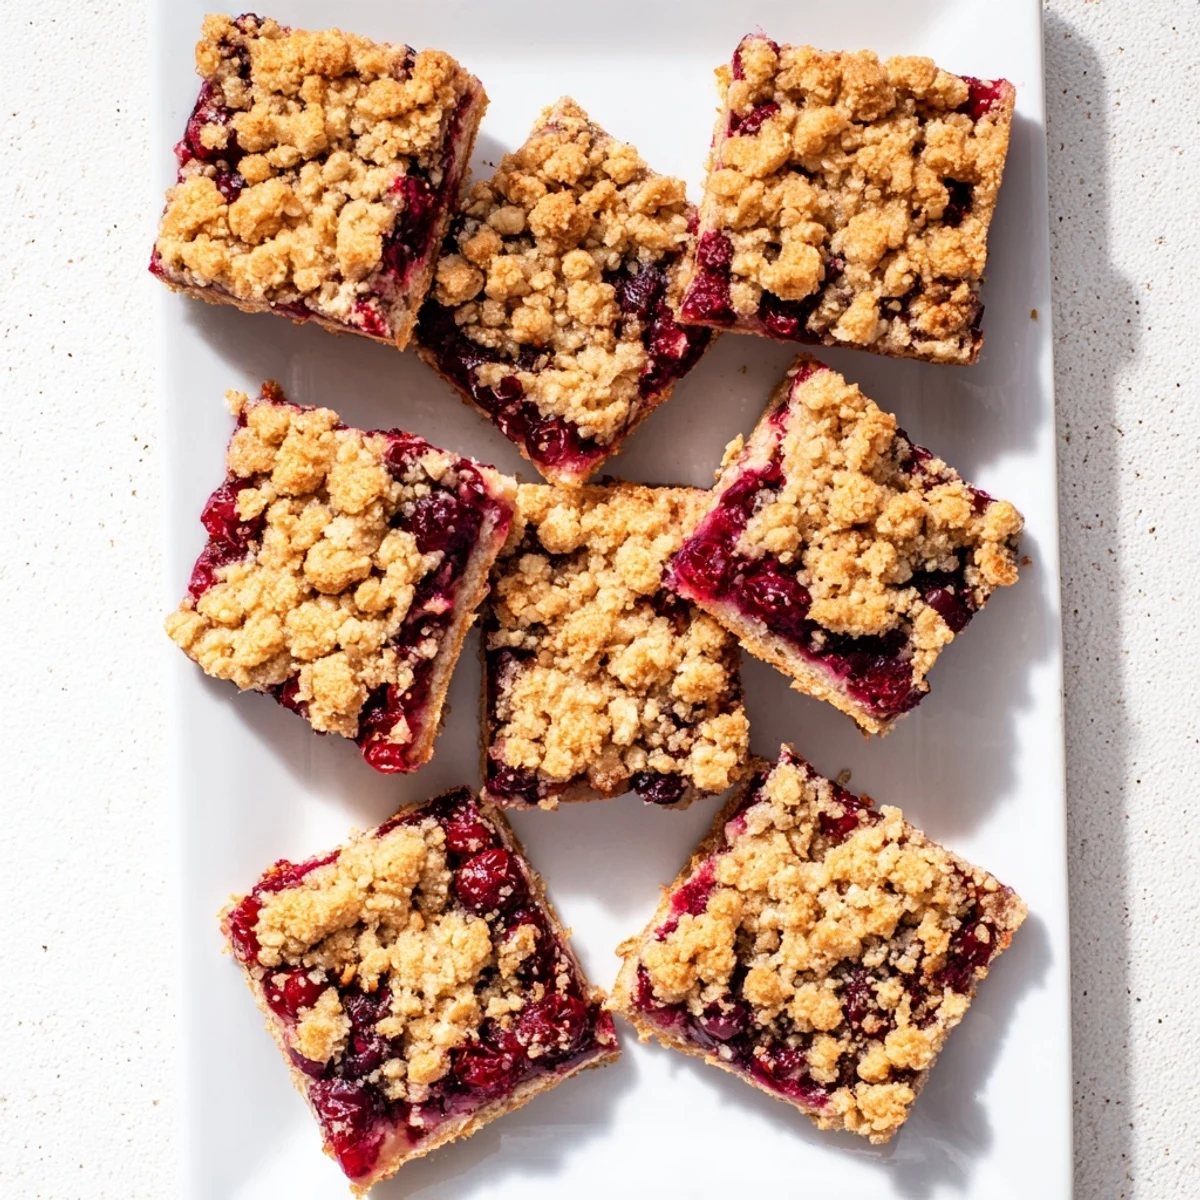
Save These cherry crumble bars feature a buttery, cinnamon-spiced crust topped with a sweet-tart cherry filling and finished with a generous layer of crumbly topping. The combination of fresh or frozen cherries creates a luscious fruit layer that pairs perfectly with the tender, golden crumble base.
Simple to prepare and even easier to enjoy, these bars come together with basic pantry ingredients and require minimal hands-on time. Press two-thirds of the crumble mixture into your pan, add the cherry filling, and scatter the remaining crumbs on top before baking until golden and bubbling.
Let them cool completely before cutting to ensure clean, neat bars. Serve them plain, or dress them up with whipped cream or vanilla ice cream for an extra special treat. They're versatile enough for dessert, brunch, or afternoon snacking.
Last summer, my neighbor brought over a basket of fresh cherries from her tree, and I honestly had no idea what to do with all of them. These crumble bars were born from that happy abundance, and they've since become my go-to whenever I need something that feels fancy but actually comes together in under an hour.
I brought these to a Fourth of July party last year, and honestly, I felt a little ridiculous carrying a dessert bar while everyone else had flag cakes. But when my friend's daughter took one bite and immediately asked for the recipe, I knew these were worth keeping in regular rotation.
Ingredients
- 2 cups all-purpose flour: The foundation that gives these bars their structure and tender crumb
- 1 cup granulated sugar: Sweetens both the crust and balances the tart cherries
- 1/2 teaspoon baking powder: Helps the crust puff slightly for a lighter texture
- 1/4 teaspoon salt: Essential for balancing all that sweetness
- 1/2 teaspoon ground cinnamon: Adds warmth that pairs perfectly with cherries
- 1 cup cold unsalted butter diced: Cold butter is nonnegotiable here for that crumbly texture we want
- 1 large egg: Binds the crust together without making it tough
- 3 cups pitted fresh or frozen cherries halved: Fresh cherries in summer are amazing, but frozen work beautifully year round
- 1/2 cup granulated sugar: Sweetens the filling just enough to let cherry flavor shine
- 2 tablespoons cornstarch: Thickens the cherry juices so you get distinct layers instead of a soggy mess
- 1 tablespoon lemon juice: Brightens the filling and prevents it from becoming cloyingly sweet
- 1/2 teaspoon vanilla extract: Rounds out the fruit flavors with warm depth
Instructions
- Get your oven ready:
- Preheat to 350°F and line a 9x9 inch pan with parchment, letting the paper hang over the sides like little handles.
- Mix the dry crumble ingredients:
- Whisk flour, sugar, baking powder, salt, and cinnamon in a large bowl until everything looks evenly combined.
- Work in the butter and egg:
- Add cold butter and egg, then use a pastry cutter or your fingers to blend until the mixture looks like coarse crumbs with some pea sized pieces remaining.
- Form the bottom crust:
- Press about two thirds of the crumble mixture firmly into the bottom of your prepared pan.
- Prepare the cherry filling:
- Toss cherries with sugar, cornstarch, lemon juice, and vanilla until every piece is coated.
- Layer the filling:
- Spread the cherry mixture evenly over the pressed crust.
- Add the topping:
- Sprinkle the remaining crumble mixture over the cherries, leaving some clumps for texture.
- Bake until golden:
- Bake for 38 to 42 minutes until the top is golden brown and you see the cherry filling bubbling through the crumbs.
- Cool completely before cutting:
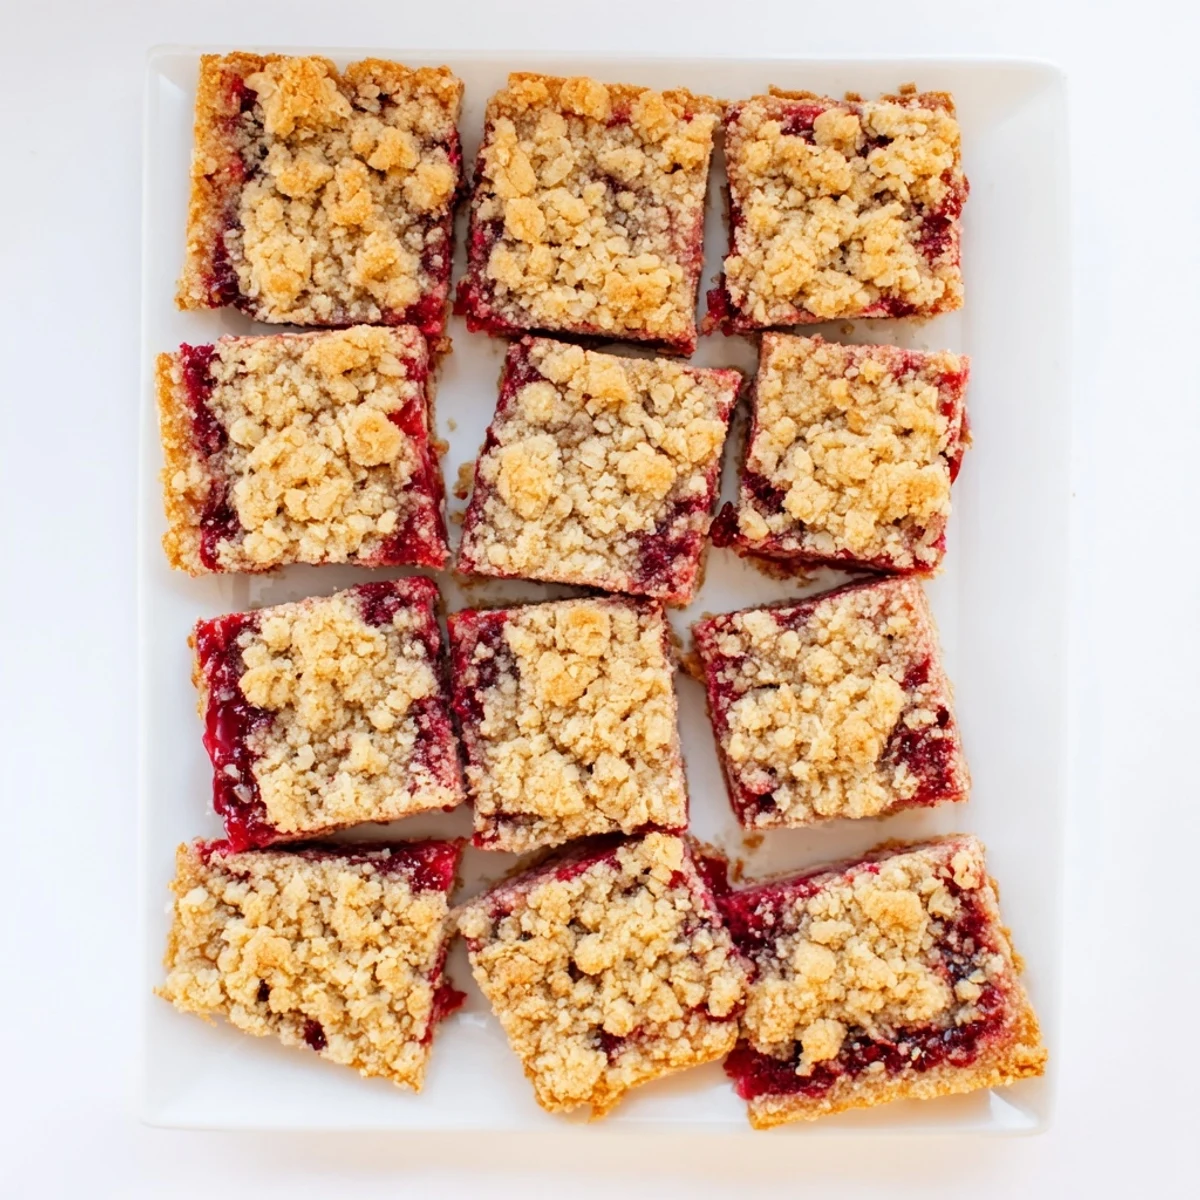
- Let the bars cool completely in the pan, then use the parchment overhang to lift them out and cut into 16 squares.
 Save
Save My mom now requests these for every family gathering, which is funny because she used to be strictly a pie person. Something about having that crumbly crust on top and bottom won her over completely.
Making These Your Own
I have swapped cherries for blueberries, peaches, and even a mix of berries when the farmer's market selection got overwhelming. The timing stays the same, though juicier fruits like peaches might need an extra tablespoon of cornstarch.
Storage Tips
These keep beautifully at room temperature for about two days, though in my house they rarely last that long. For longer storage, wrap individual bars in plastic and freeze them for up to three months.
Serving Suggestions
Straight from the pan, these are perfect with coffee in the morning. But if you want to dress them up for company, a scoop of vanilla ice cream while they are still slightly warm is pretty hard to beat.
- Add a dollop of whipped cream and a few fresh cherries on top for presentation
- Serve them alongside a cheese board for an unexpected dessert course
- Crumble leftovers over yogurt or oatmeal for breakfast the next day
 Save
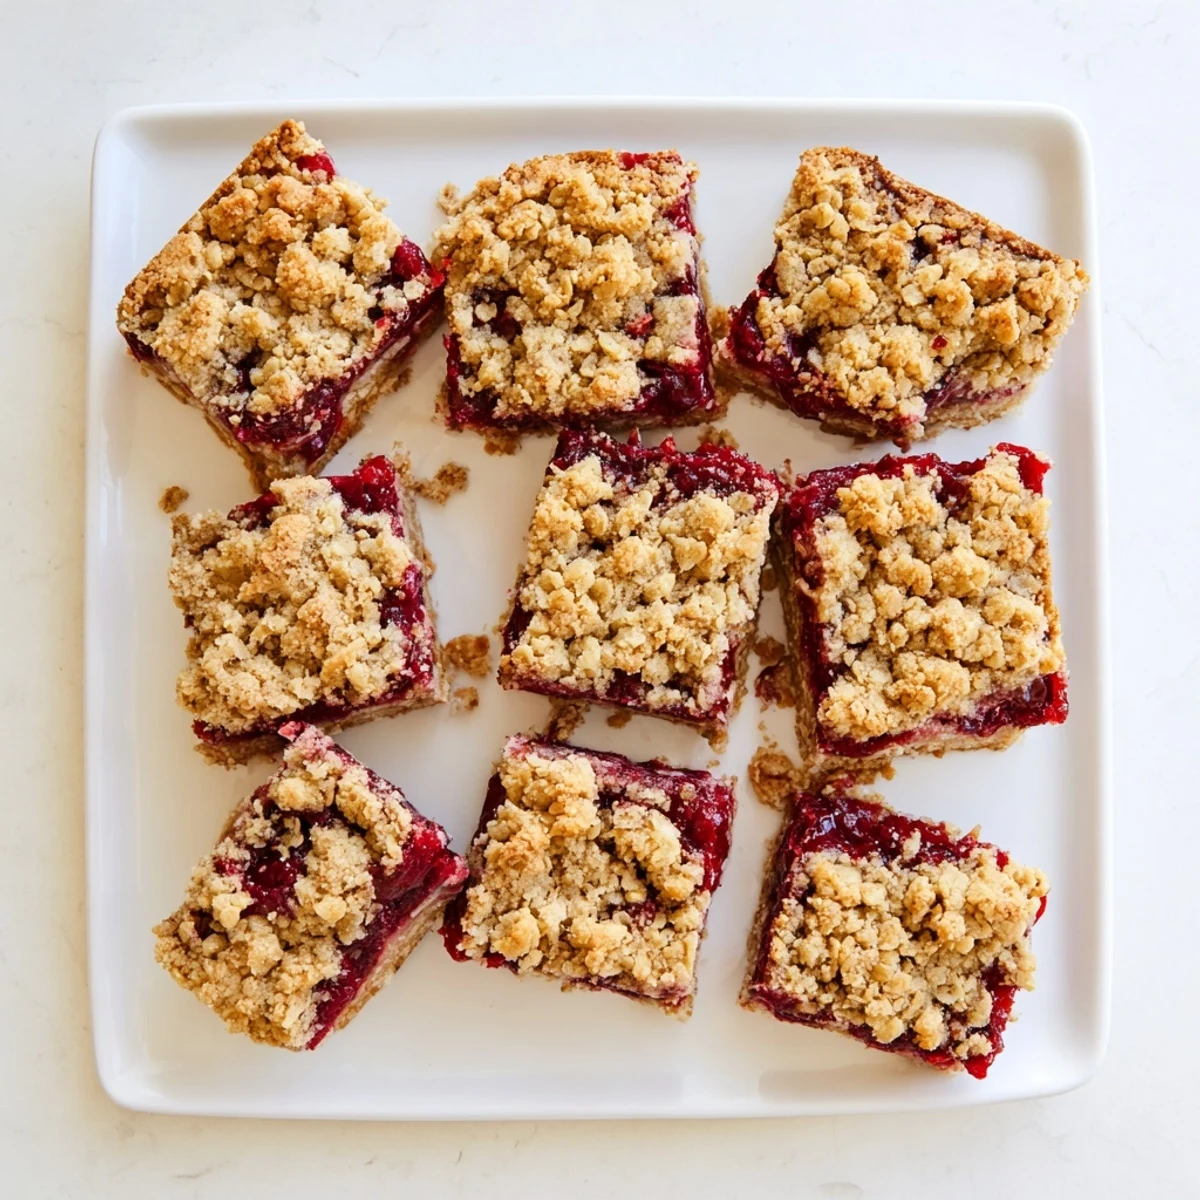
Save There is something deeply satisfying about a dessert that looks this impressive but comes from such simple ingredients. Hope these become a summer tradition in your kitchen too.
Recipe FAQs
- → Can I use frozen cherries instead of fresh?
-
Yes, frozen cherries work perfectly in this dessert. There's no need to thaw them first—simply toss them with the sugar, cornstarch, and other filling ingredients before spreading over the crust. Frozen cherries may release slightly more liquid during baking, but the cornstarch will thicken the filling beautifully.
- → How should I store these bars?
-
Store the cooled bars in an airtight container at room temperature for up to 2 days. For longer storage, keep them in the refrigerator for up to 5 days. The bars also freeze well—wrap individual portions in plastic wrap and freeze for up to 3 months. Thaw at room temperature before serving.
- → Can I substitute the cherries with other fruits?
-
Absolutely. Mixed berries, blueberries, raspberries, sliced peaches, or apples all work wonderfully as substitutes. Adjust the sugar slightly based on the natural sweetness of your chosen fruit. Tart fruits may need a bit more sugar, while very sweet fruits might need less.
- → Why must I cool the bars completely before cutting?
-
The filling needs time to set as it cools. Cutting while warm will cause the cherry layer to ooze and the bars to lose their shape. Allowing them to cool completely in the pan ensures clean, neat slices. If you're pressed for time, you can refrigerate the cooled pan for about 30 minutes to speed up the process.
- → What's the best way to get clean cuts?
-
Use a sharp knife and wipe it clean between each cut. For perfectly square bars, you can trim the edges first to create even sides. Lifting the entire baked slab out of the pan using the parchment paper overhang makes cutting much easier on a flat surface.
- → Can I make these gluten-free?
-
Yes, simply replace the all-purpose flour with a high-quality 1:1 gluten-free flour blend. The texture and flavor will remain virtually the same. Always check that your other ingredients, particularly baking powder and vanilla extract, are certified gluten-free if needed for dietary restrictions.
