
 Save
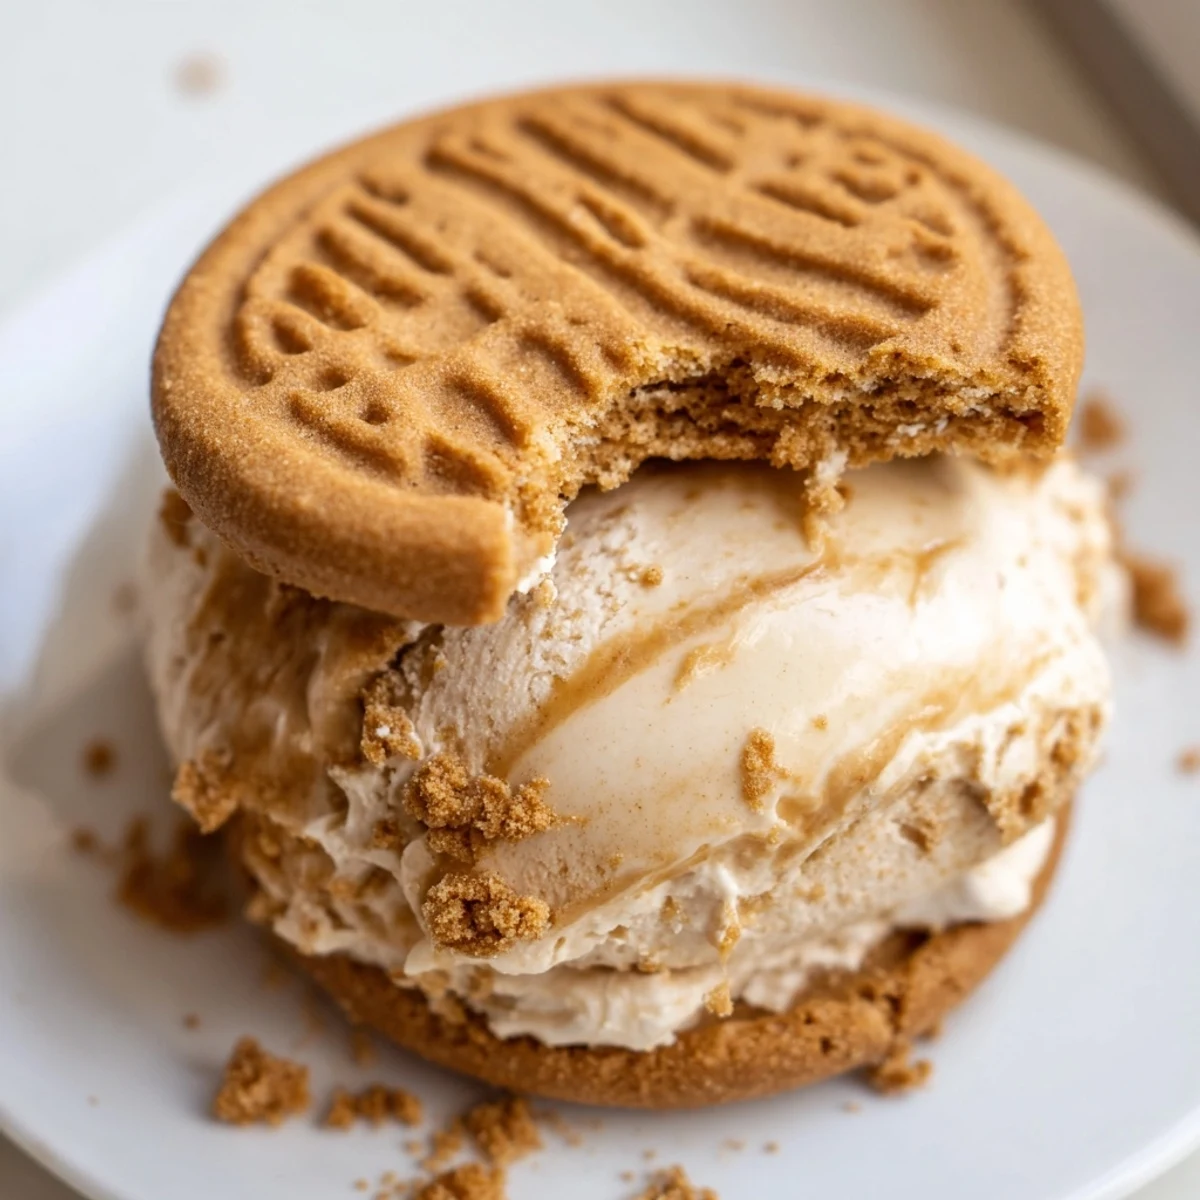
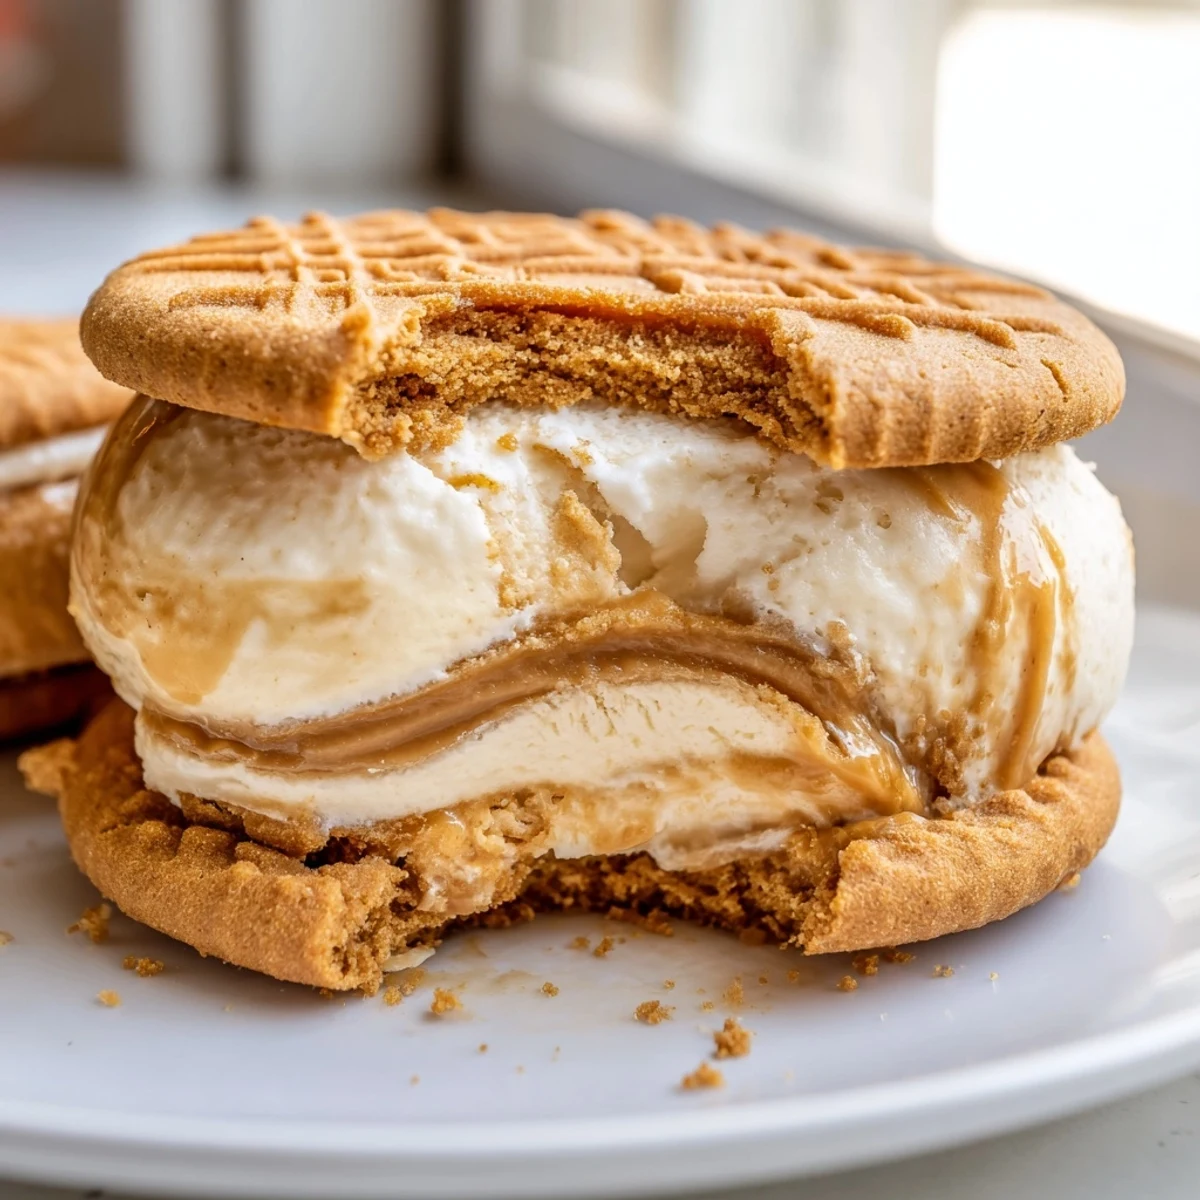
Save These Biscoff ice cream sandwiches combine a rich, no-churn vanilla ice cream swirled with melted Biscoff spread between two iconic spiced Lotus cookies. The caramel notes from the cookie butter pair beautifully with the creamy base, while rolled edges of crushed cookies add an irresistible crunch.
With just 20 minutes of hands-on prep and a 4-hour freeze, you'll have 8 generous sandwiches ready to enjoy. Customize with a chocolate drizzle or swap in coffee ice cream for a delicious twist on this crowd-pleasing frozen dessert.
My kitchen smelled like a bakery that had collided with a caramel factory, and honestly, I was not mad about it. Lotus Biscoff cookies have been my guilty supermarket impulse buy for years, but it took a sweltering July afternoon to realize they belonged sandwiched around homemade ice cream. The spiced, buttery crunch against cold, creamy vanilla is the kind of contrast that makes you close your eyes at the first bite. These sandwiches disappeared so fast at a backyard cookout that I had to start hiding a batch in the back of the freezer just to guarantee myself one.
I brought a tray of these to my friend Rinas rooftop birthday party, and she stood by the cooler guarding them from guests who kept sneaking back for seconds. Someone asked if I had ordered them from a boutique ice cream shop, which remains one of the proudest moments of my amateur cooking life. The trick is letting the sandwiches set just long enough so the edges hold their shape but the ice cream still has that perfect soft give when you bite through.
Ingredients
- Heavy cream (2 cups): The fat content here is everything, so skip the light stuff and go straight for the full punch.
- Sweetened condensed milk (1 cup): This replaces eggs and sugar in a no churn base, giving you that silky, scoopable texture without cooking a custard.
- Vanilla extract (1 tsp): A good quality extract adds warmth that ties the spiced cookies and caramel spread together beautifully.
- Biscoff spread, melted (1/2 cup): Melting it slightly helps it swirl through the ice cream base instead of clumping up in cold pockets.
- Biscoff cookies (16 whole plus 1/2 cup crushed): Reserve the nicest looking cookies for the outsides and use the broken ones for the crunchy edge coating.
Instructions
- Whip the cream:
- Pour the heavy cream into a large chilled bowl and beat with an electric mixer until stiff peaks hold their shape when you lift the beaters. Stop right there because overwhipped cream turns grainy and we want clouds.
- Fold in the good stuff:
- Gently fold the condensed milk, vanilla, and melted Biscoff spread into the whipped cream with a spatula, using slow sweeping motions. You want to see golden ribbons of Biscoff running through the white cream without deflating all that air you just whipped in.
- Freeze the base:
- Spread the mixture into a parchment lined loaf pan, smoothing the top flat, and tuck it into the freezer for at least four hours. Press a piece of plastic wrap directly on the surface if you want to prevent ice crystals from forming on top.
- Soften and scoop:
- Let the frozen slab sit at room temperature for about five minutes until it yields slightly to a spoon. Scoop roughly one quarter cup portions onto eight cookies placed flat side up on a chilled baking sheet.
- Build the sandwiches:
- Top each mound with a second cookie and press gently until the ice cream spreads evenly to the edges. Roll the sides through crushed Biscoff crumbs if you want that extra crunch factor that makes people ask what your secret is.
- Final freeze:
- Slide the tray back into the freezer for ten to fifteen minutes so the sandwiches firm up and hold together cleanly when you serve them.
 Save
Save There is something about handing someone a homemade ice cream sandwich that instantly makes you feel like the most generous person in the room. My nephew once told me these were better than the ice cream truck, and that unfiltered honesty from a seven year old is basically a Michelin star.
Playing With Flavors
Coffee ice cream is a natural companion to the spiced caramel notes of Biscoff cookies, and a shot of espresso powder folded into the base takes these into deeply adult territory. Caramel swirl or even a ribbon of fudge works beautifully too if you want to lean into indulgence. The beauty of a no churn base is how forgiving it is, so experiment confidently.
Making Them Look Stunning
Drizzling melted dark chocolate over the assembled sandwiches before the final freeze creates a thin shell that snaps when you bite through it, adding a third texture to the party. A sprinkle of flaky sea salt on top of that chocolate is not necessary, but it will make people close their eyes when they taste it. I learned that trick from a pastry chef friend who believes salt is the difference between good and unforgettable.
Storage and Make Ahead
These sandwiches freeze beautifully for up to a week if wrapped individually in parchment and stored in an airtight container. Beyond that, the cookies start to soften and lose that essential snap that makes the texture so satisfying.
- Wrap each sandwich in parchment first, then foil, to prevent freezer burn on the ice cream edges.
- Write the date on the foil because frozen mystery packages are a regret we have all experienced.
- Pull them out of the freezer three minutes before serving so the cookies soften just enough to bite cleanly.
 Save
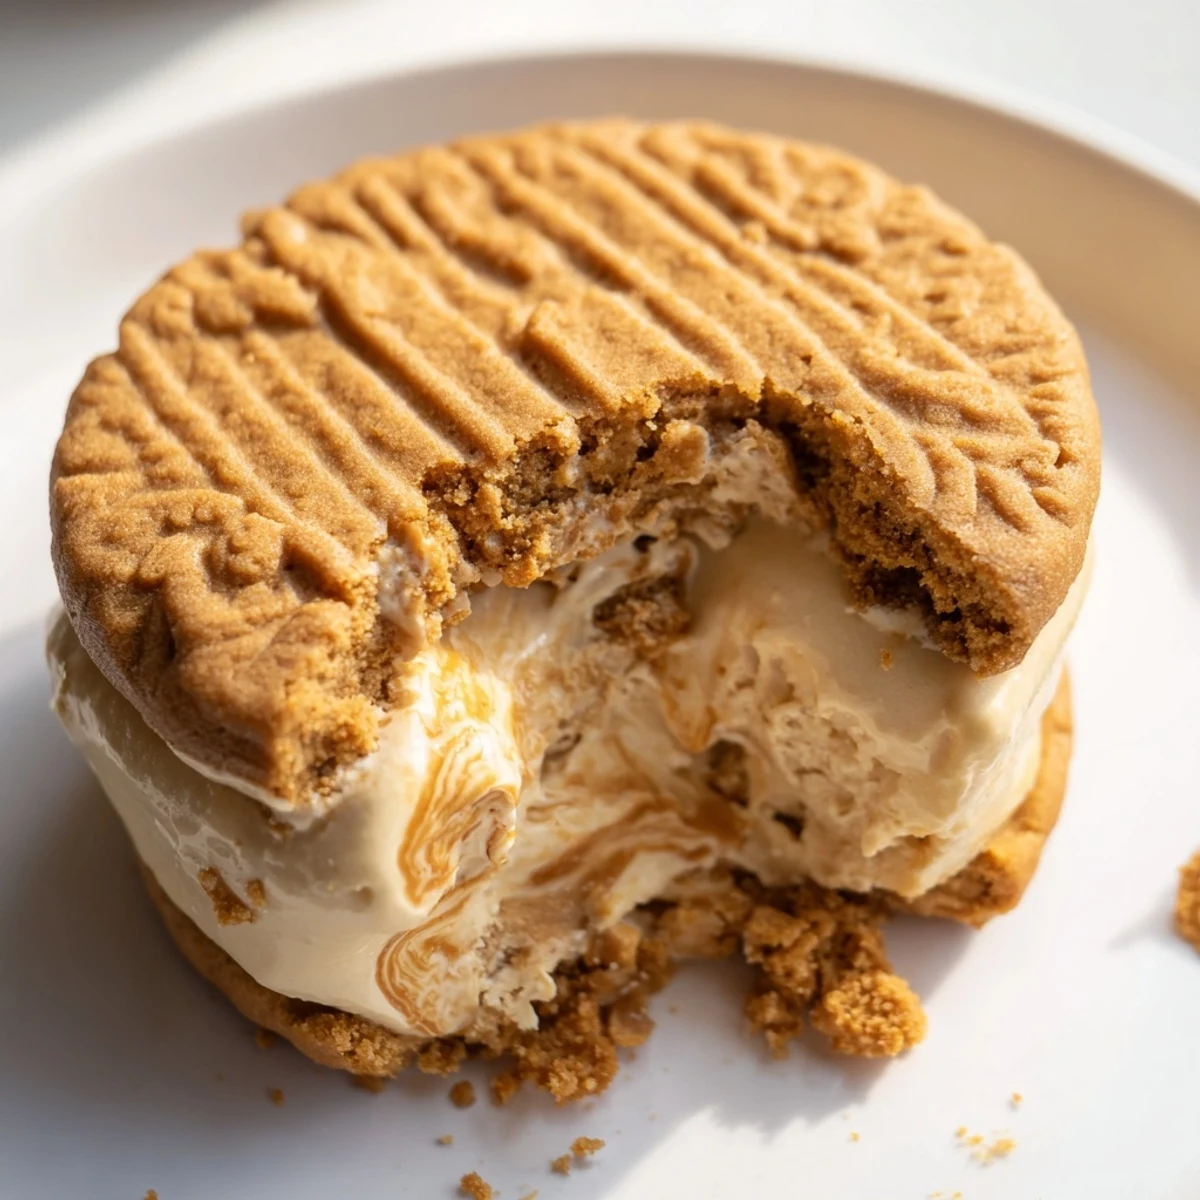
Save Once you master this no churn method, every flavor combination under the sun opens up to you, and your freezer will never be boring again. Share them generously, but definitely stash a couple in the back where nobody else looks.
Recipe FAQs
- → Can I make the ice cream without an electric mixer?
-
Yes, you can whip the heavy cream by hand using a whisk — it will take about 5 to 8 minutes of vigorous whisking to reach stiff peaks. A chilled bowl and cold cream help speed up the process considerably.
- → How long do these sandwiches keep in the freezer?
-
Store them in an airtight container or wrap each sandwich tightly in plastic wrap. They will keep well for up to 2 weeks, though the cookies may soften slightly over time.
- → Can I use store-bought ice cream instead?
-
Absolutely. A pint of good-quality vanilla or caramel ice cream works perfectly. Let it soften for about 10 minutes before scooping onto the cookies for easier assembly.
- → Why is my ice cream mixture not getting smooth after folding in the Biscoff spread?
-
Make sure the Biscoff spread is fully melted and slightly warm before adding it. Cold spread will clump. Microwave it in 15-second intervals, stirring between each, until pourable and smooth.
- → How do I prevent the sandwiches from sticking together when freezing?
-
Place the assembled sandwiches on a parchment-lined tray with space between each one during the initial 15-minute set. Once firm, wrap them individually in parchment or plastic wrap before storing together.
- → Are Biscoff cookies and spread gluten-free?
-
Standard Biscoff cookies contain wheat, so they are not gluten-free. You can substitute gluten-free spiced cookies and check that your Biscoff spread is produced in a safe facility for your dietary needs.